1/ Any rotating of the coil on it’s bracket causes the hardware to wear. This might not be evident but it is happening. Once the pigtail wears and breaks –the coil cable is not far behind. If you see this happening try and epoxy it solid to prolong the life of the coil. A couple of thin plastic washers cut out of drink bottle tops can keep the coil more solid on the isolator without you having to tighten the screw to the point where it may strip or break.
2/ Use some silicone grease on your coil jack threads. If they start to corrode it will be harder to get the thread to catch–and breaking a pin while trying becomes more likely. These are surprisingly small and delicate pins by standard–nothing more sickening than hearing one snap.
3/ With either bulkhead configuration, leaks can be a problem. If you are having leaks despite your best gasket cleaning efforts suspect the clips / pins themselves. These can wear–reducing the strength of the seal. Shimming the sides of the battery where the clips seat is an option to temporarily increase the seal. Be sure to put tape or an elastic around the bulkhead as they will now be more prone to opening. I sometimes tape around the entire seal to prevent sand from entering the gap. The grey gasket that the new bulkhead design has does not do much and is prone to being moved off the crack.
4/ If your stem cam lock wears and stops holding the isolator solidly, put two zip ties–one under each hinge. This will solve the problem permanently.
5/ Always, always bring contact spray with you if you plan to hunt with the CTX. It may be because I run it in salt, but when these co-ax plugs oxidize they are dead as a door nail. Only a spritz of contact spray will restore them. You might get away with some toothpaste (Coca-Cola?) and a toothbrush but I haven’t tried it and would not like to bet a hunt on it.
More general detecting tips and some great CTX 3030 programs are at my site:
I have purchased virtually every book that Clive has written. All have paid for themselves many times over. These are not rewritten user manuals, these are well written books that teach you what questions to ask, and teaches you how to answer them. A good critique of a machine thru the eyes of an experienced detectorist, outlining strengths and weaknesses of the machine in question, is a very valuable resource.
I have already ordered his book in the Equinox, and I have not even received the detector itself. His books are that good.
Thank you Clive for all you have taught me thru your writing.
…a few points that I found to be central to skill building with the Minelab Equinox.
1/ Stay away from 50 tones to begin with—especially with Sens over “20”–too many sounds. Later on, 50 Tones can help you to learn how to listen for consistent sounds but to begin with this is easiest in 2 Tones. With either of the multi tone modes high Sens can be frustrating Listen for complete sounds which stay in on the cross sweep. Even those sounds which start or finish abruptly should be suspect.
2/ Try some practice in Gold 2. Turn the volume down, and reject up to “5” to make the audio more orderly. Use this mode to learn to listen for extension in the tones and to practice examining responses with the cross -sweep. Work at mixing up these coil passes to determine the consistency of responses. Making changes to the Sensitivity, Iron Bias and Recovery Speed will alter how those signals with extension stand out.
More generally look for settings which balance the machine’s power in relation to the ground’s signal—that is—target sounds which are solid but not clipped or broken. An unbalanced signal (Sens too high) will also bring up a lot of partial sound that may sound good initially and need to be chased down with the coil. This is more noticeable up over (Sens) “20”. “18” is a good beginner setting that makes it easier and less frustrating to sort out the Equinox’s sounds and recognize quality signals.
3/ When you are first starting with this machine keep the wand short and do narrow, smooth coil passes. Watch the ground to see where each sound you hear is coming from and how your coil movements are affecting the tone and meter. When you are reaching way out, and not in touch with what the machine is telling you it becomes harder and more frustrating to learn. Begin with these simple coil-to-eye-to-ear-type skills–they will form the basis of later learning. With these, the accuracy will come over time.
For more information on improving your accuracy with the Minelab Equinox check out my book: “The Minelab Equinox: From Beginner to Advanced.”
Excerpts from JR’S full review…
Both books in his Equinox series are in 110-120 page range and small standard format of 8 ½ x 5 ½ inches. Don’t be fooled by the small number of pages. A lot of very specific Equinox information is packed in these two books that as of this review, is not found elsewhere.
Due to the tight TID range of the Equinox that tends to stack different targets in a small range, you really need to be up on what I call “filter” tests. These are tests with different settings, coil sweep methods, meter readings, and audio responses to further ID a target as junk or dig. Clive digs in and spends a fair amount of time showing you how to learn to recognize the many common forms of junk we encounter so we can ignore them and dig the targets that are likely to be the targets we are searching. Of course he does explain no “filtering” tests are 100% fool proof, but what he explains should cut down on some targets that the “filtering” test indicate are recognizable as junk targets.
One of my suspicions is that there may be a lot of people giving up on the Equinox. It is a very, very capable detector, one of the best ever made at its selling price. But the other price you pay is a very high learning curve that some will just not invest in. In the hands of an experienced detectorist who has taken the time to learn and understand how to use the Equinox’s powers, they will probably match up very well against a similar experienced detectorist using other brands of detectors in this price range and the next higher price range. Newbies tackling Clive’s two Equinox books are more likely to continue in the hobby than those who do not study his books.
Both books are priced fairly for the amount Equinox specific information they provide. In my experience a lot of metal detecting books have included a lot of filler fluff to increase the page count so as to inflate the book price. There is no fluff in either of these two books. Every Equinox owner will gain some useful information from either one. Me when I buy a reference book for something I am interested in, I read it and keep it for future reference and often end up re-reading them.
Here is an update to my review of Clive Clynick’s The Minelab Equinox: “An Advanced Guide”.
I think this book goes deeper into the 600 and certainly the 800 than his first Equinox book. This is because the 800 has some more useful options over the 600. The other reason Clive has more time on the Equinox than when he did on is first book on the Equinox.
Again, I will say I don’t go over his books topic by topic because you need to buy and read the book for this information. But I can tell you about a couple of areas that has been very helpful to me.
As you should know by now that this detector is a high gain detector that reports darn near everything that passes under the coil. Thus this is where its chatty reputation comes from. In fact the first 2 weeks before I read Clive’s first book I thought my detector was broken.
Especially in his second book he goes into more detail how to quiet down this detector using proper ground balance, noise canceling, sensitivity adjustments and recovery speed, mode and frequency selection and iron balance. All of these properly used will result in a quiet machine with little or no adverse effect on depth. In some cases with proper frequency and mode selection along with proper ground balance, noise canceling and sensitivity settings you will actually increase your depth and ability to find weaker targets.
The next great area of book two is his detailed instructions on how to correctly ID trash targets by using proper filtering coil sweep techniques. Following this topic is a list of Target ID Numbers and ranges and what junk you will typically find in certain ranges and also what he calls anomalies (good signals among the junk targets) and what to watch for depending on the nature of the site you are hunting.
He also explains the nature of some of the Equinox’s bias toward round coin sized objects. Finally someone gives us a lot of detail on Identifying junk targets and separating out the good stuff from the junk by various methods.
I have heard bits and pieces of the above information in metal detecting forums and videos, but it is very nice to have all of it in a small book form.
JR
Thanks Kindly, JR.
clive
…more reviews here:
http://www.clivesgoldpage.com/shop/publications/the-minelab-equinox-an-advanced-guide/
Announcing: “The Minelab Equinox: An Advanced Guide.”
By Clive James Clynick
Our postal workers here in Toronto have been ordered back to work—clearing the way for me to begin a full-on book launch of the new one: ”The Minelab Equinox: An Advanced Guide.” Thanks to those who have shown interest in the couple of dozen proofs so far. What I’ve tried to do in this book is to lay out the Equinox’s strengths. These are its operating characteristics: good noise reduction, effective built in bias, good target ID at depth, good low conductor sensitivity–to begin with. The general theme of the book is how to get the most from these strengths in the field—both depth performance and accuracy. This is a detector that gives quite a lot of information–audio and meter. Understanding some basic detector theory can help to make sense of this information–what it means. This theory is very simple and has to do with the fact that the ground forms part of the signal—and that there is a ton of information to be gotten from these “ground noises”–the amount of difficulty that the machine has in separating targets from it.
I believe that the way to become more accurate with the Equinox is to have a good grasp of these basic general skills that are applicable to all situations. With this in hand—accurate, effective applications become much easier to develop. Although there are several “beach” programs detailed in the book—these are more for teaching purposes—they illustrate skills and principles that are generalizable across situations.
Years ago when I got my first Sovereign–all you had was your manual. There were a few seasoned hunters who posted methods on the Findmall forum. I cut and pasted these and read this one sheet multiple times. This gave me a good general knowledge of how this detector operated. These methods—things such as coil control target testing (the various types of target test passes), all metal signal confirming, (tone and location on the ground) for example increased my accuracy dramatically. With the Equinox’s sophisticated processing and filtering—these kinds of super quick tests are much more effective and can give you a ton of target information. So this would be one general idea that’s covered in the book—skill building and developing your accuracy by understanding what the machine is telling you.
Good Luck Detecting,
Clive
November, 2018
(Picture Caption: “The Equinox’s Strengths)”
18/ How to Run “10 kHz” as a Cap / Iron Identifier
A lower frequency like “10 kHz” is what can be called a “plodder.” It responds slowly, makes sure its reporting accurately and only shows a couple of numbers to describe what it sees. When you run “10 kHz,” make sure to give it the time it needs to do the task. Switch over, wait for the threshold to return and make a slow, even coil pass. Just as with “Multi” the first numbers that appear may be cap or gold-range indications–in the teens. However, when you go to the cross sweep (or even a slight angle) the ground becomes apparent in the forum of a ”20 plus” reading. This change will be a lot more definite than with “Multi.” So go slow to let the slower frequency process, use the cross sweep and watch for the “wild” high number indicating a cap or iron. “10 kHz” produces a more defined, more “general” meter response. This response takes into account more of the ground’s signal–making “10 kHz” a great cap identifier. (This is also a great illustration of the dichotomy between what the high and low frequencies actually do).
The idea though is to work on your coil and meter recognition skills so that having to make the change-over is a last resort for only those caps that display a very narrow band of numbers in “Multi.” These are in the minority. I especially go to “10 kHz” where the indication shows “14”–again–a good gold number.
(Note: If you are using the 800, in “5 Tone” a high “Tone Break” of around “19” or “20” will produce an intermittent high tone on caps with this test.
Another interesting lesson to be observed when running “10 kHz” is that if you make multiple passes on a target sometimes the slowed response speed will cause the meter response to “double up”–that is it gives a “cumulative” high number. This is something to watch for in that a response can be falsely “ID’ed” as higher than it is–in this case a worse signal. Referring back to our “coil control pass types” above, this kind of a response comes from making “keep in” passes–instead of letting the target leave the detection field each swing (so as to “reset” the meter). Both have value in identifying responses but it’s good to be aware of the difference.
It’s important to recognize the parallels between this machine and the CTX. With the CTX this “grounded” number comes in the form of a “1” or “30” “off screen” response–indicating iron or steel (non-constancy). I’ve heard these referred to as “cross-feeds” In that they initially sound good as the two parts of the response “connect” on the first pass–but this electrical “join” is then rapidly processed out with subsequent coil passes.
With the Equinox these indications are more centered on the meter–“10” for rusted caps or “20” plus for steel caps. It’s more like where you have a coin next to iron–pulling the response down (or up towards the “wrap” zone). With an analog detector–either of these (CTX or Equinox “outlying” numbers) would be the low tone (or “nulls)” of iron mixed in to the audio response, or a high “sound off” or “false.”
From: “The Minelab Equinox: An Advanced Guide” (2018)
Clive James Clynick is the author of some 22 previous detector “how-to” manuals, numerous articles and product reviews. In this detailed and informative book he explains the Minelab Equinox’s ground breaking technology and how it can help you to find treasure. Topics include:
• Using Theory and Basic Skills to Improve Your Accuracy
• Depth and Target Acquisition.
• Applying the Equinox’s Strengths to Your Sites.
• Using the Equinox’s Target Information to Learn Problem Targets.
• Methods and Applications: Creating Custom Search Modes.
I thought I would include an appendix with some information on surface hunting in order to impart some general “treasure awareness” to my readers. Surface hunting is not (for most of us) about finding arrowheads although that may be what comes to hand. Surface hunting is a mindset—or rather an open mindedness to the possibility of finding treasure by eye. As a beach hunter, about half of the gold I find comes from just being in the right place and remembering to look as I detect. It’s worth noting that most of these finds are ones I just barely saw as I stepped forwards to begin another coil sweep. Point being that the more open you are to eye finds the more of them you will make. As well, part of being versatile is having other ways to recover treasure than with a detector.
What can you find by eye?
You can find: valuable bottles, old tools, caches of liquor, or redeemable empties, native artifacts, clay pipes, coins, paper money, jewellery, valuable artifacts, designer sunglasses, scrap copper, brass aluminum and lead, electronics that have scrap value—the list is endless. Anyone who had watched an episode of one of those “Storage Wars” type shows knows that a big part of defining what treasure is involves recognizing the sale-ability of something—having the contacts to move it. A pal of mine posters neighborhoods asking for any scrap lead batteries, then drives around the following week to collect them. He then scraps out the lot for usually about $500.
Another pal of mine did a lot of eye searches of old areas. One of his best finds was a large ball of soft drink labels bearing the name of a local company: “Wilson” (c. 1930). John (see below) found this ball of labels and quickly recognized that there were about 25 complete sets of all the half-dozen or so varieties of pop that the Wilson company made: Ginger Ale, Cream Soda, Root Beer and so on. John soaked this ball for months to separate these labels and pasted each set into frames. These very rare sets sold for $900 to $1200 each—quite a haul.
Point is that treasure is in the eye of the beholder.
What equipment do you need to surface hunt?
The most basic tools are a pack-sack to carry what you find and a stick—to literally “poke around” with. Each year the large beach near my house hosts several fireworks displays the attract huge crowds. Because people don’t really sit and formally “beach-go”–there isn’t much in the way of coins to be detected. However, several of us walk around with packs and sticks just examining what’s on the ground. Some great finds have been made this way including big gold bracelets, designer sunglasses, paper money—all kinds of things—just with a stick.
Edge Sifting / Boarding Kit
Other equipment can include: a shovel, light plastic buckets (to carry dirt), polarized sunglasses (to see under water), flashlight, rubber boots, bad weather gear, shoulder length gloves, a hand sifter, a full sized “rack” sifter, a heavy duty garbage bag for beer cans…
These are all handy tools to have and once you get the surface hunting “bug” they will be made good use of.
Where can I find surface treasure?
When I first started detecting I was sure that this was the best way to find valuable items. As I began going to the appropriate places it became clear that detecting was only one of many ways to find treasure. Years ago I met what I can only call a surface hunting “mentor”–an older fellow named “John,” This guy was (as I recommend you become) an “all arounder.” He dug bottles, eyeballed historic finds in the underbrush and sifted at a local shoreline incinerate dump by finding where the heaviest objects were being channeled, (placing a sifting rack on stones in the water and shoveling material onto it). He had found two gold coins and a ton of silver this way. The point is that he was able to go to locations that others had been walking past for years and see the potential. He was then able to develop methods that worked. Other surface hunting sites include:
old home-sites, shorelines, rivers, (especially where you have high, flat ground nearby and access to water for horses as colonial campsites required), rail spurs, (insulators, padlocks, artifacts), creek beds, dumps, incinerate waste, excavations, snow dumps, curbs, parking lots, cellar holes, swimming holes, cleared house flats, stone walls…
There is just no end to the number and variety of places where there is treasure to be found by eye.
It’s also important to recognize that at shoreline sites, there is constant change. Wind, rain, tidal erosion—all these act to expose treasure. Also, as touched upon earlier, often classification can sometimes do part of the work for you—bringing the heaviest, densest targets together into certain areas of shoreline. My surface hunting “mentor” John, specialized in digging bottles at the outside corner of rivers. These were bottles and ceramics that had been carried downstream and deposited on the outside corners. Some of the ones he found this way were contents intact and very valuable.
A 14k ring fragment spotted amongst incinerate scrap.
At many locations its possible to discover patterns as to where certain types of objects are carried by the current. At one Caribbean site I hunt a local guy has found a “sunglasses mine” where hundreds of designer glasses are carried by the current. He is there daily in a sea kayak popping in and out of the water retrieving them. I have a spot nearby where beer cans from a peninsula are carried to the mainland by the current. These wash up in a single spot and I fill a garbage bag with about $10 worth every visit.
As with detecting, all these ways of finding proceed from observation—and awareness.
Methods:
Walk, Grid, overturn, peer though brush, dig, eye melting snow…
On the beach–just as with detecting the key is to get into the high traffic areas—at first light if possible.
When you are at the right location at the right time, eye and detector searches are interchangeable.
Sifting and “Boarding”
These are mainly methods for finding small objects in sand or soil. A well made sifter can be used with floats to detect in the water with too. While I won’t include plans for one, materials used can be wood, a “bread rack” or PVC pipe. It’s best to avoid any metallic materials so that it can be used in conjunction with a detector or pinpointer to locate objects on the mesh. The mesh itself can be square grain 1/4” plastic “chicken wire” available at Home Depot and other stores. For in-water use, “pool noodles” can be attached around the outside with “zip ties” and these can be removed for inland use. This sifter can be placed upon four rocks in shallow water, or suspended using a long pole anchored at one end, two upright struts, and four suspension ropes to keep the sifter up and clear of the ground so that material can drop though. This is a great system for examining large amounts of dirt of sand for artifacts.
“Boarding” is something that’s widely done in England on the tidal flats of the Thames River. A large board is placed on a dry area of the mud and material is shoveled up onto it. This material is then examined by hand and / or detector. This can be a bit messy but it’s a great way to search for treasure. An alternative is to place your board up on the beach at an old or busy section of beach then wade out into the water and fill buckets with sand. Then walk these back and dump them onto the board. When the board is full, rest your shovel and go in and sort though the material by hand. At my local shoreline, incinerate was dumped from the 1920’s through to the 1950’s and we have found a lot of gold jewelry, silver coins, brass, copper and lead scrap and artifacts this way, where as to operate a detector would be impossible.
How do I develop my surface hunting skills?
Part of developing your “eye” is to know what you are looking for. When I met with John at a coffee shop—he found a gold earring right there where the lineup stands. I recently found a gold ring in several feet of water at this incinerate site. While it was a small ring—I’m still surprised by just how much the color stood out. This ring had been there since the 40’s or so and had long since lost it’s gold shine—but just the pale yellow was unmistakable—when you know to look for it. Anther thing to look for is “ornateness.” At this site, a lot of objects of interest are distinguishable by just how intricately patterned they are. These will be the “designer” objects of the day and more likely to be jewelry, embellishment, or other objects that are interesting or have value today. While many of these aren’t of any value, it’s fascinating to see the degree of care and craftsmanship that went into everyday household objects in those days. I also look for paper money—in parking lots, snow piles, after events. This is a real skill too in that not all of a shining $20 bill will always be there for you to see. More typically you will spot a mud-covered—corner or shape. The key is to learn to break what you are looking for into components—the edge pattern of a bill—the numbering, the color, the shape, the size (even folded in half). When you can spot a bill by any one of these features—you have some solid eye skills. I do this in the water too. Where there are big crowds I often lie down and scan across the top of the weed mass. Quite often there will be paper money rolling around with the weeds and other debris.
Also, on the beach, when you are walking into the sun quite often anything shiny will flash up—something to be aware of. I’ve found a lof of gold this way—often at day’s end when the sun is low in front of me.
The key is to have certain “markers” in mind—green, gold, unusual, anything out of the ordinary should attract your attention and warrant further examination.
This kind of hunting carries with it certain ethical considerations though. To begin with it’s illegal to trespass and even if you get permission to search private property the owner may still have claim to anything you find. There are however, salvage agreements that can be entered into for any high potential sites you encounter. At the same time, don’t let anyone else steal all of the benefit of your efforts and treasure hunting savvy.
Also, anything you find by eye on the beach is more likely to have been recently lost. Be prepared to look for the owner and to return items when possible. It’s really the thrill of the find that counts anyhow.
Finally, keep safety in mind—especially if you have any young hunters in training with you. Old areas can be full of hazards—spikes sticking up, falls, sharp objects…be careful. This is especially true of snow piles. These can be very dangerous as well—especially in spring when they are melting. These piles can have soft spots or deep mud around the edges. Always walk with a sick or spade and carry a cell phone. No find is worth courting disaster.
That said, surface hunting and Artifacting is a great hobby in and of itself. I mention it here though because of what it has to teach. When you bring heightened awareness and a focus upon key areas of a site to your detecting you are bound to have more success. Surface hunting teaches you to find these locations and look for ways of searching that others had not considered—to consider the possibilities.
This is wholly in keeping with our central theme of “knowing that something might be there and finding a way to recover those targets.”
A Few Surface Hunting Finds. The coiled lizard paperweight is a fave.
From: “Water Hunting:Secrets of the Pros Volume 2” (2017) by Clive James Clynick
While my first Minelab Equinox book “…From Beginner to Advanced” suggests that you use a couple of tester to get the hang of looking for solid middle range signals, this same kind of testing is also valuable to teach “hand to eye to ear.” By this I mean the ability to be able to hear a response and have a pretty good idea of its size, solidity and distance from the coil. With the Equinox’s high frequencies in the “mix” this becomes even more important. This kind of testing should not be done on a bench but involve free swinging the coil–to make it as “hands on” as possible–replicating field conditions. Tests should include:
1/ Very small target: (foil or weak other conductor) close medium range and edge of detection range.
2/ Medium sized target: (quarter) close, medium range and edge of detection field.
3/ Large target: (vertically crushed can sized), close, medium range, and edge of detection field.
This is some of the most important skill building you can do to improve your accuracy with this detector.
If there’s one bit of advice I would give to intermediate Equinox hunters–it would be that this detector has gold field quality target acquisition. You don’t have to become frustrated by opening the machine up to every “flyspeck” in the ground just because “Joe” in the Internet found a micro gold earring that hit at “1.” Running lowered “Sensitivity” or some “Discriminate” lets you cover more ground and dig more solid, quality signals. It’s also less frustrating. Walk first. Don’t get bogged down by foils. At the same time–there is small gold around to be found–and the key is to base your settings and digs upon where you are. Running right down to zero–or alternating between “All Metal” is a good way to increase your chances of finding these small targets–if the “odds” are with you.
From: “The Minelab Equinox: From Beginner to Advanced.”
“The Minelab Equinox: From Beginner to Advanced” (Readers Write…)
Reader Feedback “The Minelab Equinox: From Beginner to Advanced” by Clive James Clynick (2018)
Received the book. Excellent information within! Great for beginning with the Nox, as well as advanced settings and techniques for experienced users.
CG
Great reference that I will refer to often. Very in-depth on the capabilities and functions of the Equinox line. Pleased with this purchase!! Recommended for all Equinox users, and potential buyers.
SE
Brilliant book well worth getting it gives you a better understanding of the machine than the manual alone.
PS
Clive, enjoying the hell out of your book. It is a must have for any Equinox hunter. $ well spent, thank you Sir.
RL
Very informative. I would highly recommend.
LG
Clive! Received the book. That was quick shipping thanks. Excellent read and informative. This will truly help.
Best of luck!
RG
Clive, I have you’re manual & I read it over & over & learn more each time. Nicely done sir.
JJ
After reading your book I concentrated much more on the sound quality of targets. I very quickly started to understand which sounds to dig. Have found several ancient coins already.
GL
Highly recommend Clive’s book on the Nox. Very informative and helpful. Thanks!
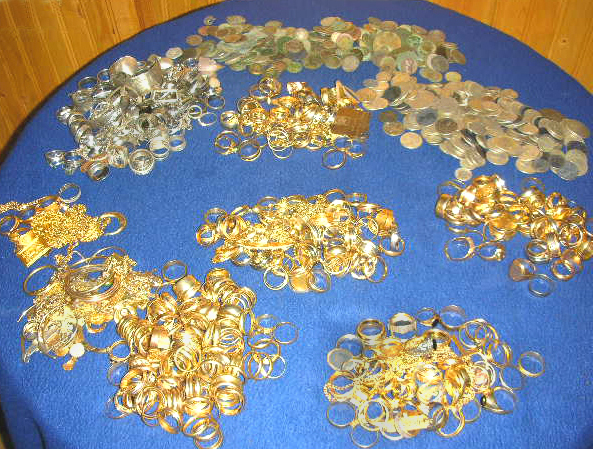
Class ring up front 11 gr. 10k next to it 6.7 gr. 18 k back row some 2 point somethings 14 and 18k and assorted silver and glasses. Mostly with the CTX and some with the Equinox 800the conditions required both accuracy and coverage–Im normally a pulse hunter. Did a ton of testing on the Equinox — some 2 Tone settings–and found that “20” is a nice tone selection for gold–try it! clivesgoldpage.com
I recently asked a top local hunter for any tips that might go into my next book. He replied: “Get yourself a big box of Q-Tips and clean all the wax out of your ears so you can hear the deep ones…” Thanks–I wish it were that easy.
I include some of these maxims because of their value in teaching course correction and good judgment. They represent tried and true general principles that can make you a more effective treasure hunter–”old school wisdom” –if you will.
If I could point to one maxim or idea that’s helped me to find treasure it would be this:
“If you want to find some gold with a metal detector, first find some gold, then place the detector directly over it”
Simple–but brilliant. The point is to expend your energy at the locations with the best chance of producing what you are looking for. When you have put some thought in to why the location you are searching should have what you are looking for–half the battle is done. For example–look for the areas of a site where activities overlap or pedestrian traffic is funnelled into a particular section. The part with the detector and scoop are only the last part of the operation.
Well-known “Western and Eastern Treasures Magazine “Tech Talk” columnist Ty Brook also touched on this idea when he stated another idea that’s central to treasure hunting success:
“…whenever I feel that some good targets have to be in a particular area–I don’t give up until I figure some way to detect those targets.”
(Inside Treasure Hunting, by |Ty Brook, 1999, Confederate Rose Publishing).
For the beach hunter, these two ideas mean one thing: “Know thy sites!” Where have gold and silver been found before here? Or at a new location: “What site features remind you of places that you have found gold and silver before?” Which of the equipment and methods that you have to work with will give me a better shot at recovering what’s there? What clues are evident at a site that indicate the place is worth some effort? One of my early experiences illustrates this: Behind my house there was a vacant lot that was a cut-through between two busy streets. At one point I went out there with my first detector–a White’s Coinmaster 6DB. After hunting for a while and finding nothing I noticed the bent over links at the top of the low chain link fence. Clearly this was where people got into the lot by climbing in. Hunting below this section of fence produced several dozen quarters. The point is–play your hunches–thoroughly and to completion.
An understanding of human action is also important here—the patterns of how people interact with a site over time. This comes from observation.
I would also add to Ty’s hugely valuable advice: “…to find a way to separate those targets from what they are mixed in with.” (More on this later).
One saying of mine that’s been quoted a lot is that:
“Detectors don’t find gold—observation does.”
So the question is not just “Where is there some gold and silver to find” but– “How and why did it come to be there?” Let’s look at an example of these principles in action:
At one busy Caribbean site I hunt, there’s one length of beach that’s always produced gold. The resort is high-end, and this one section is the busiest water entry point. The sidewall is steep so people clamber to leave the water. A lot of gold is lost this way. Also, it’s a section where the waves can be quite rough—it’s the “head of the bay”.
Over time, observation and past success have taught me that if I just work this small section hard enough–some gold almost always turns up. While much of the surrounding beach looks similar–even the number of swimmers–it’s this one section that always produces. When you can consistently identify these perpetual “hotspots” and direct your efforts accordingly you are light years ahead.
Where you have areas that are almost similar with one producing finds and one not–this represents a key learning opportunity in that whatever differences there are have great importance. These represent vital clues that teach us exactly where to look for gold.
It’s this kind of full-field, detailed observational focus that I hope to encourage with this book.
“Where there’s one, there’s more.”
A top pro buddy of mine says this often. While there are certainly such things as “anomaly” finds, where you have ground that produces gold and silver consistently, there is always more to be found. These finds may be currently out of detector range. This is another important area of observation–understanding the overall strata of a site, and watching the grade of these busy areas for changes. At inland sites, changing moisture levels can also bring up new signals where there had been none before. More generally, the precise set of conditions that are needed for gold to be present at a location are not that common. Your best clue to where gold can be found is where it has been found before. This is where experience comes in. Every gold target you find has valuable information to tell. How many people had to enter the water or sunbathe at a spot for a gold item to be lost? What sand levels were needed to expose it? Was it lost at that spot or moved by the current? All of this information comes from that first find–pointing you towards the next one.
From: “Water Hunting: Secrets of the Pros: Volume 2” by Clive James Clynick
By Steve Herschbach (Detector Prospector Forum Administrator)
“The Minelab Equinox: From Beginner to Advanced” by Clive Clynick is the first book available about the new Minelab Equinox metal detectors. The 8.5″ x 5.5″ format book is 111 pages of densely packed information that is intended to help new Minelab Equinox owners get the best out of their new detectors.
The early part of the book relies of screen shots to illustrate the various controls on the detector, and then switches to hand drawn pictures to illustrate various concepts described in the book. In this day and age of slick graphics the hand drawn images lend a “homemade” feeling to these books.
I can’t really fault Clive for using the hand drawn images however. A picture does often easily get across some idea that might be very difficult to describe in writing. I personally can sketch out a useful image quite easily, but turning that sketch onto a slick computer generated diagram can be time consuming. In the end the hand drawn sketches get the idea across, and that is what matters most.
The first roughly 40 pages of the book basically go over the controls, adding some details not found in the owner’s’ manual. The real meat is in the last 70 pages of the book. Clive goes into great detail emphasizing important details about the Minelab Equinox meter and audio characteristics. There is a lot of information here about how to use the Equinox features along with good handling skills to get the best performance possible out of the Equinox.
The book has an emphasis on coin and jewelry detecting both on dry land and beach. I therefore think the book will be of most use to people looking for information more specific to these subjects. Information specific to relic detecting or nugget hunting in particular is more in passing while discussing coin and jewelry detecting.
Much of the information presented does assume basic detecting knowledge along with basic knowledge from the Equinox owner’s manual. Clive tries to avoid repeating information already found in the owner’s manual, and so from this perspective I would rate this book as being applicable for detectorists with moderate to advanced detecting skills. People who are totally new to detecting may feel in a bit over their heads initially. That is fine because any detecting book worth having usually needs more than one reading. Things that do not sink in at first make more sense after getting some hours of experience before they “click”.
The book may be challenging for true beginners on the first go, but that is because there is meat here to satisfy more advanced operators. Anyone that perseveres with fully understanding the information in this book will no longer be a beginner, and the good thing is the skills learned will apply to many other high performance metal detectors. The bottom line is I recommend this book for people looking for information that goes far beyond what is offered in the Equinox Owner’s Manual, and which is of primary interest to coin and jewelry hunters.
Clive is an accomplished writer with several titles to his credit that qualify as “classics”, especially as regards jewelry detecting. Visit his website at http://www.clivesgoldpage.com/ to see all the titles he currently has available.
Ed. Note: Thanks kindly for your review, Steve. Your “Detector / Prospector Equinox Fan Club” forum is a great source of information on the MinelabEquinox.
Had some luck with the Minelab Equinox and Cuda last week. The Equinox is a great edge cherry picker–gets right in amongst the caps and pins. Trick is to recognise the junk first–especially those “cap patterns.” Cuda is a great workhorse deeper than any VLF.
A tip I would give is to always look for the deepest water closest to shore. The same gully can have nothing if it’s ten feet further out but in close it can have good marl access. Track along to find this type of ground–this has worked for me many times. Biggest ring is (all 10K) 6.6 grams, and a no-date George the 4th quarter down so deep it sounded like a pin with the Cuda.
cjc
clivesgoldpage.com
When you go to the lower uSc ranges–its necessary to do certain thingss to mediate the micro conductors. This may involve coil control (determining the solidiy) using the cross sweep and multiple passes, or doing some “foot digging” to make sure the target is not a small target on the surface. It’s also important to look for ground that itsn’t “silt” carrying this type of micro conductors around–oval tabs, foils, pennies and caps. This is the “tradeoff” for the additional depth you get running down at say 10 uSc. Where you have a lot of targets, there is more of an emphasis on checking the general features ofa response–size, shape and where it is sitting in the strata. To a certain extent, understanding the sand texture is one thing that helps you recognise what an object is–by how deep it’s sitting. People ask why I have a large number of pulse machines. This is because they all do different things and are suited to different condtions. My small coil Cuda is great in black sand of harsh, fast salt conditions. It also has great audio to keep off the caps and pins. The Dual Field also has great audio and gives a long “tune-out” sound on iron. The Aquasearch has great optimization and adjustable SAT–for sidewalls or fast water.–to compensate for interference. More generally the idea with a pulse is to incorporate site knowledge and a number of target features into your dig selection. While iron will sound off–it doesent “carry” to the surface as well. Looking for small, sharp, narrow responses that don’t give a double tone on the cross sweep can reduce the amound of iron you dig. As well, when you turn the Gain (or de-tune) a pulse, the response to iron is reduced more than is the response to gold. So in dense traash going to a lowered “discriminate” mode, combined with carefull listening to the strength of your signals is another way to increase your accuracy. I’ve made all my best finds with pulse machines and although its great to have the fidelity and accuracy of a CTX or EQ, where there is any serious competition or changing “sanded in” type conditions a pulse is the way to get down deeper, find “strip outs” and hit those big lunkers. Pulse hunting teaches you to examine responses fully, and pay attention to the strata, grade, bottom contours and sand textures. These skills in turn will help you with any machine you use. cjc
clivesgoldpage.com
Scored a band today 18k 9.6 gr. with the Minelab Equinox 800 using Gold 2 / confirming with Park 2 A/M. set as “User Mode”
Qiite like this sytem G2 is super deep and tells the size well, P2A/M tells the consistency and also makes a nice search mode in iron or where the signals have mixed content (ferrous / non-ferrous). clivesgoldpage.com
As touched upon above, the Minelab Equinox has the built in feature of promoting round, solid, non-alloyed objects, while inhibiting responses from elongated, odd-shaped, corroded or alloyed metals–like tin for example. These come in as rough or broken tones. There are dozens of “U-Tube” videos out of guys hunting with the Equinox– hearing random sounds, digging them anyway and finding garbage targets one after the other. Many then blame the detector. This machine was designed with very sophisticated signal processing to help you to recognise this junk–why not listen to it? If you hope to go into areas with dense aluminum and other trash targets and pick out those signals which have the best chance of being gold–this is one Minelab Equinox feature that can be a big help. Using the cross-sweep can work well here too–bringing out the inconsistent elements of a signal if it’s junk or staying stable—a more likely gold target. This built in feature of the Minelab Equinox is especially useful for determining foils. Many of these just don’t sound solid–they are weak, thin or hollow-sounding responses. One trick I use to get a quick idea of a target’s consistency is to do a slightly angled second pass. I then watch the meter and listen for any tone changes. A high gain detector will often hit loudly on an object because of its shape. When you change your sweep angle this is altered.
Picture Caption: “A quick, angled second pass tells you how solid a target is. Listen for tone changes and watch the meter for erratic readings. This is an effective way to recognise foils and “can-slaw” and generally offset the tendency of a high gain detector like the Equinox to sound off on odd shapes. “
From: “The Minelab Equinox: From Beginner to Advanced”
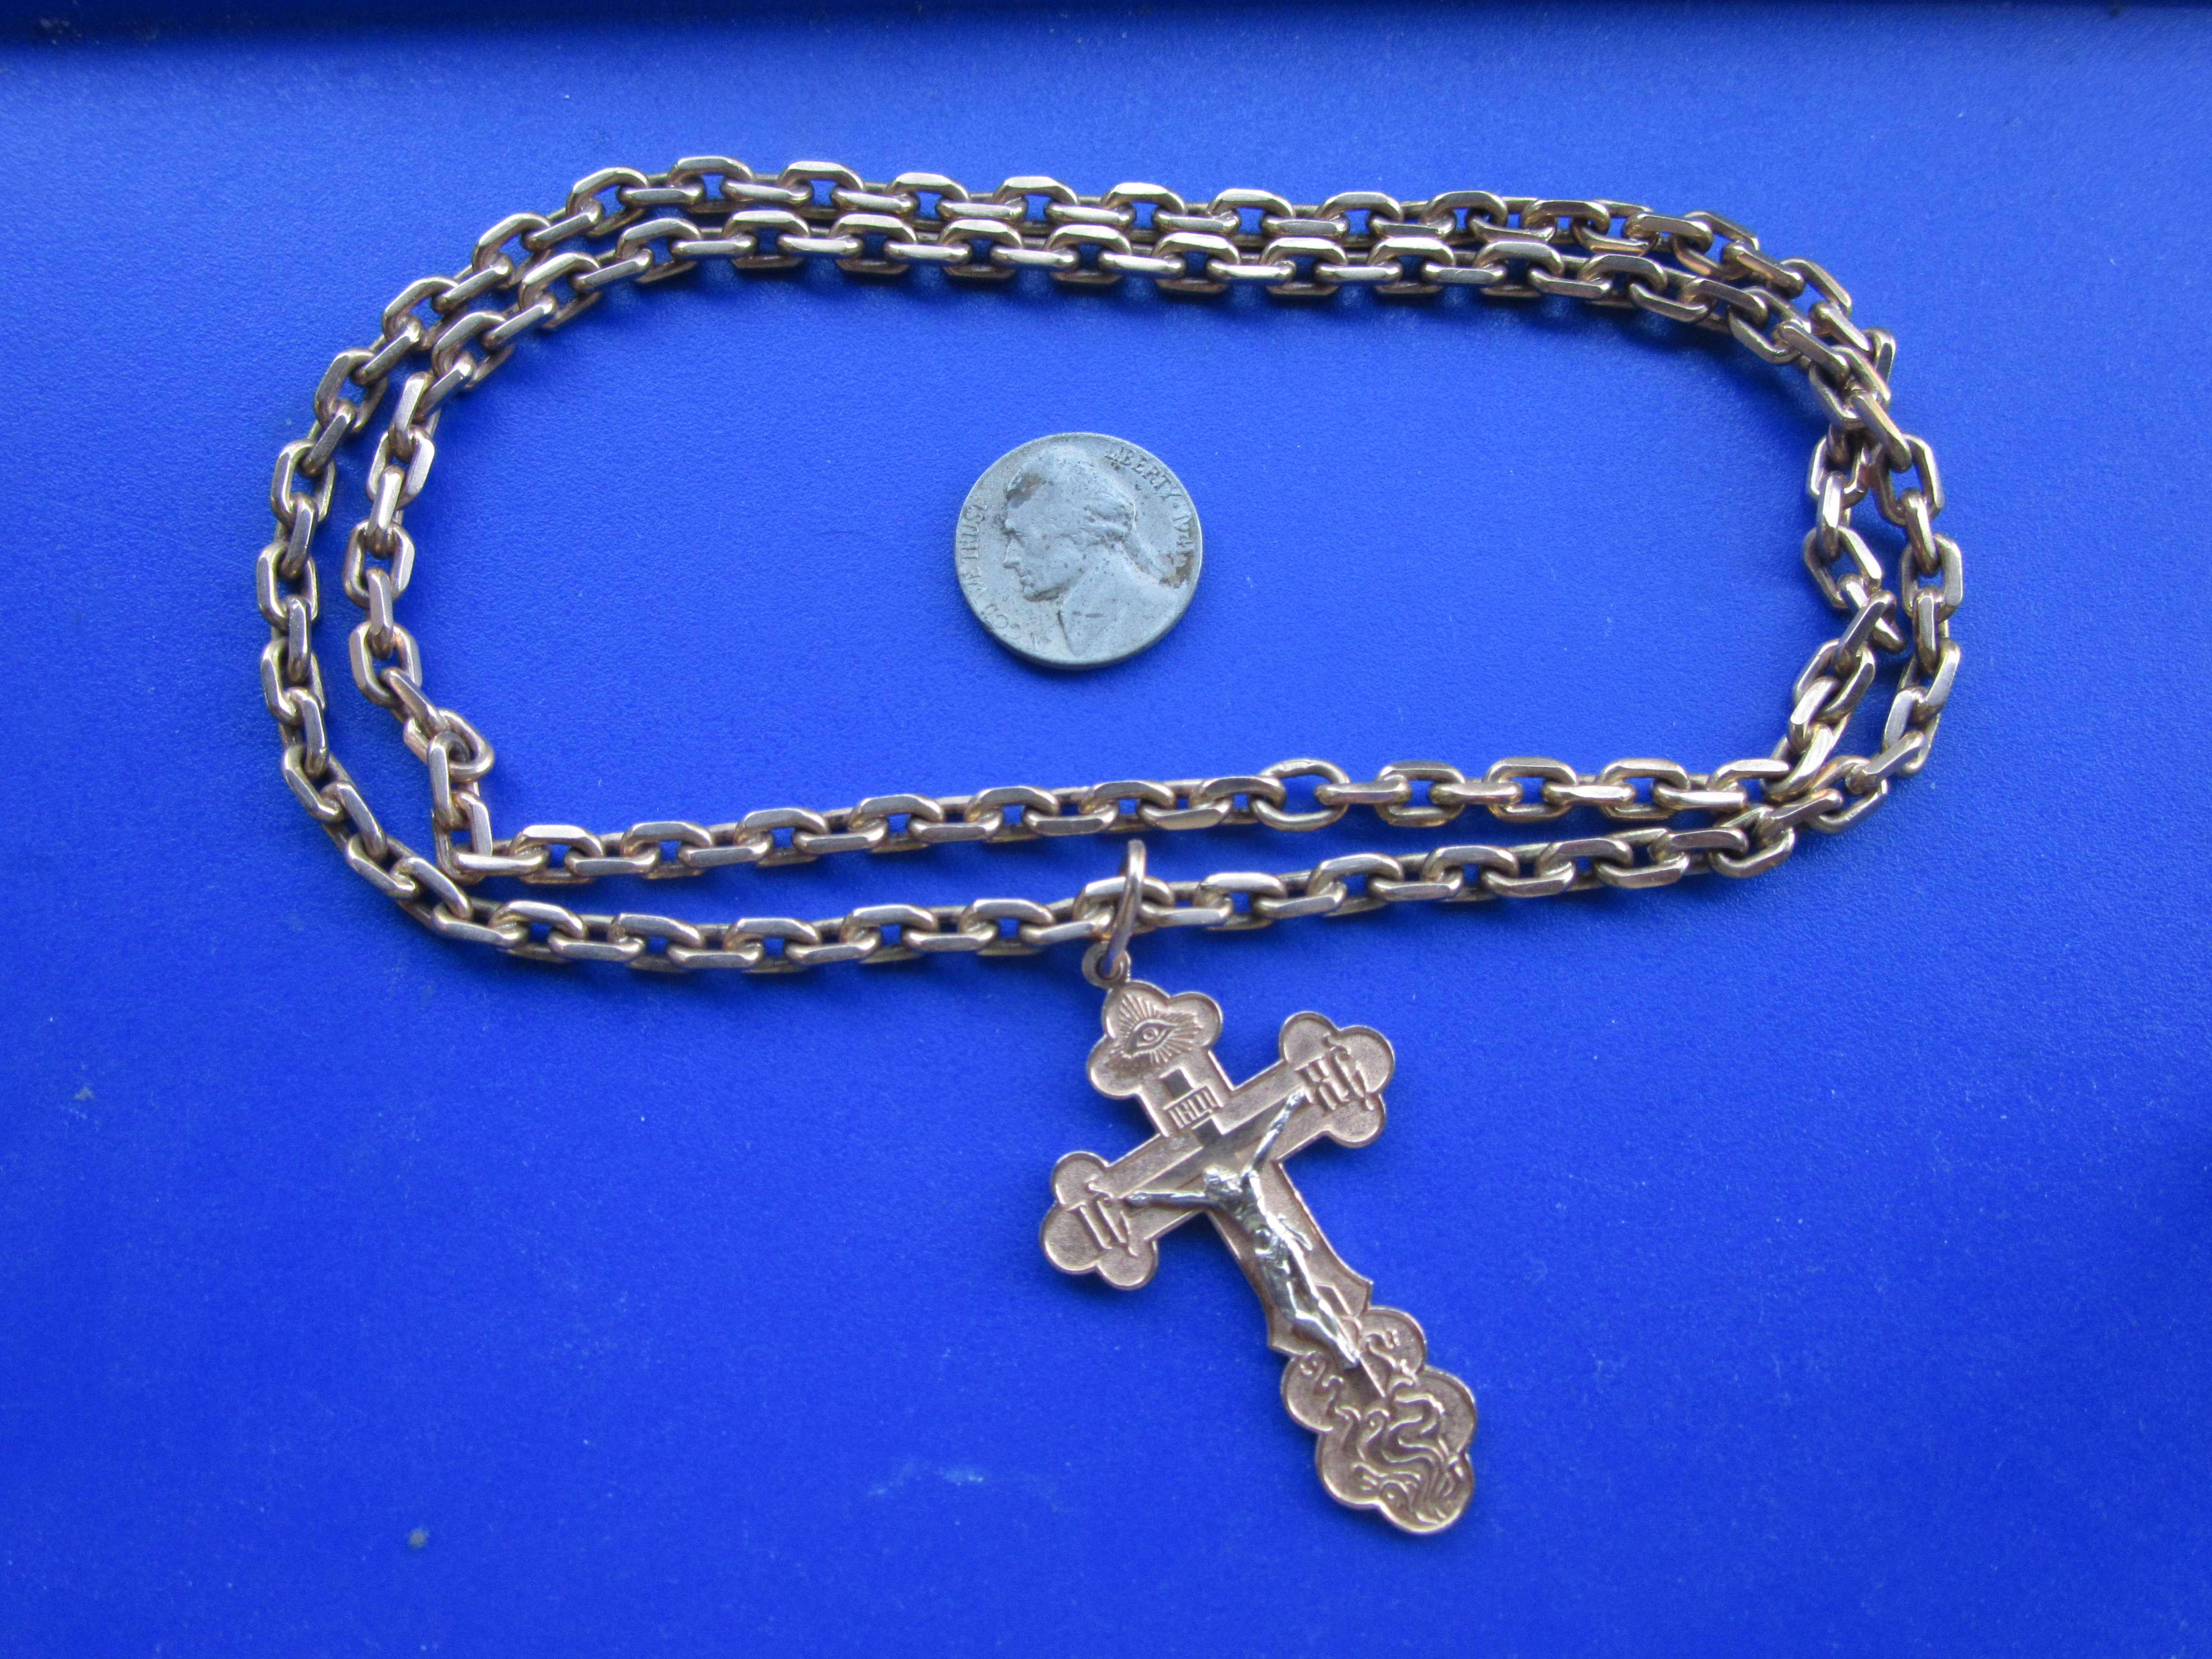
Some gold and silver from the last few hunts using the Minelab Equinox and the CTX 3030. Largest band is 14k 10.4 grams, a GoPro Hero 5 ($200 US resale), and a 3 oz. vermeil Russian chain. Getting good results with the Equinox on land (no w/p phones yet) on the small gold. Oh and a brass grill…
I have purchased virtually every book that Clive has written. All have paid for themselves many times over. These are not rewritten user manuals, these are well written books that teach you what questions to ask, and teaches you how to answer them. A good critique of a machine thru the eyes of an experienced detectorist, outlining strengths and weaknesses of the machine in question, is a very valuable resource.
I have already ordered his book in the Equinox, and I have not even received the detector itself. His books are that good.
Thank you Clive for all you have taught me thru your writing.
The Minelab Equinox: “From Beginner to Advanced” (2018)
I’m proud to announce my new book on the Minelab Equinox. This is a very versatile and exciting detector. It’s of special interest to me because of its clean signal transmission, high gain “punch” and low conductor sensitivity–a great gold and silver machine. It also has superb audio. Because it processes so fast–you can actually hear more than one object under the coil at once. This makes for great performance in dense trash or iron. The stability is great too and as a sometimes fresh water hunter I especially like the black sand features. I’ve put a few basics and some of the more advanced methods for having success with the Minelab Equinox into a “no-nonsense” 111 page guide. The emphasis in this book is upon skills that are transferable–across applications–inland, beach and shallow water–learning to become more versatile and accurate with the machine.
The Minelab Equinox: “From Beginner to Advanced”
Clive James Clynick is the author of some 20 previous detector “how-to” manuals, numerous articles and product reviews. In this detailed and informative book he explains the Minelab Equinox’s ground breaking technology and how it can help you to find treasure.
Customizing the Equinox for your Conditions and Targets Sought.
“Multi IQ” and High Gain Detector Operating Characteristics.
Understanding and Applying the Equinox’s Features.
Audio, Meter and Coil Control “Skill Building.”
Beach, Shallow Water and “In-Iron” Skill Building with the Equinox.
Received the book. Excellent information within! Great for beginning with the Nox, as well as advanced settings and techniques for experienced users.
Great reference that I will refer to often. Very in-depth on the capabilities and functions of the Equinox line. Pleased with this purchase!! Recommended for all Equinox users, and potential buyers.
SE
Brilliant book well worth getting it gives you a better understanding of the machine than the manual alone.
PS
Clive, enjoying the hell out of your book. It is a must have for any Equinox hunter. $ well spent, thank you Sir.
RL
Very informative. I would highly recommend.
LG
Clive! Received the book. That was quick shipping thanks. Excellent read and informative. This will truly help.
Best of luck!
RG
After reading your book I concentrated much more on the sound quality of targets. I very quickly started to understand which sounds to dig. Have found several ancient coins already.
GL
Book review- Water Hunting: Secrets of the Pros Volume 2
I recently had the opportunity to read Clive Clynicks latest book called Water Hunting: Secrets of the Pros Volume II. If you have ever read any of Clive’s books you will understand that he is a very passionate and traveled Professional Hunter and takes the hobby very seriously. I know Clive personally and I’ve had the opportunity to detect with him and Im always amazed of his depth of knowledge in the hobby. Clive bases his books and writings on actual experience detecting alongside some of the world’s top Pro Hunters and I knew the book would not disappoint!
From the first few pages I noticed very quickly Clive begins to entice the reader down the proverbial rabbit hole into the world of water hunting with a well structured and reader friendly format to follow. The underlining tone throughout the entire book is truly to teach or improve the readers skills to become a proficient water hunter. For a 101 page book he covers an impressive amount of topics on detectors, reading beaches in depth equipment observations and safety in and out of the water. Along the way you will notice Clive weaves in and out personal detecting stories which are very intriguing, inspiring and at times very comical. There’s also a multitude of pictures, charts and diagrams throughout the book that give good visual explanations of the topic being described. I personally love this because Im a visual learner and some of the personal diagrams throughout the pages are excellent.
Along with the wonderful pictures and great stories in this book my favorite part is definitely concerning one of my favorite Pro Hunters Roland Dalcourt whom we affectionately call the king of the Caribbean. Roland is definitely one of the most proficient Water Hunters on the planet, a true gentleman and friend. Anyone who knows Roland or has had the opportunity to hunt with him knows his experience and techniques in Caribbean waters is second to none. As one of Roland’s closest friends, Clive has had the opportunity to hunt with him extensively throughout the years. I can’t think of two other individuals who have pulled more gold out of the water then Clive and Roland and Clive graciously brings the reader along their adventures into the final pages. In conclusion I would highly suggest reading the book from front to back if you are interested in the hobby or at least to enjoy some of the fascinating stories Clive takes us on. Informative well-articulated and fascinating! Great book
As touched upon above–some sites just need to be covered. The trade-off here is that the large coils which cover ground best, are usually heavy, and exhausting to drag though the water or swing. With proper preparation (stretching beforehand, using a back brace, frequent breaks…) it can be done though.
It’s worth noting here though that coverage need not just mean searching great tracts of land. The most effective coverage can often just be running one pattern over a small section again and again. This is something a top pro taught me. He measures his hunts not by how much ground he’s covered but by how much time he has put in at a location. This may involve searching one line ten times over. I don’t mind admitting that this guy has out-hunted me many, many times by doing this.
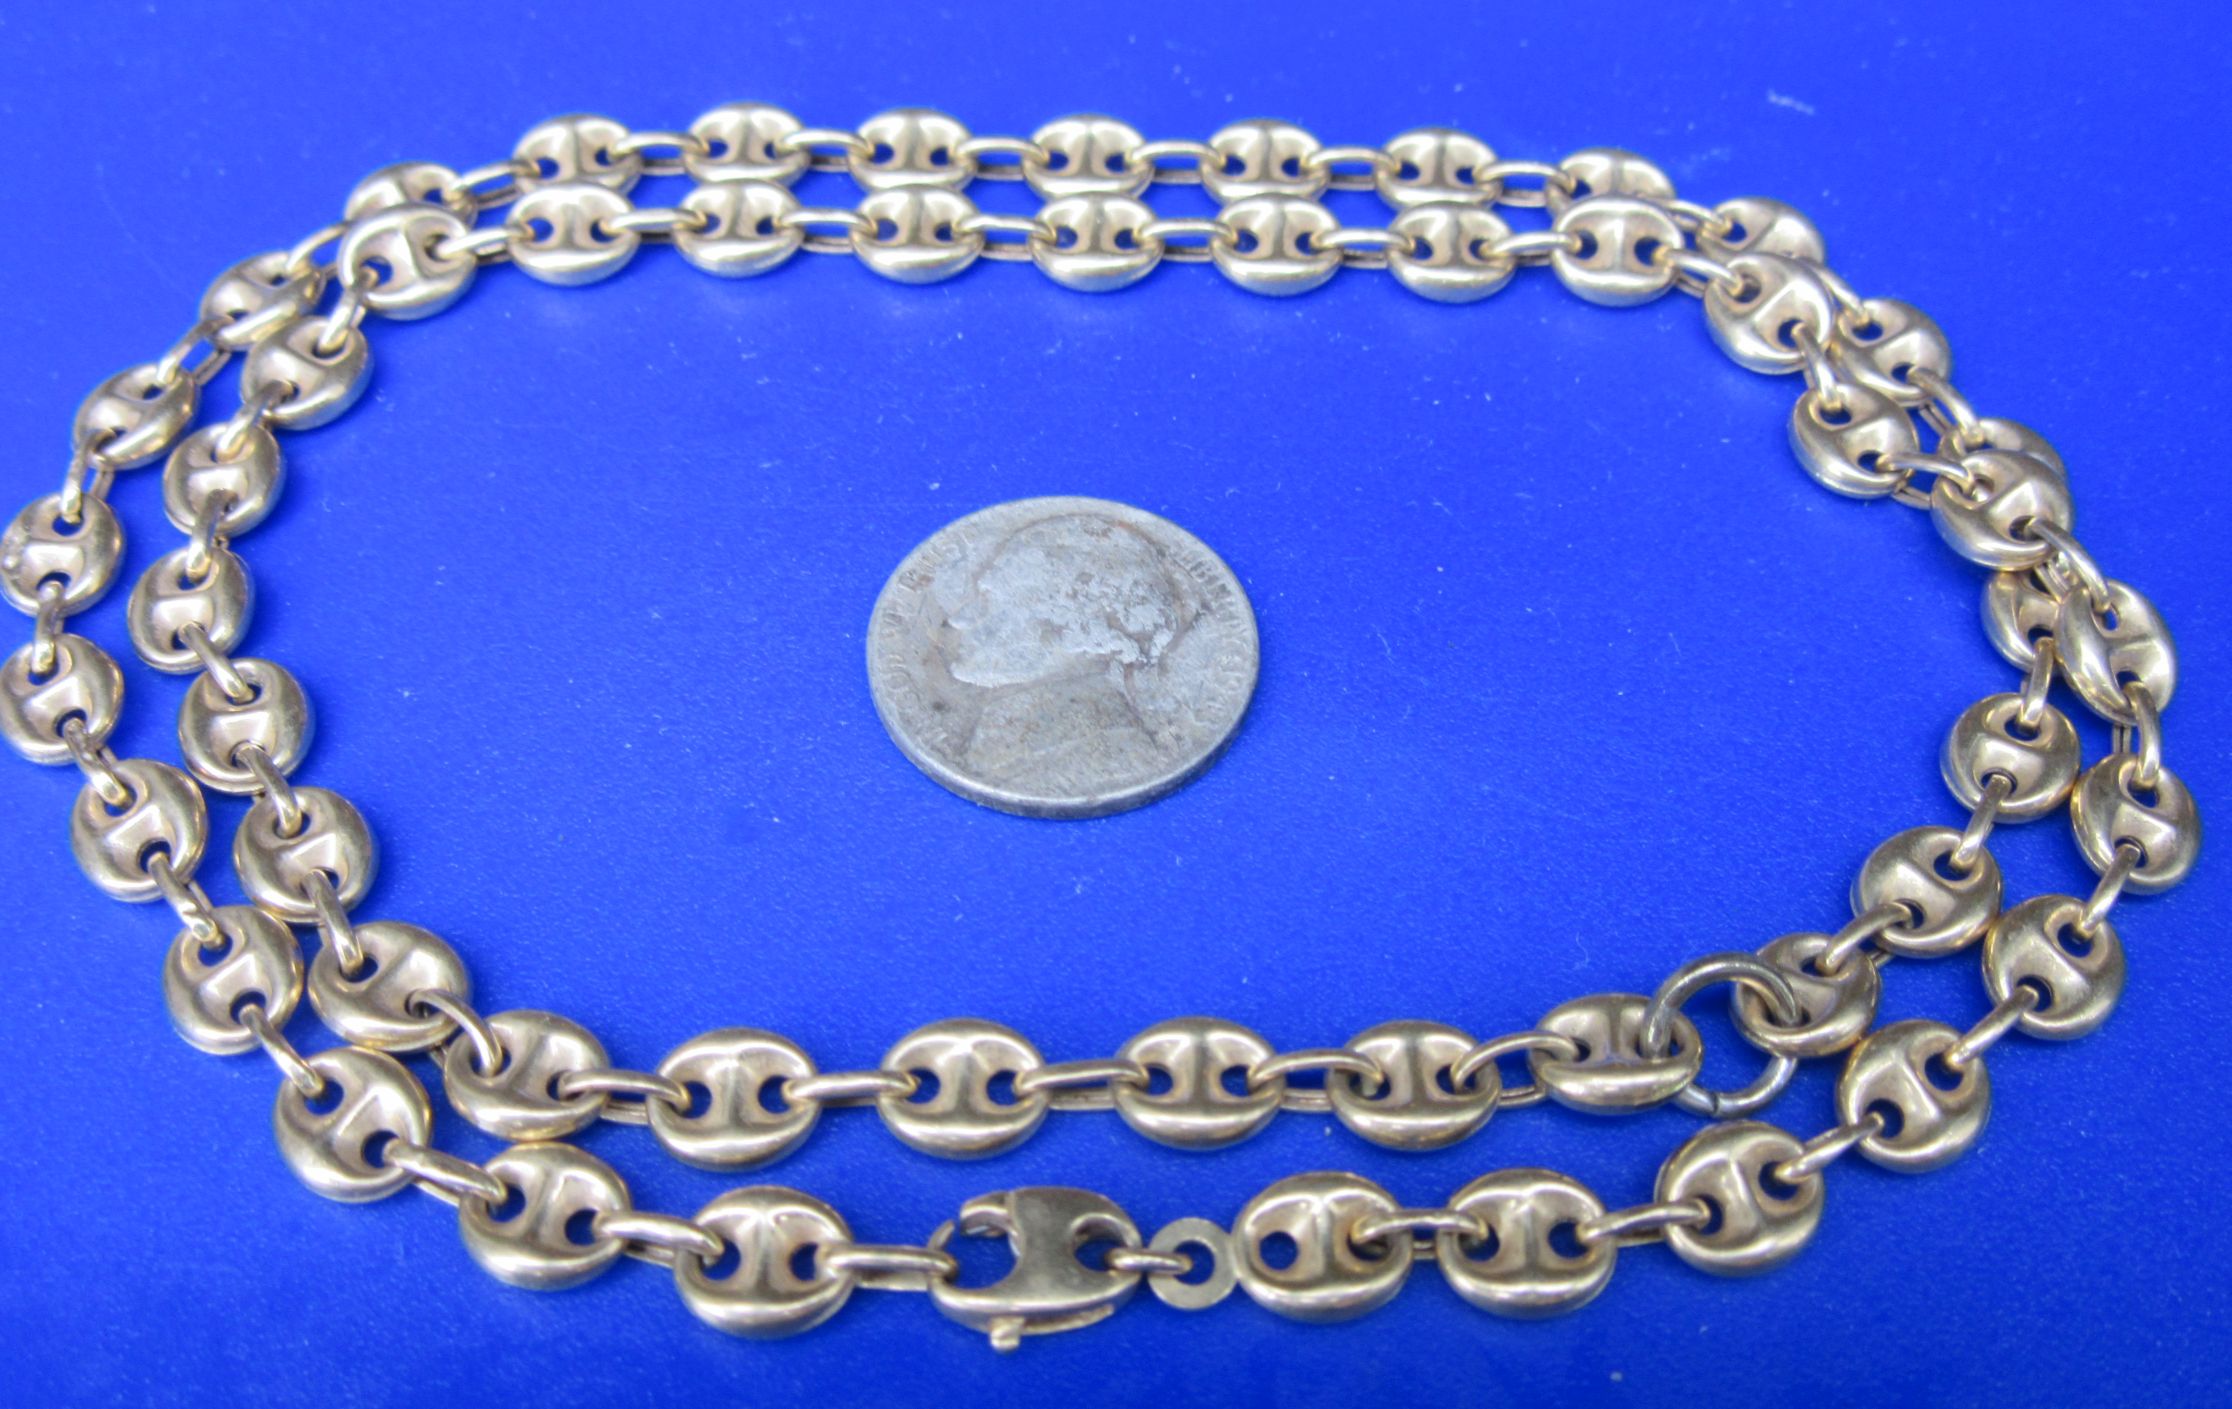
This lesson was made crystal clear to me on one hunt where I did my usual “three passes across “ in the deep section and concluded that there was nothing there. My buddy Roland put six or eight rows along the same lines and found this massive 195 gram silver chain. (See picture below).
Putting in multiple rows along the same deep water-line got my buddy Roland this massive 195 gram chain that I missed. (Scale coin is a quarter).
When I tell him that I didn’t find anything at a site (having given it my most thorough grid-type coverage) he says: “…you need to pass more time there…!” This is because (as I’ve begrudgingly learned), complete coverage is a myth. Coil control lapses, target inclination, ground changes–all of these adverse factors will never let you get everything.
It’s important to be aware of the trade off that comes with your choice of coils. Whereas a smaller coil may give better audio and penetration in the interference zones, the reduced coverage may cause you to miss targets, lateraly, or to have to do multiple passes on the same section to accomplish the same level of complete coverage. I once hunted for a lost small ring with my Barracuda that has an 8” coil. I was given very accurate directions as to where the ring has been lost– a 10′ x 30′ square. Even still it took over an hour to find.
It’s also important to remember that at some sites, the activity is very localized. At this type of place, coverage won’t help you that much. There is a seasonality to this kind of decision-making too in that during the peak on-season, more area of a beach will be used. When you get to the off season, only the busiest main sections will be worth working.
As with any detector, getting the best performance from the CTX requires that the operator understand and mediate a number of “trade-offs”. These consist of a choice and one or more ways (adjustments or method changes) that allow you to affect that choice:
Noise / Stability
-can you hear and identify targets?
-is the machine getting as much depth as possible?
-choices: Auto Sens / Manual (reduce), Open or Closed Screen. (see below).
Auto Sensitivity versus Manual
Characteristics of Auto:
Plus: stable, less falses / cross-feeds / “clean” responses, better target ID
Minus: less depth / harder to acquire targets / less awareness of ground conditions & changes / may drop Sensitivity level too low in extreme ground ie. “ black sand.” / constant changes represent more for the machine to deal with.
Characteristics of Manual:
Plus: deeper / sharper responses / better “notch” capability for closed programs / gives you the ability to run at the “limit”/ gives you a better idea as to what the ground conditions require. / alerts you to more marginal signals
Minus: less stable / more falses, cross-feeds / needs more attention to coil control /
more likely to be too high for the conditions / more “partial” responses need to be checked.
Open Screen versus Closed Screen Methods
Characteristics of Open Screen:
Plus: generally deeper / more small & odd shaped targets , chains, earrings / allows “full” audio on responses (complete and accurate).
Minus: less stable / less distinct target sounds / requires more attention to coil control / more checking of cross-feeds, falses, “partial” target sounds.
Characteristics of Closed Screen:
Plus: more stable / allows higher Sensitivity levels / sharper audio / alerts you to good responses in trash.
Minus: less depth / “sluggish” responses / harder to acquire targets / some targets are only heard partially (bottlecaps for example).
From: “The CTX 3030 Gold Hunter’s Guide” by Clive James Clynick
The first time I took the CTX 17” coil out was both a “rude awakening” and the beginning of an important learning process. I jumped into a deep section with it, swished around for a while and heard absolutely nothing. Later when I returned with a pulse–the same section “came alive” with signals. “Wasn’t this thing supposed to be deep as “all get go?” It certainly “looked deep.” There were a few things I needed to understand in order to become an effective gold hunter with the CTX 3030’s 17” coil.
First, with any detector that processes a complex signal there is a “disconnect” between the machine and the ground. This “no man’s land” is the actual process–the electronic “work” that allows all the fancy things it does. In effect, you are not hearing the actual ground. What you are hearing is a reproduction in digital language of the ground’s electromagnetic properties. What this means is that these machines (BBS, FBS…) can lose depth but at the same time–not loose threshold. That is, they can sound stable but still be being affected greatly by the ground’s properties. A stable threshold is the default. As will be explained in more detailed below, the larger the coil you are using–the greater this ground affect will be.
Secondly, when you run a larger coil, everything is magnified. This coil is attempting to process a larger chunk of ground and this brings more work to the machine’s processor. Now, keep in mind that the CTX already has “a lot going on.” Add to this more ground noise, more targets, and more EMI from various sources. The result is that targets are now smaller by relation and take more time to respond.
It was only when I learned to become more aware of the conditions, run appropriate Sensitivity settings and focus upon coil control that this loop began to show its strengths…
From: “The Minelab CTX 3030 Gold Hunter’s Guide” (2018)
by Clive James Clynick
clivesgoldpage.com
A couple of good hunts using the 17” coil to scrub the edge with Jay’s Gold program. I used the P1 to search and P2 as a checker. The large band at left came up green from at least 18” in a section hunted almost daily with Excaliburs and other machines.
In some ways the CTX is highly accurate–other not.
a/ Target Size.
The CTX’s high Gain circuitry acts to make all targets sound bigger. This sometimes makes it hard to identify objects that are too small to be of value. The solution is to use the Pinpoint feature to see how responses stand out from the surrounding ground.
Anything that’s really faint should be suspect. Especially–where you have a loud discriminate response and a faint Pinpoint sound–suspect junk.
As mentioned earlier, reducing the Volume Gain will give a more accurate reporting on these micro conductors.
A second component to this sizing problem is that with the CTX’s algorithmic discrimination targets may respond in a given category based upon their size. That is, a low gold “number” will also let in big foil because it mimics the size / conductivity “bracket” that you are after. Even though the big foil target fits neither category you are trying to isolate–in combination, it passes.
b/ Solidity
This distortion is a result of the amplification that high gain circuitry and a processed signal create. Targets often sound “fuller” than they are. I’ve had a lot of experience with this problem running pulses that transmit at 10 uSc and other VLF machines that run at high frequencies. These machines are made to bring up small stuff and there’s a big learning curve in learning to tell what’s what. With the CTX, even hairpins and tiny bits of aluminum can initially sound solid. (See “CTX 3030 ID Tools” below). It’s tough area of learning with the CTX. The several gold target studies I’ve looked at show gold (some of it small earrings and chains) coming in though the entire low range. At the same time, there are a lot of signals in that range that are just not quality responses. Much of this obvious trash can be recognised if you take the time to examine them.
From: “The Minelab CTX 3030 Gold Hunter’s Guide” by Clive James Clynick (2018)
One thing that’s helped me to understand this detector is learning what it won’t do. When you hope to acquire and identify the smallest, weakest signal out there –in the worst, most inconsistent environment, having this mental “benchmark” is a handy tool. Of necessity, in winter–I bench test detectors in my basement. Like all basements mine has a furnace and a power panel. While the CTX doesn’t do well near these two EMI sources, –it still detects targets. How it falters and responds to over-use of the Sensitivity control is a great teacher–instructing me on what to expect from this machine in rough salt water or black sand. As was suggested as an experiment in chapter 2, (with lowered Sensitivity) turn the machine on near a television or in your living room. This noise is the same noise that needs to be mediated in the field. Those faint–masked-by-interference targets sounds are the same ones that need to be listened for in rough surf.
Similarly, going from a quiet Auto Sens setting to Manual is the way to get more depth–but at the expense of operating with a lot more difficulty–hearing through noise and false responses. The more practice you have at this–the easier it becomes and the less likely you will need to depend upon Auto.
This principle also applies to running the 17” coil and I’ve noticed what a good “teacher” it is in that when you go back to the stock coil after using it the smaller coil now seems quiet (and light)–and easy to run “up high.”
Targets can also act as “teachers.” Just as with a pulse–when you are forced to work in an environment which is full of nails–it’s surprising how quickly you learn to listen for round sounds. With the CTX, those who want to learn to work in pure open screen have to really “train their ears” to ignore a lot of noise.
“Partial” responses and “cross-feeds” also teach you a lot about the CTX. These signals show you how the FE metric cannot be accurately captured with existing technology (although it’s being claimed by Minelab that the new Equinox’s “IQ” platform does just
that).
With a CTX closed screen like the Desanto program–notice how many responses that are well outside of the accept “box” sound off anyhow. This gives you a good look at how even a sophisticated machine like the CTX struggles to identify targets.
When you open the screen up, these partial responses require several coil passes to be knocked out.
You could say that the preceding information about:
-the target acquisition properties of Automatic Sensitivity.
-how closed screen programs need a delicate sweep.
…and…
how not all target sounds on the CTX represent the total object that’s under the coil.
…are cautions –required readingbefore you begin to accurately and effectively use “gold checkers.”
That said; these kinds of screens can save a lot of useless digging on signals that have no chance whatsoever of being gold. All that’s required is a simple flick-over to a P1 or “User Button / Previous Mode” setup. While there’s nothing wrong with the thoroughness of open screen digging, in some situations using “checkers” can be very effective. This may relate to your physical situation and the need to use time effectively and select responses to dig well:
-rough water where target digging is difficult. (Easy to lose signals and time consuming to re-acquire them).
-hunting in the dark.
-deep water where target recovery is slow or even risky.
-hunting in the weeds where digging is slow.
-hunting in coral chunks or river stones were digging is slow and difficult.
-ground where there are multiple signals–many of which are very similar to gold–such as rusted mid -conductor coins. I’ve worked sites where you could dig these for days and never get any gold and even to be able to knock out some of them constitutes a big plus.
10/ Setting up a Gold “Checker” with the CTX’s User Button
While hunting in your normal mode, select the program you wish to use as a checker. Then return to the first search mode. Press and hold the “User” button at right. Scroll down the list to” Previous Mode.” Now when you press the “User” button the machine will switch between your current and last mode.
Another way to accomplish this is to go to your second preferred mode when you switch off. Then when you resume hunting, move over to your first mode—then your second mode will be available through the “User” button. This gives you access to four search modes—the P1 and P2 of each of the two.
From: “The Minelab CTX Gold Hunter’s Guide” (2018)
A Cartier band found with the CTX 3030 using a”gold checker” system. These work well where you have a lot of low conductor targets that are similar to gold but not consistent signals.
Clive James Clynick is the author of some 19 previous metal detecting “how-to” books, numerus articles and product reviews. In this advanced, information-packed guide he shares tips and secrets of his many years of successful gold-hunting with the Minelab CTX 3030. Topics include:
Understanding the CTX’s Gold-Hunting Strengths and Weaknesses.
Open “Audio” and Closed Screen “Gold Box” Methods.
Interference and Stability.
Coil Control, Discriminate and Target Acquisition.
The “Signal Balancing” Approach to Getting More Depth.
I find most of my stuff going in behind hunter who want to speed things up by relying on discriminate mode. The reason for this is because I’ve learned that any discriminate feature is basically at the mercy of conditions. For example, there just isn’t a machine made that can consistently pick out a gold object in black sand.
Another site feature that affects accuracy is changing moisture levels. I’ve heard several seasoned detectorists say that their “secret weapon” at “hunted out” sites is to work them a set number of days after a rain storm. This also works in reverse in that moisture or dryness can obscure targets.
There is also the problem of multiple targets under the coil. While there now machines (the Minelab CTX 3030) that have the ability to trace and identify multiple objects at once, most machines lose accuracy in dense junk. I’m currently following the Internet posts of a hunter who is working an excellent site but can’t find anything because the machine he is using won’t separate through the multiple nails. When he tries a small coil, the depth is not enough to reach down to where the gold is.
Sweep error is also a bar to discrimination. This is something that becomes obvious when you use a pulse machine. Many of the targets you find are not deep at all but have simply been missed by VLF hunters who overran them working in discriminate.
When considering whether or not to use discriminate, it’s important to understand just how much interference there is in the ground and how it affects detector accuracy. This interference can come from hills and contours, changes ground’s composition, fast current or the depth of water.
Target position or inclination is another factor. While big, high conductive coins may be easy to detect, small low conductivity responses like gold are much more likely to be missed because they are sitting upended.
From: “The Gold Jewelry Hunter’s Handbook: Finding Lost Gold at Beach, Park and Shoreline Metal Detecting Sites ” by Clive James Clynick
clivesgoldpage.com
Detector discrimination of any kind is a useful tool for eliminating problem targets but can’t always be relied on to accurately report what is in the ground.
The advantages of running multiple machines is a subject I’ve touched upon in previous books. Since then I’ve learned a lot more about how matching the strongest features of a given detector can help you to act upon what you are learning about a location. As you begin to understand what challenges a site has it’s possible to match your objectives (such as coverage, depth, accuracy…) to the detectors you have to work with. There is no one detector that will accommodate all the site challenges that need to be met at various times. For the serious shoreline hunter–multiple detectors and coils for each are a must
For example:
Deep Sand=Pulse Induction or Large Coil VLF
Black Sand= Pulse Induction or Small Coil VLF
Dense Aluminum Junk =”Notch” or “digital target ID” methods.
Often what works will defy logic. I’ve hunted sites that a Sovereign or Excalibur (BBS) worked well, while a CTX 3030 (FBS) got very little depth.
Owning multiple machines also gives you a greater variety of “things to try.” At one black sand infested site I tried several machines hoping to get more depth. I finally discovered that my Excalibur with the 800 (smaller) coil actually punched through this black sand quite effectively because it examines a smaller “chunk” of material–and was therefore able to do the task of separating targets from it more efficiently. At the very least it’s best to have one VLF and one pulse. That way you have capability in both multiple targets and tough salt or black sand conditions. One top pro I hunt with is a die-hard VLF user. We argue about this frequently. While his view is that he doesn’t want to waste time digging all the junk, I argue that every time there is a king tide or other big influx of sand he has no course of action but to cover ground and hope to find recent drops, low areas or some solid edge material. This rarely works for him–whereas a pulse would let him go deeper.
The general idea of this book is to teach readers to be more effective by being versatile, highly accurate and specific in their methods. Running more than one detector can be a big part of this.
From: “Water Hunting: Secrets of the Pros, Volume II” by Clive James Clynick
Often where you have high general sand levels, the only productive ground will be at the bottom of any trenches or gullies. This can be only a six-step “swath”sometimes running along an entire beach. As well, the actual shape of these trenches is important in that where you have a trench with flat ground at the bottom (termed a “floor”) this can mean more productive ground to hunt. At the shore-ward side of a trench–a flat slope will often move away from the base or “marl” whereas when you see a low, curved contour–this can often mean ground that is low enough to keep more of the base within detector range. A trench that is abrupt–dropping off sharply, is also a good sign. This means that sand is being moved around with considerable force–rather then just the gradual, gentle contours that result from silt being washed around.
Where you see these formations in the water, try to spot something on shore to landmark your location with. This will not only help you to return and monitor the section but also to see if there has been movement–forward, back into deeper water, or laterally. As with the example above, having the patience to return again and a again to monitor a section that shows contour changes can result in some great finds.
From: “Water Hunting: Secrets of the Pros, Volume II”
clivesgoldpage.com
“Tracking” a Trench or Gully
These three rings were found in one trench–but it had to be monitored for several hunts first. First it gave up pennies and dimes, then quarters and lead–then finally gold.
Thought I would dig this illustration out of the new book and post it for those who want to sharpen their shoreline observational skills. These are the ways that a sidewall can change and when you know to watch for them it’s possible to predict strip-outs–when new targets are being exposed. One thing that’s missing here is the “king tide” pattern where you have a long sweeping waves which act to flatten out the edge altogether. This is usually not a very productive edge. It also helps to have some kind of “benchmark”–a structure on shore against which to gauge changes although with practice just the shoreline contour will be enough to alert you that areas are lowering. Another thing to watch for is scalloping or where you have long lead water inflow–indicating an area where there is stronger current. Then combine this visual information with what your detector tells you–the presence of newly exposed or corroded targets.
Illustration from: “Water Hunting: Secrets of the Pros, Volume II” by Clive James Clynick
Thought I would do a promo on this book my personal favorite. This isa book for anyone who wants to really get out there and operate at the highest level. It covers machine choices and applications, equipment handling, understanding grades, access, rough and deep water basics, shoreline dynamics, classification, exchange–things that some of the best guys in the hobby have taught me.
Shallow Water Metal Detecting: “Lessons from the Pros” By Clive James Clynick
Clive James Clynick is the author of ten previous treasure hunting books and numerous articles. In this detailed and informative book Mr. Clynick draws on his 30 years of detecting experience and that of top pros worldwide to produce this advanced guide for the serious water and shoreline treasure hunter. Topics include:
I chose this book to feature this week because the part at the back on shoreline grades, contours, classification, trenches etc. were what I had needed to learn for many years. The first season I began concentrating entirely on hunting the “marl”–my
finds really took off. At one point I did 4 1/2 ounces of gold (see pic) in four weeks. Most of the books of mine that interest people are machine specific so I feel a need to promote this one because it’s about the important question of “where”. When you understand your shorelines thoroughly–half the work of finding gold is done. The book also contains lot of solid, proven effective principles and methods for the beach and inland gold hunter.
The Gold Jewelry Hunter’s Handbook:
Finding Lost Gold at Beach, Park and Shoreline Metal Detecting Sites
By Clive James Clynick
Clive James Clynick is the author of 15 previous treasure hunting “how-to” books and numerous articles. In this detailed and informative book he draws upon his 30-plus years of detecting experience to create this unique guide to hunting specifically for gold jewelry with a metal detector at beach, park and shoreline sites. Topics include: ? Selecting a Gold-Hunting Detector. ? Gold in Your Neighborhood. ? Understanding How and Where Gold is Lost. ? Recognizing Gold Signals with any Detector. ? Accuracy and Skill Building. ? Managing Junk by way of Selectivity. ? Time Usage and On-site Course Correction. ? Understanding Shoreline Grades and Contours. ? “Marl Hunting.” ? Getting in at the Edge with Waders. ? Advanced Beach, Park and Shoreline Site Analysis.
…and much more.
$16.95 (100 pgs., 8.5 x 5.5 softbound).
Shipping (US) $ 5.00 / International $ 10.00
Ordering: http://clivesgoldpage.com
A Review:
Greetings !
Well, I went ahead and purchased the book The GoldJewelryHunter’sHandbook, by Clive J. Clynick and am really glad I did !
It’s a 100 page, 8.5 x 5.5 softbound and is ordered directly from Home | Clive’s Gold Page for $16.95 + Shipping (US) $4.00 / International $7.50.
I have two of Clive’s other books, but IMHO this is one of his best works on finding GoldJewelry. Now on my third reading and gleaning lots of helpful information !
The first 45 pages deal mainly with Inland hunting, which is my primary interest. After that, water hunting is addressed in great detail, including a good number of drawings showing various bottom contours and how to identify and hunt these situations.
In addition, there are several Diagrams to help explain certain points, a Conductivity of Metals summary, Resources listings and more.
This is one of those “must have” books for GoldJewelry hunters.
45/Downloading and Using Programs with the CTX ExChange Software
When I opened the graphics of the ExChange2 software I was a bit intimidated. Once I saw how simple and intuitive it was–it became second nature. First install the software from the disc and register.
Open up the program and source a program fine to download. I will be bringing as many files as can be found to my site:
This file will be placed in your “Downloads” folder.
On the right you will see a file titled: “File”. This is the “landing strip” for anything you want to bring in. When you click on “File” an icon opens up in the grey strip above–a square with an arrow in it–indicating “Upload.” Click on this icon and you will be asked to select a file–a Minelab (MLF) file. Look around for your file and double click on it. The program will then be placed in the “File” area. From there you can drag and drop it either into the “All” folder or into any of the “Collection” folders that you can chose to create. To create a “Collection” click the plus sign in e book at top left. This will bring up a set of choices as to how you will name, colour code and select an icon for this folder. Mine are: “Gold” and “Inland”.
Once you have brought in the programs you want to use you are ready to transfer them to the CTX. To do this unscrew the USB port on the CTX. Then insert the supplied cord into both the CTX’s USB port and the one on your PC or laptop. Momentarily, the detector will show at the top left–above “All”. The CTX will hold 9 programs, so to bring in new ones some may have to be deleted. To do this click on the CTX file and you will see al of the installed programs listed. Drag and drop the unwanted one to “Recycle”. These can still be restored later.
From “All” or “File” drag and drop any programs you want to install to the CTX area. To complete the install, go to the right bottom corner of your computer screen and click the upwards arrow to show items in the “Tray” . There will be a small icon of a finger drive. When you hover the cursor over it–it will say: “Safely Remove Hardware and Remove Media”. Click on this icon and the CTX will be visible as connected. Then click on this and the CTX will be ejected from your system. To complete the program install turn the CTX off. It will show that it’s downloading programs and shut off automatically when done. Be sure to thoroughly inspect the threads of the USB cap before securely replacing it. See the section above on securing this cap properly. You are now ready to hunt with your new CTX 3030 programs. Additional sources of CTX 30309 programs to try will be given in the Appendix of this book.
Each file can then be recalled and edited by clicking on the small “pencil and paper” icon in the right hand corner of each search program file. This will bring up all of its features and discriminate patterns to be edited. This is much easier than trying to make changes in the field.
All files can also be exported to be shared by e-mail or posted on “Facebook.” As discussed above, I’ve had good success downloading and testing custom programs from around the world to refine ones for my specific purposes–finding gold in the water.
The ExChange software also acts as a storage for your “GeoHunt” “Waypoint” and “Findpoint” files and these can be found under “All” and moved to where you want to store them.
From: “A Practical Guide to Finding Gold, Silver & Coins with the Minelab CTX 3030” by Clive James Clynick
I’ve certainly had worse years and still going yet. Couple of standouts in the front include a .50 rock, a 22 k band 7.9 gr. a Cartier band, a 14.7 gr. PT band and a lunker 18k band 11.7 gr. The chain is 20 gr. 14k cross 18k. I’ve heard people say that “it’s all in who goes over an item first” Disagree. Solid technique, knowing your sites and machines and a bit of luck are what’s needed these days. Please be sure to check out my products page. I’ve gotten some great tips and advice from top hunters over the years and it’s all available to you in my books.
50 Grams total–Russian chain is 14k pendant 18k 20 grams, the other pendant is 18k and the rest is 14k–largest band at center is 7.9 gr. Did a lot of work with the CTX 3030 and tested a few pulses. The CTX is a strong salt water performer–it was hitting small tabs down over 12″ using Andy’s Beach and (a modded) Jay’s Gold–my two standards. The two P2’s are great for open, low interference ground–Jay’s being a bit smoother with more rejection at the bottom. Also a couple of Ray Bans, and one set of Coach glasses (not shown)–about $100 each. As much as I like my pulse machines, the CTX 3030 gave me an edge over the locals-allowing me to use my time well and stay on the clean, prime low conductor signals. There just weren’t the deep sand / changing grade conditions that make pulse hunting effective. At one point I was hunting a resort and realized that a main entry path on shore was way over at one end–where there were not even any chairs on the beach. Going over there got me the 7.9 gram band.
When I noticed that the isolator on my CTX was staring to rotate a bit and shorten when I leaned on it the first suspect was that the soft carbon fibre was wearing. Turns out it’s the cam-lock. This can easily be solved by rotating it completely and looking for the worn areas that contact the lower wand–holding it steady. I then put a thin layer of epoxy on these two areas to make for better engagement with the isolator. Works well–nothing worse than a wiggly detector that does not stay at the length you set it to. The epoxy can then be filed as needed. Make sure that it’s moving properly before the epoxy sets!
Finding silver coins at inland sites is a great challenge. I also enjoy taking an old coin from the ground and wondering what the world was like when it was lost. Here’s some of the methods tthat have worked well for me.
1/ I always look for something that would cause silver to be lost rather than just hunting open ground. I focus on hills, seating areas around the shade of big trees, or sports areas. I also watch for tufted grass circles that indicate where a big tree has been removed.
2/ I try and scout the depth of the topsoil by looking at the depth and date of any pennies I find. This tells me how deep any silver would be lying.
3/ I use detectors that are good around iron. The Minelab Sovereign, Minelab CTX 3030 and Nokta Impact are some favorites. I especially like the Impact because it’s fast and reaches down into the iron range to give great targets separation. It also has great, clean audio.
4/ I also look for those areas which show signs of pre-1970’s activity. Dense bottle caps are a good sign. Where you have prime shade or other attractions–it’s a good idea to take a few of these caps out to see what’s underneath.
5/ I also try to “mix it up” using different sweep speeds, lengths and directions. In heavily hunted ground–always try working on the diagonal to bring up additional targets.
Behold the exquisite beauty of this rare “Oceanmaster Taiwan” snorkel.. These are not easy to find–there are even knock-offs around as they are no longer made. If you get in the habit of breaching more or less vertically the valve is bone dry–best I’ve seen. The tube is super wide for nice breaths. They come up on EBay from time to time–try to get a new one–they can be damaged up around the valve if transported poorly. The mouthpiece should be replaced with one that has tougher bite-sides–and not clear unless you don’t mind a sunburned tongue. I’ve added a flotation and keeper reinforcement–waves happen… And it goes without saying–beware of the Global Shipping Program–a racket if there ever was one…
This is an idea I’ve heard expressed by several top hunters. The trick is figuring out what that is. As the example below will illustrate, rather than just being discouraged by the presence of other hunters, it’s important to try and observe just what they are doing and how effective they are. The real test is being able to respond accurately. This may involve detecting deeper, working with more accuracy, hunting deeper water, putting in time at the edge, working in coral or rocks—any number of things. This is where versatility comes in. Several top hunters I know take this a step further and own hookah rigs for extreme deep water, (even dredges for super prime areas), and drysuits for cold weather hunting to take advantage of winter storms. Conversely, you may at some point find that others are doing what you won’t or can’t. This is where experience, skill and site knowledge come into play. It might not be the hardest way of hunting that works, just the one that’s accurate for the conditions. Even the type of scoop you choose the use can be a big advantage. I’ve gone into areas of heavily worked sites that had river stones. Because of my scoop’s “Euro-Point” I was the only one able to dig and found several gold rings that way. As well recently, many of my best, heaviest ring finds came from holes that others had made in poor dig attempts or digs that also contained a few bobby pins. Sometimes doing “what others won’t or can’t” simply involves re-checking the hole. This is especially true in rough surf environments where heavy targets will often be moved–and come to rest together.
Running multiple machines give you greater versatility. I’ve never owned a detector that didn’t more or less pay for itself sooner or later!
The concept of “trash tolerance” is also important here in that it’s the mark of an experienced hunter to know when to “turn this ability on” and when to cover ground more quickly just to get an idea of what the conditions are like. Anyone can dig for hours—the key is knowing when to decide that it’s worthwhile to do so.
One Caribbean site I hunt comes to mind. There is a sloped edge into the water that’s composed of very soft sand. While it doesn’t’ change that much, the hotel is expensive and the guests have a lot of expensive, heavy gold. Although the beach is hunted frequently, none of the locals understands the conditions. A slow, methodical pulse hunt on this soft slope always gets a few heavy 18k rings that are too deep for VLF (or even unaware pulse hunters). My point is that when you fully understand the conditions there are often a lot of obvious opportunities for you that others miss.
From: “Water Hunting: Secrets of the Pros, Vol 2” (2017) by Clive James Clynick
This is equally as important as the grade. As we move into examining the site conditions in deeper water, the texture of the material becomes more important. Sand texture determines whether or not there will be heavy targets present. A big part of “staying off the light stuff” involves being able to recognize when the objects you are finding have been moved to where they are by the waves and current. These will generally be junk–light coins, bottle-caps, tabs and other items that are basically your worst enemy. (It’s important to note that where there is strong current, even the presence of coins does not mean that there will be any gold present) A good term used by one Coney Island pro for this material is “fluff” worthless light junk, drifting around–like “dust bunnies”– and of about as much value. Working in this sand is a critical mistake in that it takes up time that could be better spent even looking for areas with better sand grade and texture. Where you do encounter soft sand, try to determine how deep it is, and whether it’s consistent. Are there any areas that do allow you access to more solid ground? The presence of soft sand does not necessarily mean that all heavy targets are out of reach. Only what you dig up can confirm how the sand texture, grade and strata are related. Corroded coins, gravel, clay– the presence of nails, or other dense objects are indications that you are on the right track. Nails in particular are a good indicator in that they are heavy enough to move and rest in much the same way as gold. At a site at which you do usually find nails, (or fishing sinkers), where you are seeing (or hearing) none, suspect that you are in overburden / new grade.
The kind of sand that is present can also relate to the season, (material that has been sitting up against edge ice over winter), the tide cycle, or wind and wave activity.
Although so many new pulse-hunters are concerned about the problem of having no discrimination with a pulse–the real question is not what a given target is, but more importantly: “What is this material, and what could be in with it?” There’s no use having a machine that searches 18 inches down if the sand you are working is too light to retain any solid targets.
It’s the dense, more solid material that will produce more often because it is more likely to have been there for longer. As well, it will be closer to the marl. Often where there is “mixed” (varied textures) ground the first thing I do when I get a signal is to dig my toe in and “swish” it around to get an idea of how the sand texture relates to the signal’s size and solidity. You can often tell that something is too light to be gold just by doing this test.
This superb 1940’s 18K band (11.7 grams) is an example of the kind of targets that pulse induction depth and careful attention to sand grades /textures will produce.
From: “Pulsepower: Findng Gold at the Shore with a Pulse Induction Metal Detector”
I thought it would be a good idea to write a separate section on identifying the ever-present bottle cap. One reason is because firstly many caps have a nice spongy sound that can initially be mistaken for gold. Secondly, with its multiple frequencies, the Excalibur readily latches on to the varied metals that bottle caps contain. However, it is the way that the detector acquires and leaves the cap signal that makes them identifiable. The Excalibur gets its discriminate accuracy by grouping targets into the frequency ranges that they occupy. With a cap, these are many; meaning that the detector has to work hard to make these multiple classifications. This causes a difference in the signal tone. Caps come in one of two ways. Shallow ones sound abrupt, with multiple tones entering at once. The deeper, rusted ones are long, drawn out signal–usually more recognizable as something that is not completely non-ferrous. Both will have multiple “notes” or pitches in the tone. As the detector tunes to the most central frequencies of the target the tone becomes smoother and even more likely to fool you, but in your initial passes where it is being compared to more of the surrounding ground, these multiple tones can be heard. This is the same “defining” effect that makes a coin sound cleaner and higher as you “wiggle” the coil across it.
Bottle caps can also be identified by how their varied composition causes them to enter the detection field. The detector must work hard to gather in a reading on all these metals and produce a tone response. This takes time and with practice it is possible to recognize the “lag” in response time when the coil is swept over a cap. Coins, gold and other objects which are not such diverse alloys respond more quickly and cleanly.
Another way to identify caps is that because they are composed of so many metals, the Excalibur does not always choose the same one to report. Changing your sweep speed and angle will often produce these different tones.
Identifying caps by tone and signal characteristic is something that is definitely worth putting in some time at the bench to learn. Side-by-side tests over ground are a good idea too, because these are basically coil control methods.
As well, the steel, tin and or rust in a cap are similar to the ground. This causes the signal to have a unique quality that results from the detector attempting to separate ground from target. The signal:
Drops at the ends as the ground / steel distinction is reported.
Has a clipped tone as the machine tunes out the steel (rather than the target’s natural “ramp up / ramp down).” In a sense the detector’s circuits shut out the target at the point where it resembles ground too much.
Most bottle caps also are what can be called a “radiating” signal, in that instead of being a smooth tone arc, more of the response is in the rough drawn-out edges that are this interaction between iron / steel and ground. Understanding how this “radiation” operates is the key to identifying most iron by using observing if the signal appears to move when approached from various angles. More on this below. Several hunters report that although they can readily identify a cap by its tone with the 10’ coil (described as a”broken crackle),” but with a larger coil, they sound like good targets. This is because the larger coil is reading more ground and reducing this down (confusing ground and steel) into a solid-sounding signal, whereas the smaller coil makes the distinction more cleanly. Some caps are high in aluminum content and will just plain sound good. In particular, one green-bottle premium beer brand makes caps that sound very close to a completely non-ferrous target and in fact, digging them is a good sign that you are accurate in making this important distinction.
Developing your ability to recognize bottle caps is a very important skill because there are just so many of them at most sites. There are also a lot of varieties of them. As with many problem targets, although there is no one “iron-clad” cap identifier, understanding these general principles and observing the sum total of a signal’s features will help you to make accurate calls.
From: “Beach, Inland and Shallow Water Treasure Hunting with the Minelab Sovereign Series Metal Detectors” by Clive James Clynick
Was very lucky to acquire this pristine Anchor Electronics Barracuda from a buddy who “knew I would take good care of it” just as he’s done. The super rare large coil is mint and has had preventive mods done to the hardware. This 9V detector is very deep, has superb gold optimization and the best audio of any pulse I’ve seen–letting you hear the caps, pins–even steel-clad coins with ease. It’s also good in black sand–down in the bottom of the trenches were the “lunkers” hide. Biloxi’s Jimmy Pugh made these six at a time and did a really great job on them right down to the silver solder. A lot of the information in “Pulsepower” on running and maintaining P.I. machines I learned from Jimmy–a highly knowledgeable guy and a great water hunter.
When I began hunting with the Sovereign and Excalibur, I noticed that a lot of signals had this segmented quality that usually meant that something was very close to the coil. A signal would come in with a wide, drawn-out sound, give a normal tone in the middle, then go out with the same long tone. As I began to examine what was causing this sound, I recognized that these were almost always targets with some iron or steel in them. The exceptions were objects that were very small and right on the surface. These “carryover” responses can teach a lot about how the Excalibur performs. In effect, what you are hearing is the machine trying to form a “bridge” between the steel or iron in the object and the surrounding ground–just as it does with a false signal. The difference is that this false signal is interrupted by a good one–the non iron / steel part of the target. This good signal makes up the “blip” in the middle, and the carry-overs are basically a reflection–the interaction of signal and ground. What this means is that if you are hunting for objects with no iron or steel, listening for signal with less of this carry-over
Understanding BBS All Metal Carry-Over Responses
effect can help you to tell which signals are not iron. This works well, although there are some exceptions. These exceptions show themselves by how much of the signal is in the middle portion versus the outside. As a rule, good signals will be louder in the middle, if they have any carry-over at all. Targets such as gold or coins with no steel will not make this sound, because there is no ferrous content to confuse the detector as to what is target and what is surrounding ground. Carry-over responses will be more pronounced with larger coils as these draw more response from the ground. Understanding them is a valuable tool for working in high-trash environments. Listening for this difference is especially good for telling bobby pins from earrings, chains or other small gold targets. As you progress in using all-metal mode to double-check responses, you should be able to tell which responses will give a discriminate tone before you switch over, by the width and carry-over properties of a signal. This should include recognition of steel alloys like most bottle caps too. Developing this skill will give your accuracy a quantum boost.
From: “Advanced Methods for Finding Gold in the Water with the Minelab Excalibur” by Clive James Clynick
Large numbers of people always increase your odds of finding something of value. These numbers can be in the form of day-to-day crowds or cumulative–the result of usage over time. At my local beach there is rarely much jewelry to be found. However around mid July we have several of what we call “overflow” days with exceptionally large crowds and beachgoers sitting in areas that are generally unused. These dozen or so days replenish the coin supply for the entire season, and because the numbers are sufficient, virtually all the gold jewelry that is found throughout the year is lost then. Its almost mathematical–the same every year with only one explanation–it’s a “function of the numbers!” While this applies specifically to beach and shoreline hunting, it’s an important principle–always look for the center of where people congregate. If there are three words that I can say to a newer hunter on the subject of “site-reading” they are: main, main and main–always look for what is main.” My experience from years of detecting specifically for jewelry has taught me the importance of recognizing this prime ground. I also believe in what’s called the “big find theory” which states; “Because there is more likelihood of any valuable item being lost in the busiest section of a site, there is an even greater likelihood of an extremely valuable object being lost there as well. ” It just makes sense that the least frequent event will occur at the most likely spot. No doubt any Las Vegas odds maker would agree.
Where you have locations that have produced before, there are often antecedent factors that will alert you to the fact that sufficient numbers are present. For example, I notice that for a season to have good beach hunting, there needs to be a string of hot days, rather than just a few here and there. This gets people into the habit of going to the shore. There may also be other indicators–such as how many coins there are to be found in a particular area. While this idea of “guesstimating” is discussed more thoroughly in my previous book ”Water Hunting: Secrets of the Pros” (Digdigdig Publications, 2005) it is important to mention that where you do see a history of items being lost or found, the pattern is likely to repeat. Some of the best site advice I can give is to “always defer to the tried and true,” and this usually involves following the numbers.
While more will be said about this later, one way to learn more about what makes up a good detecting site is to compare them. Often you will see sections of the same beach or park that seem identical but one will be good hunting and the other terrible. I mention this here because it highlights the importance of numbers, in that usually the difference between these locations can be traced to numbers–do people go to that location and stay? A glance may reveal evenly distributed crowds, but one section may be more of a transit route where people do not spend any time. Look for those locations where people are actually going.
Massive numbers such as on this Korean beach usually mean treasure, but there are other considerations that need to be examined to determine a site’s potential.
From: “Site-Reading for Gold and Silver” by Clive James Clynick
A buddy sent me these two beauties fresh from the Aussie gold fields. I’m so hooked–I’ve changed my scale from grams to DWT”S–“…get me Mr. Keene on the phone…!”
W/P TDI Pro: Great deep pulse but it could be more stable–especially in fast salt water. Really, its me that has a lot to learn with this one. Great to have a waterproof machine that’s gold field capable.t’s
Goldquest Aquasearch: An old standby that has great optimisation. The tune-albe SAT is also good on hills or interference zones.
Cuda: Jimmy Pugh’s machine is probably my overall favorite just because it’s nimble, deep and has superb optimization and depth.
White’s Dual Field: Found a lot with these too–deep and with nice audio. The coil size can be a problem in black sand but it has enough sensitivity to get chains too.
Minelab CTX3030: You can’t get a better “cherry-picker” for hunting gold in the water than the CTX. Could be better in fresh water black sand but in salt the stability, depth and accuracy make it a great workhorse for covering trash-laden sites fast and not getting bogged down on the junk.
I’ve had a lot of problems with my Dual Field units not tuning at preset Delay. There will be a strange, smooth overtone “hum” instead of the usual sharp crackle and no targets will respond to the coil. With this fault the machine needs to be turned up to almost one quarter before the normal t/h is heard. This is not the board or coil, but a simple moisture problem. The solution was taught to me by Bill Lahr–the SMPI circuit’s developer. Bill suggests setting the opened unit in front of a medium heat hair dryer for 10 minutes on, 10 minutes off. As you complete a few cycles you will see the proper t/h coming in lower–closer to the preset. To open the unit, sit in on the ground and step on the batteries with your dominate side foot. Then crimp the plastic spring with pliers–being careful not to pinch the board. Then get a flat screwdriver in the gap at the end and pop the cover panel off. Do the same thing with the actual board–being careful not to break the corner off. Then stand the board up and gently slide it into the end of the compartment–so that it sets in an “L” configuration. The unit can now be stood on it’s side. (It’s best to remove the cells so you don’t short anything with the side clips). Stand the unit about a foot back–testing to make sure there is not too much heat even once the drier has heated up fully. If this doesn’t work, make a cardboard partition to deflect the heat away from the board and focus the heat on just the pots array. If you have some Deoxit give them s very short spritz. Cheap contact cleaner is not a good idea as it will not dry completely. This is how to restore a Dual Field with this frequent moisture related fault. This same process is the way to dry out a flooded unit. It’s also the first thing to try with any Dual Field that’s acting up. (After removing any salt water residue).
$8500 Rolex Yachtmaster found with the Dual Field by Terry Cantin, Ontario, Canada
I have read all of Clive’s Excal/Sovereign/CTX/Pulse machine/general beach detecting books, they have paid for themselves over and over. I enjoy his writing style, as you can read quickly for an overview, then later read slowly to digest the fine points. He frequently talks about site specific problems, then explains how to work thru to a solution. The amount of experience that he shares is amazing. I recommend them without hesitation.
Our local beach has become a lot tougher in the past few years. It’s kind of funny to me because there are a lot of guys who consider themselves to be “pulse hunters” but they don’t really bring too much skill to the task. They dig everything–not bothering to size shape or contextualize their targets. They also leave all their garbage targets in the water–mostly caps. This has resulted in a site that’s “boiled down” to a ton of caps and pins. Few even have the skill to focus on the low ground. So now we have this army of hunters digging the same garbage”fluff” targets–again and again. These guys are not equipped to adapt to a changing environment by becoming more selective in what they dig. Digging everything with a pulse is usually a loosing proposition because of the factor of time. The key is to learn to focus upon the small, deep responses that are sitting in material which is solid enough to support gold. Time spent at the bench learning how various size objects sound at a given distance from the coil is time well spent. With a lot of pulses caps and pins can be readily distinguished. Just learning to turn a PI machine down will save a lot of needless digging. More information on understanding pulse machines and shorelines can be found in my books “Pulsepower: Finding Gold at the Shore with a Pulse induction Metal Detector” and “Water Hunting: Secrets of the Pros, Volume II”
All of my best and heaviest gold finds have been pulse finds.
Where there is not so much trash, open screen “audio methods” are more common. The idea is to examine a “composite” of a response’s features: consistency, tone, whether or not the cursor position is stable, target trace, and cross-sweep information. As a long time “reverse” hunter (acquiring signals in all metal and then checking them in discriminate) I especially like the way that the CTX interface is laid out for this type of approach. Alternately, you can set up the “User” button to bring in two more discriminate patterns to examine a response. To do this, press the “User Button” at the far right of the panel. Then go down two presses to “Previous Mode” and select. You may need to make sure that a second program has been used since you last shut down. Then you will be able to move back and forth between the two.
A large number of CTX hunters make their dig decision from the open screen information.
I’ll say this however: With a multi frequency machine like the CTX, a lot of target information is gathered. Much of this is what I’ll call “fringe” information—that is–information that represents how the target relates to the surrounding ground, mineralization, salt, ground contours and nearby iron. When you hear a signal in open screen—much more of this information is reported in the audio.When you go over to a closed screen pattern, what remains is a tighter, more muted signal.There’s a lot to be learned from this difference. Basically, when a target sounds good in open screen, it’s more likely to be good. Where you have part of that response blocked off, it’s bound to sound better. If there’s one method that’s helped me to stay off falses—especially in iron or where there are mixed targets such as bottlecaps, it’s been going back and forth between open and closed discriminate patterns. This is also evident at the beach where many responses sound “only half there”—muted, weak and broken. These will be the bottlecaps—ferrous steel and non ferrous tin or aluminum—with only the good half trying to report. Basically the CTX is splitting the target in two—and reporting the more consistent half. So you have two models:
1/ In Open Screen the entire target is heard—likely to be a rougher, more varied audio response with a more scattered “Smartfind” screen response—a bouncing cursor. (The exception would be a clean solid target such as gold or silver).
2/ In discriminate (Preset Beach P1 for example), you have a much better sounding signal as all of the other less consistent parts of the response will be knocked out. This is true even if these “bad” parts constitute most of the response. This can be deceptive and result in a lot of unnecessary digging.
In several of my previous books I’ve tried to explain how many types of signals are “connected” (electrically speaking) to the ground. I term these “Infinite High and Infinite Low” responses. These would be those targets that are more similar to the ground—either at the bottom (such as small, decaying foil or tin) or at the top—such as big iron or something that overwhelms the discriminate circuit at its uppermost range. These will be the targets that alternating open / closed screen signal testing will reveal. So when you hear a louder, stronger sound when you switch to open screen, you know that in discriminate–only part of the signal was being heard—its part iron. Again, this is why target sizing is so critical with the CTX. In open screen you are hearing all the parts of a target that would be knocked out with a few coil passes—“boiled down” to the closed screen initial pass (es) version.
These will usually be those responses that are some distance off the “12 line”. This is an especially effective way of determining big iron or spikes that are mimicking a deep coin. The “High Trash” separation mode is especially effective at showing iron targets up by displaying a cursor that’s off the “12” line. As well, this mode only sounds off on targets that are within the discriminate accept pattern—an added check to incorporate as a second mode by way of the ”User” button “Last Mode” feature.
Another, simple basic “tell” for CTX falses is a jumping cursor. It’s worth noting here there that coil control plays a role here in that a wide sweep may be getting more than one object. I’ve seen hunters take the time to use the cross sweep (in “Sizing Pinpoint) so as to determine which way (North / South / East West with North being the far edge of your coil) a spike was sitting by listening for the double tone. (See “Sube” below). From there they are much better able to determine if there are any other responses present by using Target Trace and repeated coil passes.
Put simply, there are things that no detector is “immune” to. The more high gain sensitivity that you want to put into the ground to bring up signals, the more will be the possibility of iron objects mimicking deep coins. In addition to the basic “In Keeping” type methods detailed above the most basic test is probably the most effective—switch to Automatic Sensitivity or turn the Sensitivity down and re-check the signal. If it’s a lot weaker or is now broken—probably iron.
I think that this is an important thing to realize with the CTX. As with any detector, some iron objects, by their size and conductive features will mimic non-ferrous targets. The FE reading will usually show these as FE “35” but what’s to be learned here is that there is still a paralleling of the two indices—that they are not mutually exclusive. So with some alloyed targets you get the “split” such as with a bottlecap—the machine is trying to read two sets of characteristics at once—ferrous and non-ferrous. With others you get a straight “bleed” where ferrous shows up as non-ferrous. Besides the FE reading, and the Target Trace pattern the obvious test for these is the good old wide or narrow determination. Rather than being some defect in the machine, these “falses” and “bleeds” teach us about how all detectors separate ground from targets and iron from good metal.
From: “Finding Gold, Silver and Coins with the Minelab CTX 3030”
In previous books I’ve tried to teach hunters to understand the shoreline features that determine where gold will come to rest and be held. Learning about how these features operate is the difference between a focused, well thought-out hunt and relying on pure fluke. Let’s quickly define and clarify a few of these for later reference:
Grade
The grade is the overall shoreline sand pattern. How much sand is there? How does it slope at the shore? Is it flat or contoured?
Stratification
Stratification is how the various levels of material relate to one another. How deep do you have to dig before you reach denser, more solid material? How many layers are there? Which layers are solid enough to support heavy targets? What age are these targets?
Sand Contour
Sand contours are something that’s looked at thoroughly in “The Gold Jewellery Hunter’s Handbook” (2015). Understanding these patterns is critical to success. What shape are any trenches or gullies? How deep are they in relation to the overall grade? What parts of these low areas are within detecting range of any heavy targets?
Sand Textures
Understanding sand textures is also an important part of determining where the heavier, more solid targets can be found. I pluralize the word “textures” because understanding this site feature is about making comparisons between different types of material. Lighter material that drifts in as silt will be unlikely to hold any heavier targets. It is temporary. More solid, hard packed material will be more permanent and retain targets. Another part of understanding this feature of a site is how these various sand textures relate to the current. Is the wave action strong enough to move material? From where to where? How quickly is this happening?
Precipitate
Closely related to sand textures is precipitate. Precipitate is the end result of this process whereby ground is covered and objects are buried deep. For example, at my local beach sand is continually blown inshore onto the grassed areas. Therefore any silver coins present there are very deep. In the water, seasonal changes can bring sand in close to shore during the winter and remove it in the summer–exposing old targets.
As well, understanding the process of how objects are moved and deposited at the beach is also critical knowledge–often making the difference between a highly successful hunt and getting “skunked:”
Exchange
Exchange is something that happens on shorelines that have some level of wave action. Where you have a faster wave interval, more material is pushed in than is drawn out. When the waves subside, this same material falls back out into deeper water. Sometimes objects are carried in with this sand and deposited either permanently or until they are dragged back out. Understanding this process can explain how some sites seem to replenish themselves, or conversely, be full of signals one day and empty the next.
Classification
Classification is the process whereby objects are grouped according to weight and density. It is the result—the dependant variable of all the other shoreline features. This is something that shoreline surface hunting (by eye) can teach you a lot about. One place I search for artefacts had been an old incinerate dump from about 1900 to the 40’s. It contains a wide variety to materials—from stone and brick to Bakelite pieces and metals—brass, copper, lead, iron and steel. It’s a fascinating study because every one of these material will be placed separately along the shore by the current. To find gold (lost in garbage) and silver coins, one needs only look for other dense, heavy similarly sized objects and begin sifting.
There’s also such a thing as “levels” of classification. By this I mean the degree to which objects will be classified within the strata. At some locations, there will be heavy targets available relatively close to the surface. At other locations (or times), wave action will combine with soft sad textures to drive any gold (or even coins) deep. This also relates to seasonality. During “on-season” there will be more recently lost items then remain near the surface whereas in winter or during the off season there has been more time for the waves to classify targets.
Classification is the most important thing to understand of all and learning to look for the clues and indicators of how classified / stratified a site or section is critical skills. It’s kind of a paradox–if you want to find big, heavy gold–learn about sand–sand levels, sand textures, sand contours and sand grades.
(I will to go into greater detail about how these factors affect shoreline treasure hunting success later on in the book).
From: “Water Hunting: Secrets of the Pros: Volume II”
A top pro buddy of mine says this often. While there are certainly such things as “anomaly” finds, where you have ground that produces gold and silver consistently, there is always more to be found. These finds may be currently out of detector range. This is another important area of observation–understanding the overall strata of a site, and watching the grade of these busy areas for changes. At inland sites, changing moisture levels can also bring up new signals where there had been none before. More generally, the precise set of conditions that are needed for gold to be present at a location are not that common. Your best clue to where gold can be found is where it has been found before. This is where experience comes in. Every gold target you find has valuable information to tell. How many people had to enter the water or sunbathe at a spot for a gold item to be lost? What sand levels were needed to expose it? Was it lost at that spot or moved by the current? All of this information comes from that first find–pointing you towards the next one.
In previous books I’ve tried to encourage new hunters to examine their sites in terms of “numbers (of beach goers), dollars, and activity. These factors will often explain why some areas are good and others not. However, there aren’t always clues to follow to a logical conclusion. This is when the past results you have gotten in a given section become more important in directing your search.
From: “Water Hunting: Secrets of the Pros Volume II”
I’ve mentioned target classification briefly in previous books—the process whereby objects are grouped within the strata based upon their weight and density. While I’ve always known this to be true–I didn’t know just how so–and how dramatically it affects your chances of finding some gold. I also recognized that there are different levels or degrees of classification. By this I mean that at some locations pretty well all targets are available–this may be post-storm with everything stirred up or the result of a shallow base–gravel or coral just below the surface. The other extreme (like Wasaga Beach) is a location where winter storms, and dramatic season to season changes make for the extreme classification of objects. This means that heavy targets are very deep and a lot of the time, only the lightest objects that are moved by the current are within detecting range. It’s important to remember also that anomalies (a few heavy surface finds) do not make a rule. As a rule, under these conditions, only the very lowest ground is worth hunting most of the time. Sure, during on-season there are “fresh drops” but with high gold prices, these are fewer now. More typically during the rest of the year (you may be fortunate enough to hunt somewhere with big swimmer numbers in the water year round) you are at the mercy of the site grades and sand conditions. When I began to accept this fact– and stopped hoping that some lunker chain would levitate to the surface of the sand–my finds took off. In a four week period, I found four and a half ounces of gold. This all came from the most heavily hunted section of ground in Canada—worked almost daily by locals. You could say that I began to concentrate on where the gold was–not where I hoped it would be. When you learn to do this, physics–gravity becomes your ally instead of your enemy.
It’s important to remember that all sites classify–not just those with big waves coming in. The gentle, relentless movement of the water jostles the sand–forcing heavier objects deep and grouping them horizontally. The extreme comparative density of gold makes it sink in any kind of sand. It stays down at marl (base) level until a major storm either moves it or it’s uncovered by grade changes. These changes have definite features and pre-indicators that can be recognized with practice. This is where your general experience of hunting a location comes in. All of your other observations key on your understanding of the general grade–that is when you have found heavy targets before–how far down have they been? How far from shore?
You could liken this to a mental line that you draw from shore–going out and sloping downwards. When you know the angle that this line proceeds on–half the job is done.Everything else follows from this understanding of the overall grade.
From: “The Gold Jewelry Hunter’s Handbook: Finding Lost Gold at Beach, Park and Shoreline Metal Detecting Sites”
Some keeper gold and watch finds from the last 10 years or so.
I find most of my stuff going in behind hunters who want to speed things up by relying on discriminate mode. The reason for this is because I’ve learned that any discriminate feature is basically at the mercy of conditions. For example, there just isn’t a machine made that can consistently pick out a gold object in black sand.
Another site feature that affects accuracy is changing moisture levels. I’ve heard several seasoned detectorists say that their “secret weapon” at “hunted out” sites is to work them a set number of days after a rain storm. This also works in reverse in that moisture or dryness can obscure targets.
There is also the problem of multiple targets under the coil. While there now machines (the Minelab CTX 3030) that have the ability to trace and identify multiple objects at once, most machines lose accuracy in dense junk. I’m currently following the Internet posts of a hunter who is working an excellent site but can’t find anything because the machine he is using won’t separate through the multiple nails. When he tries a small coil, the depth is not enough to reach down to where the gold is.
Sweep error is also a bar to discrimination. This is something that becomes obvious when you use a pulse machine. Many of the targets you find are not deep at all but have simply been missed by VLF hunters who overran them working in discriminate.
When considering whether or not to use discriminate, it’s important to understand just how much interference there is in the ground and how it affects detector accuracy. This interference can come from hills and contours, changes ground’s composition, fast current or the depth of water.
Target position or inclination is another factor. While big, high conductive coins may be easy to detect, small low conductivity responses like gold are much more likely to be missed because they are sitting upended.
From: “The Gold Jewelry Hunter’s Handbook: Finding Lost Gold at Beach, park and Shoreline Metal Detecting Sites”
by Clive James Clynick.
A few finds from the past few years: CTX 3030, Whites Dual Field, Anchor Electronics Baraccuda, Goldquest Aquasearch,…
Compared to the challenge of finding gold jewelry at inland sites–coins are easy. For one thing, as you go further up the conductivity scale, there are fewer targets–not so with the middle range. Also, as the price of gold has risen, there is less around. However, the amount of trash in the ground is still the same. This means that it’s necessary for the gold hunter to have a very solid understanding of just what kind of signal he or she is looking for.
Coin signals are pretty specific–a round high conductor. Because many coins contain metals that blend with the ground–corrode, coin signals can have what I’ll call “infinite” characteristics. By “infinite” I mean those signals that can’t be distinguished from the ground all that readily. They may resister partly as low iron–because they are rusting. They may resister partly as being too big or overloads. This is true of any object that contains steel or corroding metals. These metals include nickel, tin, brass, bronze, and low-grade aluminum. I mention this because gold is the opposite. It doesn’t corrode at all (the exception would be very poor quality 9 karat that’s been in the ground a really long time), and presents a narrow, distinct (in electrical terms) response. This response can come in anywhere from down into the foil range (with some important differences that will be discussed below) up to just below where a quarter would come in. While there is certainly big gold around, as a generality, this should always form a solid upper cut-off in your signal selection. As touched on above the simplest way to describe the gold signal–that should inform your dig choices constantly is that it’s “a very good signal”. That does not necessarily mean that gold is big loud signal–because that often means a high conductor. Instead, what we are talking about is a clean, even tone. This is where object shape and coil control come into play as well. Some misshapen objects such as bracelets, crucifix pendants, odd shaped earrings may give off a broken signal but it will still have overall good characteristics. Sweeping fast over an object fast may cause it to give an uneven signal. What you won’t hear is a rough, broken signal.
Another difference between any object that rusts or corrodes and a gold target is that gold has exceptional consistency. With many detectors, the way to tell gold from foil is to speed up the sweep. Because foil is such a low conductor, it’s much closer to the ground’s signal and therefore does not stand out as much–the signal breaks up. With gold, the response becomes sharper.
Another gold signal characteristic is that because it’s such a good conductor, the signal “carries” well. I mention this here to emphasize how important it is to bench test your detector so that you know just how deep it goes in each mode. This way you can not only tell how deep an object is, but also how good of a response it is for it’s size–that is how well it’s coming to the surface from the depth that its sitting at. Gold is also recognizable in this way—especially when it’s deeply buried.
My more general point is that because gold is such a good conductor there is an array of resultant signal characteristics to recognize it by. These may not evident one by one–but in combination–as a group of signal characteristics they give you a pretty good idea as to what you are looking for. Also, I purposely avoid mentioning any detector types or brands in this discussion–because these signal characteristics are universal–and can be observed with any machine–from the $60 “stick-beeper” from Wal-Mart, up to the state-of-the-art unit. The importance of recognizing these basic signal characteristics far outweighs the value of any detector target “ID” system.
So what you have is a much more precise set of characteristics than a coin would present. However, these characteristics may come in at a wide range of the conductive scale. Let’s list these characteristics for clarity:
• -a narrow response on the ID scale–not jumping around (coil control notwithstanding). The polar opposite would be something like a bottlecap that’s alloyed with multiple metals.
• -a clean, distinct response.
• -in audio terms, a sharp response.
• -not usually broken but may be uneven (coil control notwithstanding).
• -good “carry”–strong even though small and / or at depth.
• -repeatable
• -usually round or at least sounding about the same from any direction–sweep speed notwithstanding.
• -finally, in all-metal mode, we are looking for a signal that response “under the coil” that is something that is not a long drawn out response. (More on this under “Coil Control and Gold” below).
The Sovereign and Excalibur were my first introduction to a kind of detector that has a heavily processed signal. What I mean by that is that a lot of things happen in-between ground and headphone. With this kind of machine, if your settings are correct–there’s a lot of benefits, but if you try to push the sensitivity to hard–you will lose depth. With a pulse or single frequency detector, you hear every nuance of the ground. With multi frequency machines like the CTX–the signal “rides above” a lot of these ground noises. The tradeoff is that its a lot harder to tell how the detector is performing. It always sounds like “all is well”–but sometimes it isn’t. A good example with the CTX is black sand–the complex signal and viscosity of the black sand just don’t mix–reducing depth by about 1/3rd. In salt the CTX will get rings down at 15, or 16″ plus whwereas in black sand this is cut way down. Running Auto Sens doesn’t help much. I prefer Manual because Auto doesn’t teach you anything. With manual you are forced to address the machines shortfallings by developing your coil control skills in response to threshold changes. For me, this is the key to getting the best performance from the CTX. Manual also lets you run a more aggressive level–instead of continually dropping down over minor ground changes. These changes can be dealt with by way of coil control. I usually run Andy’s Beach program as a search mode. In dense trash or noisy environments I run Jay’s goldProgram–with a few modifications. This is a great set-up for picking through multiple targets efficiently. Andys program has good depth and the P2 has some edge rejects to run in open (slow) water for more depth. I use the “Last Program User button” to go between the two. With the 17″ coil it’s a good idea to try and avoid closed screen programs to reduce the amount of work the machine is doing. I then use Jay’s Gold as a checker. This is an important part of running the CTX effectively–to recognise that it has limits in what it can do at a given time–slow, even sweep speed, and less discrimination will get you more depth and less overrunning of small targets. More information on running these programs can be found in my book: “A Practical Guide to Finding Gold, Silver and Coins with the Minelab CTX 303.’ I like to think that this book is a bit more advanced than anything else that’s been written on this detector. There are also a variety of CTX 3030 programs available for download.
A lot of bands. Best in the middle: rock 50 pts in 18k, a ban d 18k 7 gr., PLAT 14.3 gr., 18k 11.3 gr. & A Cartier band 18K 7.2 gr. Total 3.9 ozs. I’ve g0tten good results with the CTX 3030 using Andy’s Beach and Jay’s Gold programs and my trusty Dual Field–a very solid and versatile pulse machine.
Thought I would post this just to say what worked. Obviously a ’66 quarter is nothing to run screaming with but here’s how I got it from a new park site. First I looked for the old-growth trees. Then I started hunting around them paying attention to the depth meter. These readings were encouraging–showing targets down at 5″ plus. The first coin was a newer ’70’s cent at 4-5 ” reading at 43 on the CTX. This meant I needed to look for slightly deeper signals. I also sampled around at the bottoms of some hills to get an idea of how much usage the place had seen. There were mostly penny signals, but these showed some activity from hikers and picnickers. I settled on one section beside a fire pit that had lots of foils, tabs and cap signals but this meant an activity center–likely with some horseplay. Amongst these was a 12-46–at 6 to 7″–the quarter. Mowers had broken some cans so there wasn’t much point in looking for gold responses although were there a defined ball toss or sports area those would be diggable signals–just not the right kind of activity for gold there. Hope this run-down is of some value to new hunters.
Some old stuff from the last few seasons. These came from assessing the overall grade and looking for the lowest ground.
10/ Grades: “The Big Picture”
The overall grade of a shoreline site is the most important thing to understand. This is critical “make or break” site knowledge. I’ve even seen top pro hunters get into a site and waste time up on ground that was just too high to have any heavy targets–they just weren’t seeing the “big picture.” It’s also important to recognizance the fact that there are different kinds of high ground. First there is high ground that’s part of solid, unchanging grade. In that this ground is stable–there’s a chance of it having some good finds. This material changes slowly and because of this permanency, it gives you access to more time of the site’s functioning. At other locations the grade can be poor–bare coral with no targets, or hard pan inches below the surface–again–critical knowledge, but these facts still have to be discovered .
Second there’s overburden. This is material that has been pushed to a location as silt. Waves or currents have dislodged material and caused it to build up in a particular area. By its nature it cannot contain anything heavy and usually the only metal objects in will be flat sided ones–dimes, caps and tabs that are tossed and rolled with the sand. This is an important principle to understand–the distinction between items that can be moved with the current and those that can’t. Many sites present this way in spring–winter storms have classified targets according to how they respond to the actual waves–by weight and shape. Where you see this type of targets–with a few pennies and dimes mixed in–this is overburden sand. Clues that will allow you to understand the overall grade are:
-how it “eye’s up” in relation to the rest of the grade. How low is the ground? I often look at how high the water and sand levels are by looking at swimmers at different parts of the beach–where you see people is waist or chest-deep water close to the shoreline–go there right away!
-correspondingly–how close to shore you are. You are always more likely to access more solid material in close to shore. In a previous book I suggested that readers look for “the deepest water, closest to shore”–worth repeating here.
-the kind of targets coming up—as mentioned above—tabs, caps and pennies area bad sign, quarters, fishing sinkers and iron are good signs.
-the consistency of the material you hit when you dig. Black, grey sand, gravel, shells are good signs, wood, leaves, “bog” material are bad signs.
These ‘tools” for assessing the overall grade of the sites you hunt should
shape your entire strategy–directing you to focus upon a particular section or–keep scouting around for better ground.
From : “Water Hunting: Secrets of the Pros, V olume II”
Exchange is something that happens on shorelines that have some level of wave action. Where you have a faster wave interval, more material is pushed in than is drawn out. When the waves subside, this same material falls back out into deeper water. Sometimes objects are carried in with this sand and deposited either permanently or until they are dragged back out. Understanding this process can explain how some sites seem to replenish themselves, or conversely, be full of signals one day and empty the next.
Classification
Classification is the process whereby objects are grouped according to weight and density. It is the result—the dependant variable of all the other shoreline features. This is something that shoreline surface hunting (by eye) can teach you a lot about. One place I search for artifacts had been an old incinerate dump from about 1900 to the 40’s. It contains a wide variety to materials—from stone and brick to Bakelite pieces and metals—brass, copper, lead, iron and steel. It’s a fascinating study because every one of these material will be placed separately along the shore by the current. To find gold (lost in garbage) and silver coins, one needs only look for other dense, heavy similarly sized objects and begin sifting.
There’s also such a thing as “levels” of classification. By this I mean the degree to which objects will be classified within the strata. At some locations, there will be heavy targets available relatively close to the surface. At other locations (or times), wave action will combine with soft sand textures to drive any gold (or even coins) deep. This also relates to seasonality. During “on-season” there will be more recently lost items that remain near the surface whereas in winter or during the off season there has been more time for the waves to classify targets.
Classification is the most important thing to understand of all and learning to look for the clues and indicators of how classified / stratified a site or section is a critical skill. It’s kind of a paradox–if you want to find big, heavy gold–learn about sand–sand levels, sand textures, sand contours and sand grades. (I will to go into greater detail about how these factors affect shoreline treasure hunting success later on in the book).
From: “Water Hunting: Secrets of the Pros, Volume II”
This has been a very long and detailed project. At first it looked like the TDI Pro board would go into a UK case but it was a tiny bit too small and would have needed Vishay pots. These are much more durable. The new Pelican 1170 case is for handguns–quite big but given that many who have tried this project gave up owing to the heat dispersion problem the more air space the better. This one runs at the same temperature as in the original land case. The original plastic pot spindles have been replaced with brass–to increase heat dispersion. The board is shielded on all sides.
A very hard week in the water against some very tough competition. I used some of the methods described in my new book: “Water Hunting Secrets of the Pros: Volume 11”-assessing the sites fully and determining when it was necessary to cover ground, get depth with my pulse machines (Dual Field, CS6PI), or pick though trash and iron with the CTX. Like I’ve heard some of the best hunters say–“do what others can’t–or won’t.” I focused upon keeping an eye on the spots with big numbers in the water as well as those places where there are periodic strip-outs and grade changes. I like to work the high interference areas (slopes) with lowered settings and the depth of water where people start to swim. The best band in the middle is 18k, 11.4 gr. (guessed it at 11.5!) with a few others in the 7 gram range (front row all 18k, second 14). Wish I had detected the teeny chain (4.3 gr. 14k) actually spotted it hanging from the basket digging a coin, and the big earring was in with a spike. Biggest 14k band is the white one 7.6 gr. Total 61 grams $2400 CDN. Also an Apple watch that might be salvageable. clivesgoldpage.com
My new book is an advanced guide aimed at helping the serious shoreline treasure hunter to fully understand the sites you hunt and become more versatile, accurate and effective in your methods.
“Water Hunting: Secrets of the Pros: Volume 11”
Clive James Clynick is the author of some 18 previous detecting books and numerous articles. In this detailed and informative guide he shares tips, tricks and secrets of top hunters including Caribbean pro Roland “The King” Dalcourt. Topics include:
• Developing Your “Treasure Awareness.”
• Discovering and Applying Your Machine’s Strengths and Capabilities.
• Advanced Shoreline Site Analysis: Grades, Strata and Classification
• Roland “The King” Dalcourt: What Makes a Top Pro?
• Understanding and Applying “Wide Net / Narrow Mesh”
A very hard week–ran the CTX3030, the Whites Dual Field, and the CS6PI. Fought the seas hard for every one of these–my “coach” Roland was impressed. Extreme sanded in conditions–had to really look around for any decent ground to work. 6 Got a Cartier band, 7.2 gr, a PT band 14.3 gr. a 14k, 7.9 gr. signet at left, and in the middle a 14k 7.7 gr. band and a 4 gram 18k ring with .30 rock at right. Total 1.86 oz. I’m counting the Cartier band by weight only–seeing them for $795. on Ebay but it need to be cleaned and authenticated. Learning a few more things about when to run the CTX open or closed. Got the PT band on a hill–high interference zone–I think running Andy’s Beach prog helped because of the beach mode type rejects. Drayton’s prog works well for this too–both cut out the bottom end seabed noise. DF went down at least 20″ on one band it sounded like a dime on the surface–great “bread and butter” pulse machine with it’s fidelity and super depth.
This is another machine value that can be effective–but not in any situation. As with any of these tools there is a trade-off to be mediated. An accurate machine is not necessarily the one that will go the deepest. It may also mislead you due to sand or soil conditions, target inclination, masking or any number of factors. An “accurate” machine may also mislead you due to the similarity between what you are looking for and the junk that’s present. Targets are more likely to be masked by iron as well. Under the right conditions though, an accurate machine can save you a lot of needless digging—helping you to zero in on middle range responses, high silver signals or even help you to knock out the most common tabs.
Just how effective this machine value will be is wholly dependent upon how much site knowledge you have gathered—and how true your assessment of the location is. The point here is that your need for accuracy has to be weighed against other site factors. Let’s look at some of these factors:
Question: Will an accuracy-based approach be effective?
This can vary–and it’s here that the decision making comes in. If you are using a metered machine (especially digital), checking your targets in all metal and on the cross sweep, you are accomplishing a pretty good level of accuracy.
However, if you are trying to “cherry pick” signals out of iron, or from fast, rushing salt water–a more “wide-open” search method might acquire targets better.
How much potential does the site or section have? An area that has proven itself to produce good targets might also warrant an all-metal (or pulse) search.
How much time do you have? A short hunt might require that you do try and “cherry-pick some key areas”
How much more effective can you be by taking the time to conduct a slower, more concentrated all metal search? I’ve never seen a detector that didn’t get more signals in all metal, but for the beginner there’s also the question: “Do I have the patience (yet!) to examine a large number of targets in all-metal mode?”
A pulse machine will for sure be more effective in that it not only goes deeper, it also separates small gold from any sand / soil better. If you have that option this brings up the question:
“Does this ground warrant a pulse search?”
Or, in more severe conditions:
Does the amount of junk that’s present demand that you use an accuracy-based approach?
While this may seem like an involved set of questions–some maybe better answered by just “getting in there” the point is that not every site can be effectively hunted in discriminate mode–at least not thoroughly The mark of a seasoned hunter is to be able to recognize that something else is called for–and to be able to operate your machine this way if need be.
Automatically responding to difficult sites by adding more discrimination to your search method can be a costly mistake.
Ed. Note: The new one is about letting the conditions dictate–understanding shoreline conditions fully and bringing to bear what’s need to respond effectively.
Context: Discussion of machine (capability), hunter skills and equipment choices as “values” to be mediated in relation to site requirements. “Accuracy” represents a machine “value.”
From: “Water Hunting: Secrets of the Pros, Volume II” (2017)
My name is Clive James Clynick and I’ve been detecting since 1980. In that time I’ve had the opportunity to hunt treasure and trade notes with some top pros–both in Canada and the Caribbean. The result has been some 18 book titles on understanding shorelines, and getting results with specific machines–among them: the Minelab CTX 3030, (my site also has a library of programs for this machine), the Minelab Excalibur, the Minelab Sovereign, the White’s Dual Field and several others. I also have books on finding gold with pulse machines, hunting specifically for gold jewelry, and three with pro-level tips, tricks and methods for shallow water detecting success. Hope you are all planning and getting ready for an exciting and successful treasure hunting season. Good Luck Detecting!
Quite a beautifully crafted Russian chain, 14K tri-tone 77 grams. Found by Roland with the Minelab CTX 3030. We’ve had good results with this detector using such settings as “Andy’s Beach” and “Jay’s Gold” programs.
These are from a week-long hunt with the CTX 3030. Total is 1.55 ounces–26 grams of 18k. I also used the CTX 3030 with the 17″ coil. This coil got me down to gold that had been in the ground so long that it came out green.
Thought I would put up a picture of this great custom scoop that Chuck from Sunspot Tooling made for me. It’s a 720i, extreme angle with an aluminum / wood travel handle and a Stout’s Backsaver grip. This scoop has gotten me a lot of gold –even in digs that others have given up on. You can stand on it straight up and down so it digs in river stones and broken coral. In fast current you can shove it underneath a target and lever it up fast as you are being pulled past. Just the basket size is a huge plus too as I frequently have to dig four or five times to retrieve a target. A scoop like this is especially important if you want to use a deep search machine like the White’s Dual Field or the Minelab CTX 3030 / 17″ coil. The lanyard lets me work up to 8 feet of water by jumping up on the scoop without loosing hold of it. I can also drag instead of carrying–with the cord over my shoulder.
These are two of my best chains found with the Minelab Exalibur and Whites Dual Field pulse induction. The one with the cross is 14k, 89.9 grams, the other one is 14k, 159 grams with 120 diamonds appraised at $30,000 CDN.
These guys are top notch pros and once they had the Minelab Excalibur basics down proceeded to recover gun parts from the nearby lake that allowed a murder case to proceed. FYI, in police dive team slang a body in the water is called a “package.” I like to think the picture resembles where you have the plainclothes Inspector briefing the squad before a raid…deep in thought…lives will be lost today…
Roland moved South from Montreal 12 years ago and is now one of the top pros in the world. His detectors of choice are the Minelab CTX 3030 and Excalibur. His finds include (as shown) an $18,500 solitare (2nd from right) a $15000 Chanel piece (at left) a 90 gram 18k Russian chain (top left) and a Choppard chain 2nd from top left. This is just from the last couple of years. Roland has taught me ton of things about shorelines, sand grades, tides and equipment handling. He’s my “coach”.
Wouldn’t have given much for what I though was left in this section of park but the Makro Racer came though. Won’t name names but I have worked it very hard many times. Makro Racer Tips: Really getting some accuracy now by:
-looking for targets that have something left on the cross-sweep or even a lessor angle. Probably missing a few this way but it’s working for now.
-staying off the “94’s”(when silver hunting) something corroded or with steel although a closely masked silver or a copper coin is possible.
-nice narrow all-metal (PP) tone–fainter the better. If it ratchets down to a clipped sound it is likely too big.
-initial tone with good extension.
Merc came right up to “90” whereas the coppers stay down at “84/5/6” (although not all silver does).
Merc’s a ’43 and a Canadian 36 nickel.
cjc
It’s 18k, 22.3 grams. The Makro Racer’s 14 kHz operating frequency is great on the small stuff and low conductors. Bet quite a few coin hunters missed this one.
Interchangable coils for the Minelab Sovereign / Minelab Excalibur. I’ve heard a lot of good things from top hunters about how stable the “blue tubes” Excaliburs are–especially for use with big coils. John at Minelab did a great job refurbishing this one for me that now has w/p connectors (Bulgin Mini Bucanneer) to run all three coils (Coiltek WOT, M/L 800 and 1000) and an Ikalite jack to take interchangeable phones (“Mr. Goldmasters,” “Redheads” and “Grey Ghosts”). The coils will also go on the Minelab Sovereign X2–another very stable machine that will have the Sunray DT3 meter–a great edge set-up. I think it’s important to be versatile and not only is the WOT coil great for coverage but the 800 is very good on chains and other small stuff. Where I need extreme depth I go to the White’s Dual Field, Goldquest Aquasearch or Anchor Electronics Baraccuda. (Single click to bring up the picture). If anyone is interested in the order sheet and detailed instructions on how to install and safely run this connector shoot me a note.
I’ve gotten good results with Coiltek WOT coil in different applications and wanted to have one available for the Minelab Excalibur but not have to use it all the time as they can be hard to swing in fast water. I also really like Mr. Goldmaster’s headphones which connect via an Ikalite plug. This is the end result–interchangeable phones and coils. A lot of top hunters swear by the 1000 (Blue Tubes)–saying that it’s more stable. I have one at Minelab being fixed that will also get W/P connectors to be part of this kit along with my Sovereign X2 Pro.
Top Caribbean pro Roland (“The King”) Dalcourt has taught me a lot about hunting saltwater water sites. This picture shows him with a custom Minelab Excalibur modified for chest mount configuration. The cables are coiled to be out of the way and there’s a hanger for the phones for when he walks the beach. His 2014 finds include an $18500 rock (see “Some o’ the Mates”), two others over $15000 and a 90 gram 18k chain. Long live the king!
These are some local gold finds made with the Minelab Excalibur, Minelab Sovereign and a Whites Dual Field modded by my friend Bill Lahr that runs at 12 uSc. It’s one of the best optimised detectors I’ve ever used also has a great faint range. The conditions have been poor this year and I’ve had to really focus on the low ground. I did three big rings last weekend (big topaz ring is 18K 13 grams and the 12 gram, 10K class ring) by monitering a trench that was forming over several days. It spat up dimes, then keys, then silver dimes and finally gold. The band in the middle is platinum 13.7 gr. The diamond ring next the topaz is .50 pts and appraised at $3850. The small ring with the diamond is 22k.
This page is about finding gold jewelry with a metal detector at park, shoreline and water sites. Here’s some of my finds from about fifteen years of hard hunting. My main machines are:
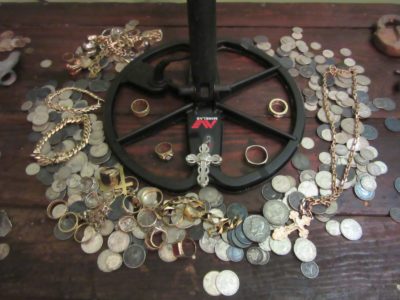
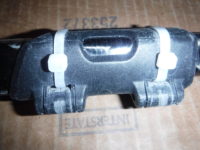
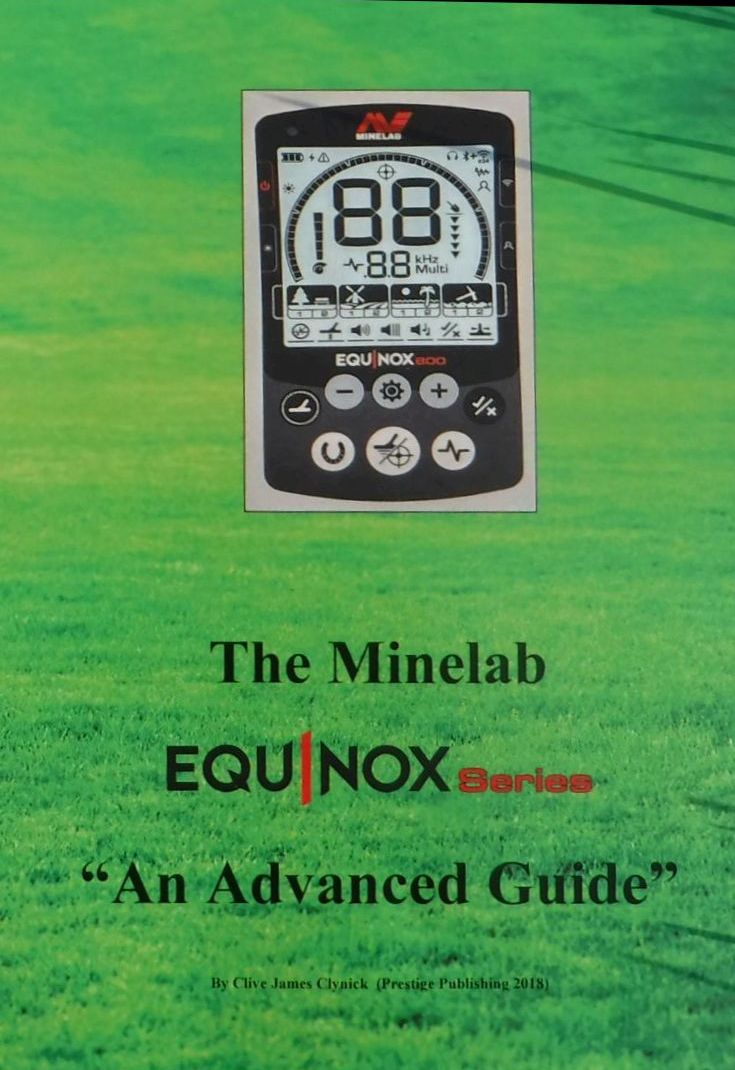
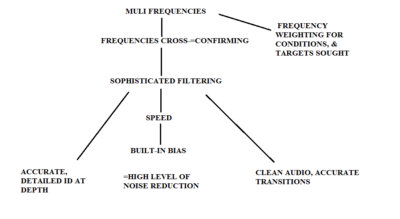

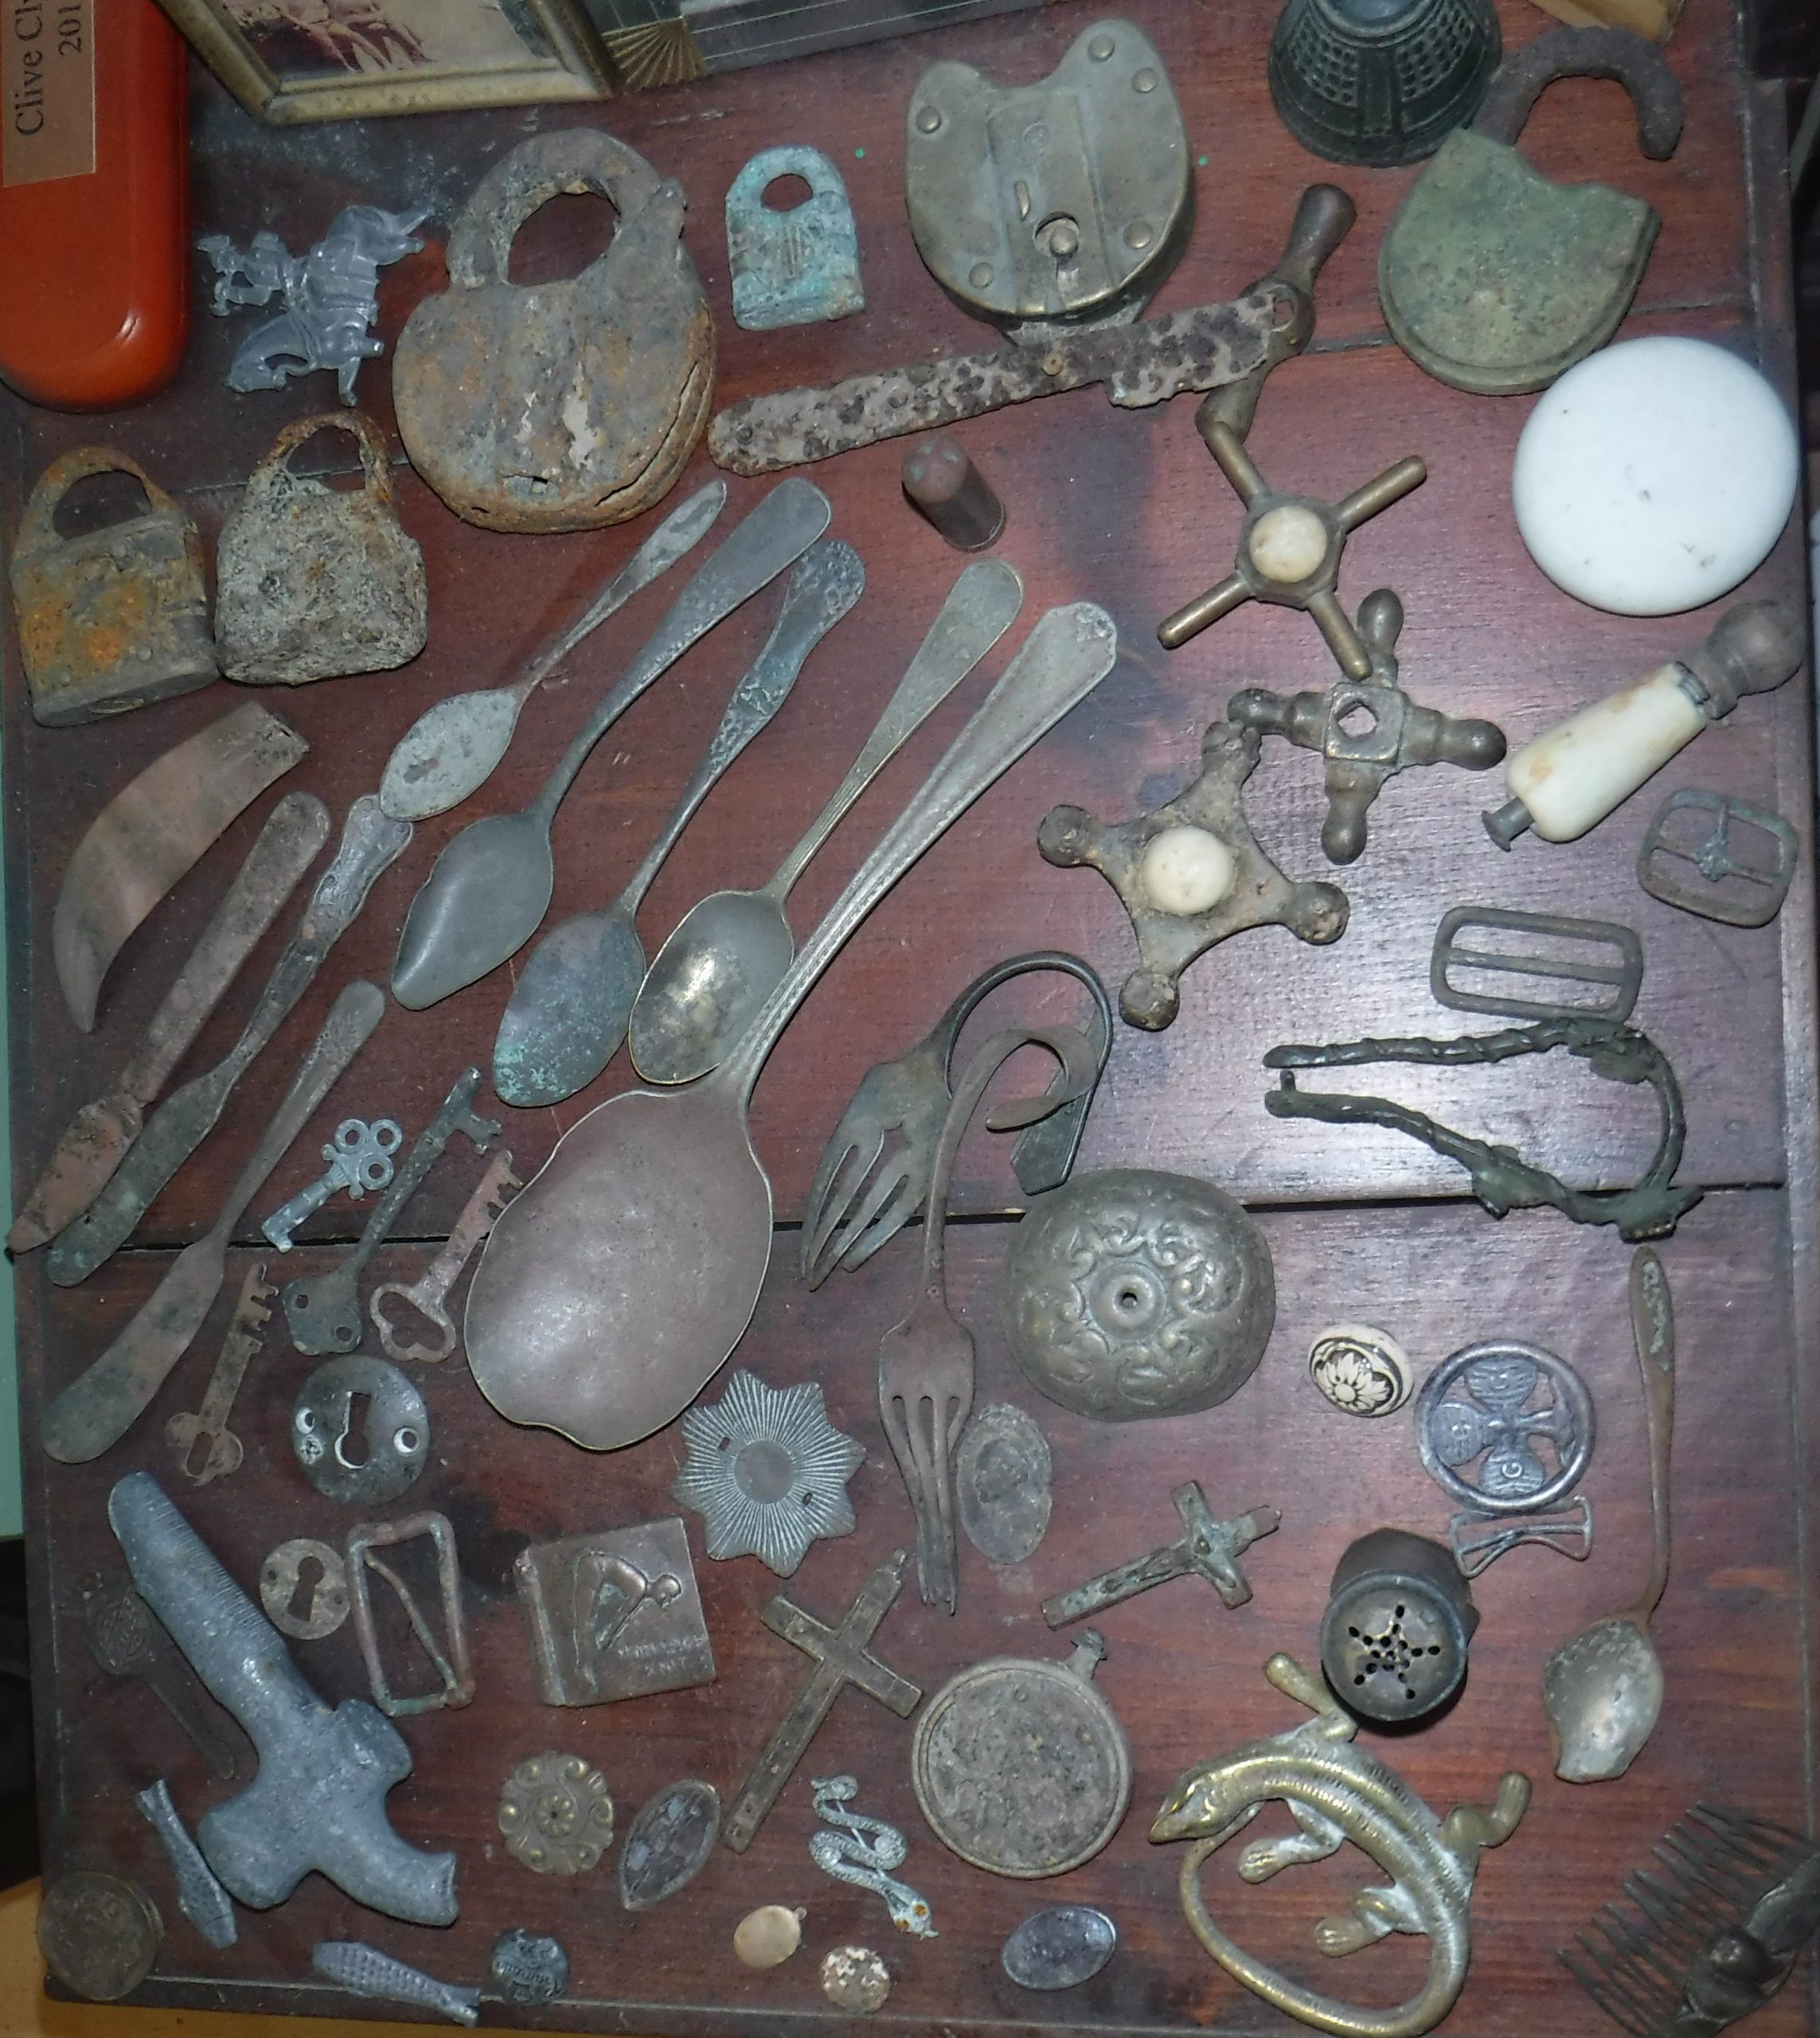


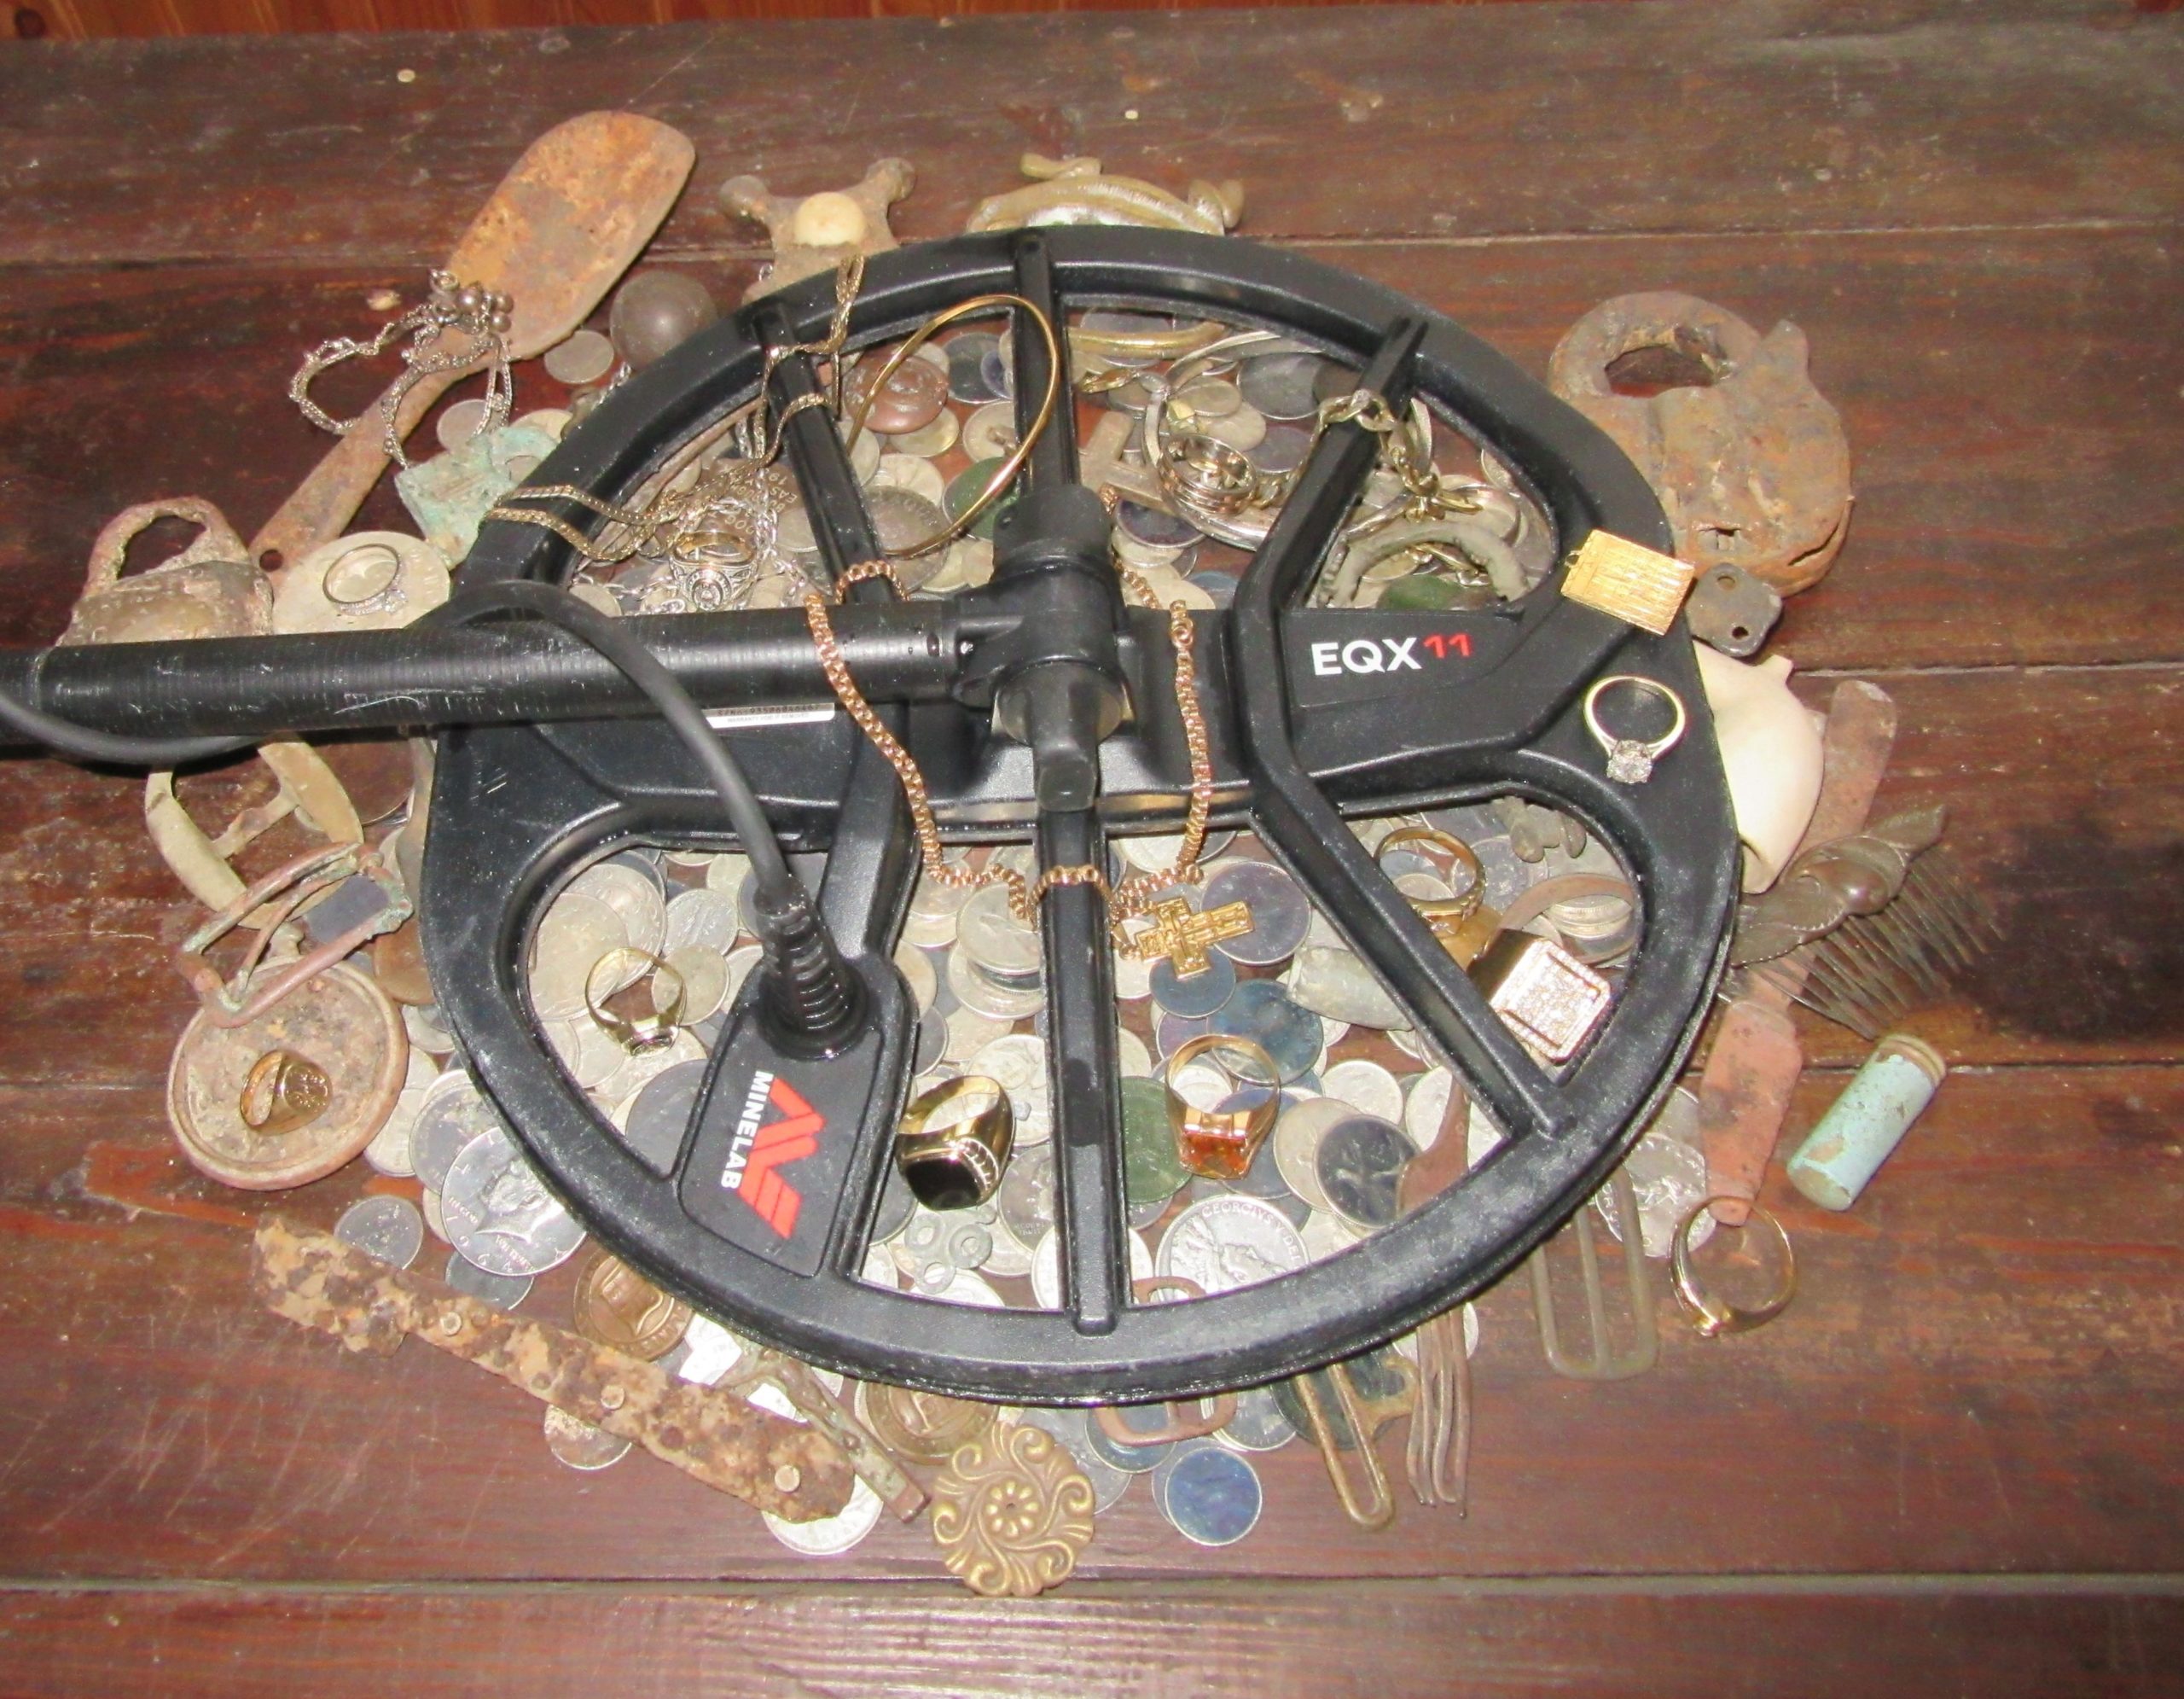

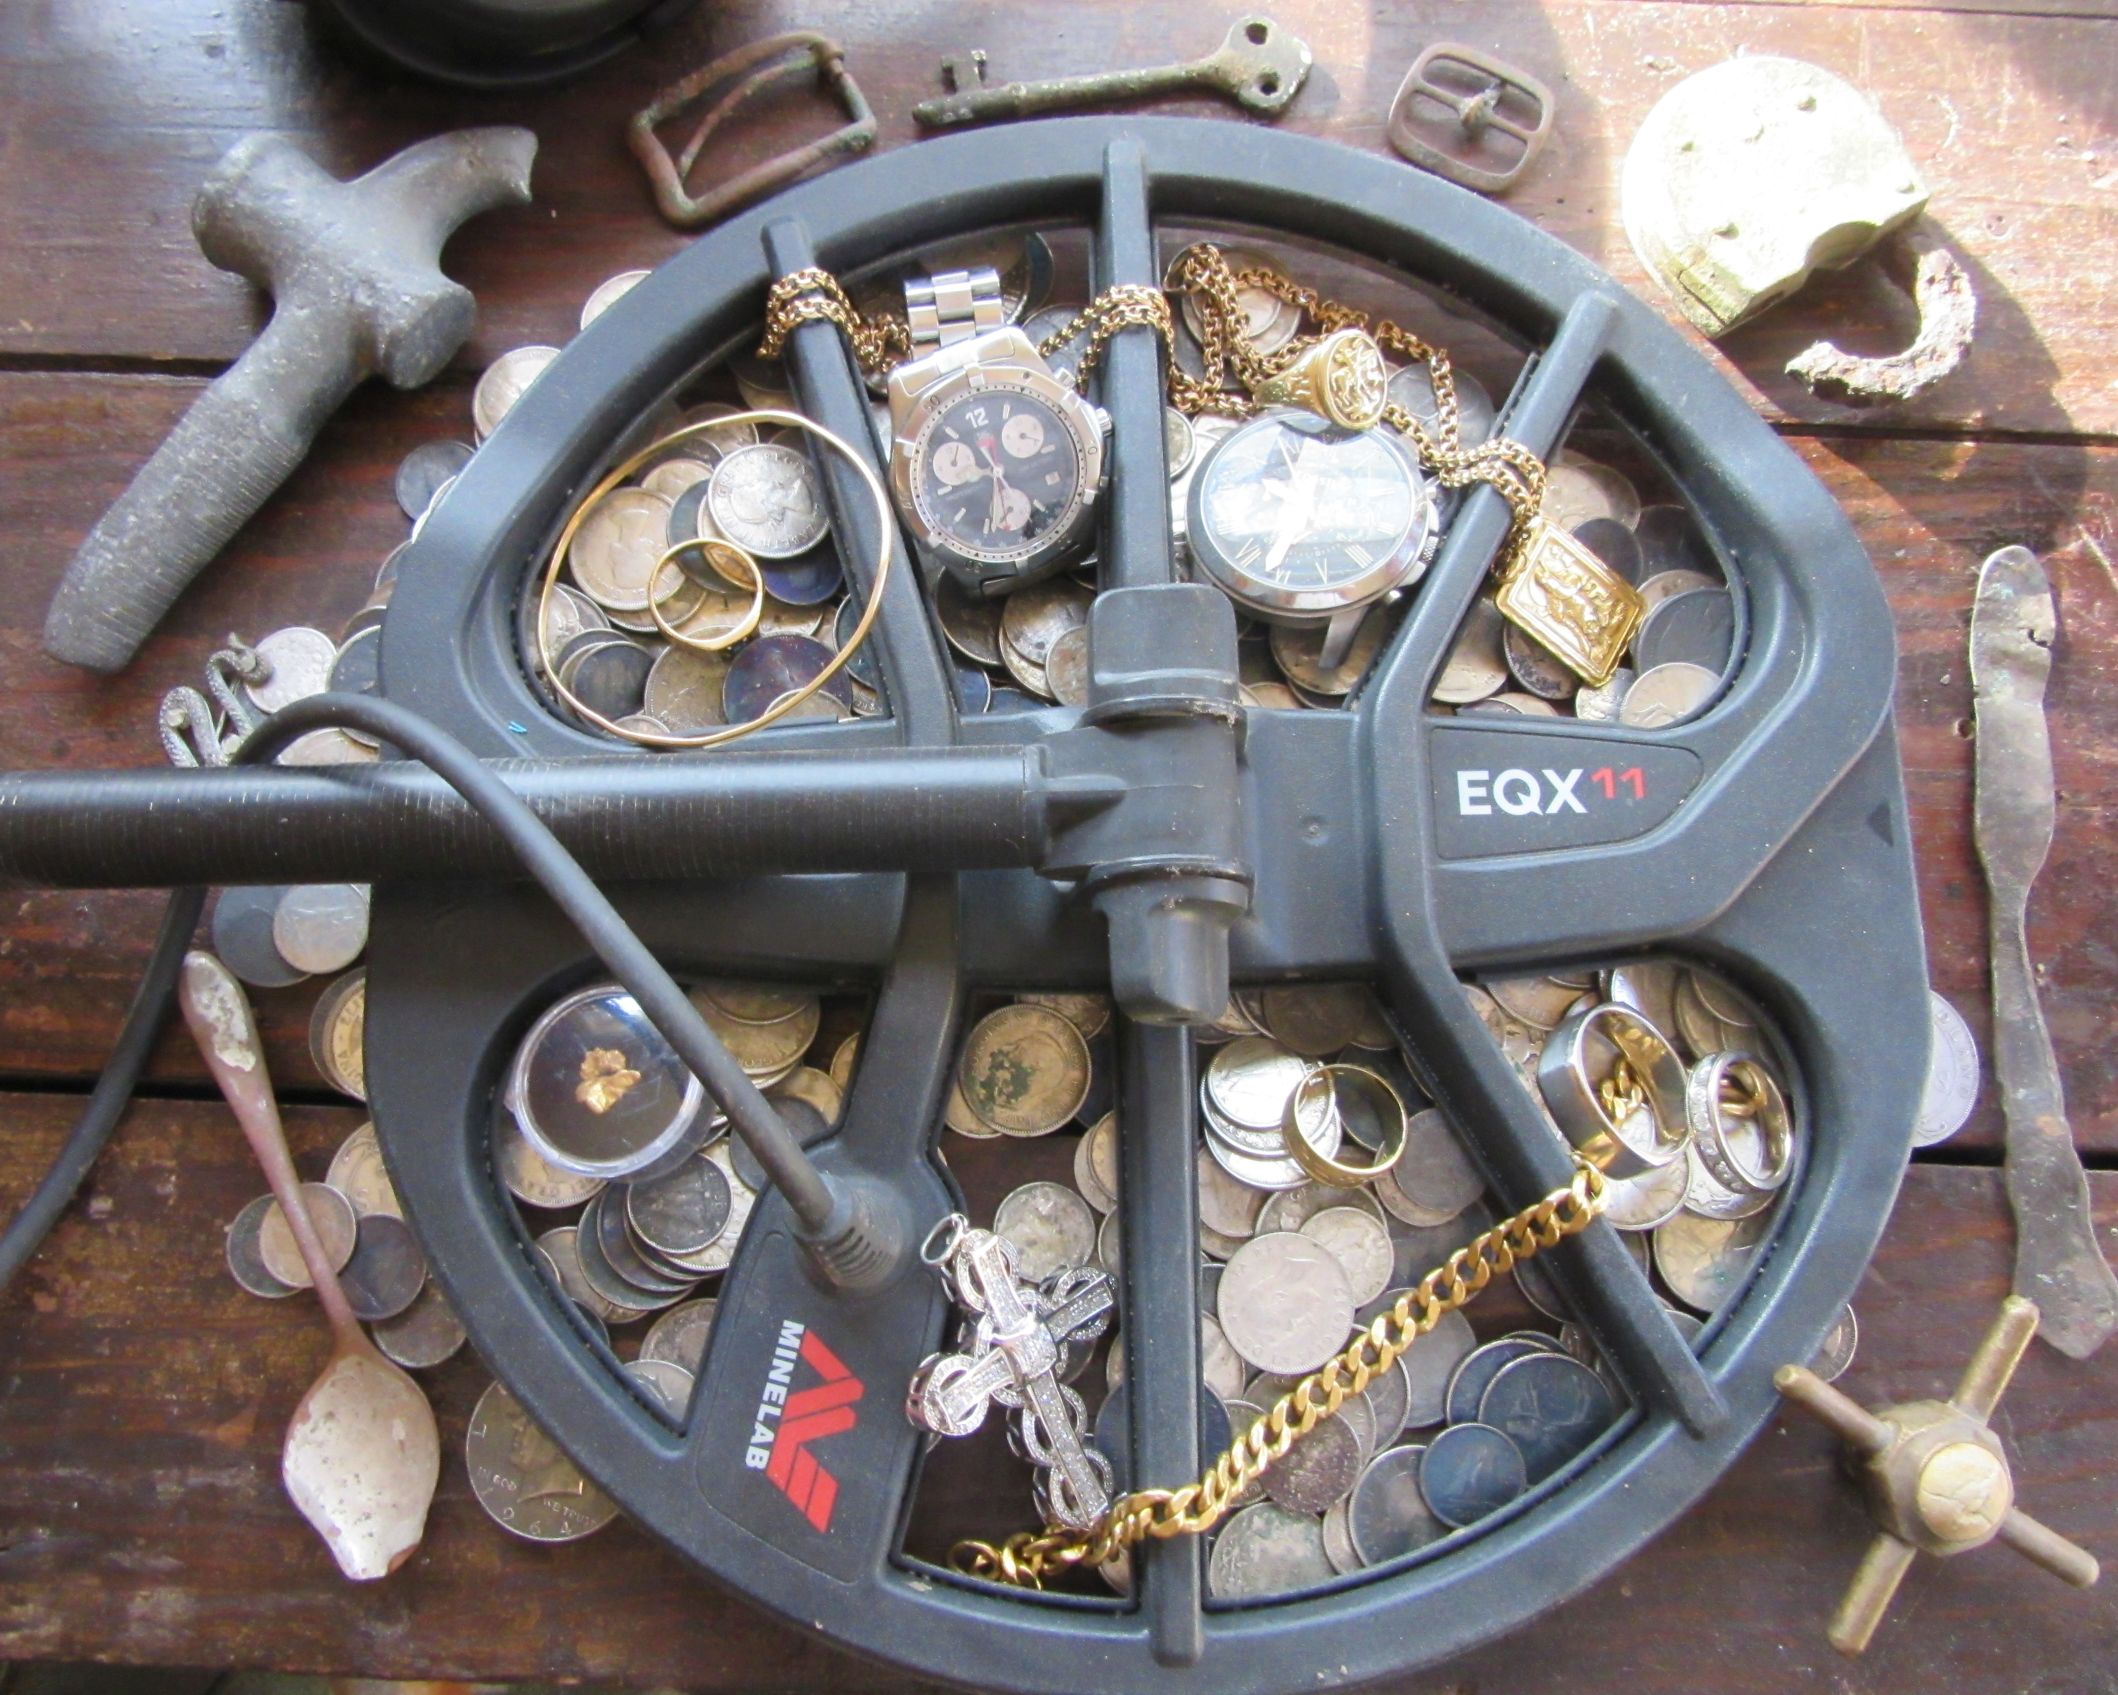

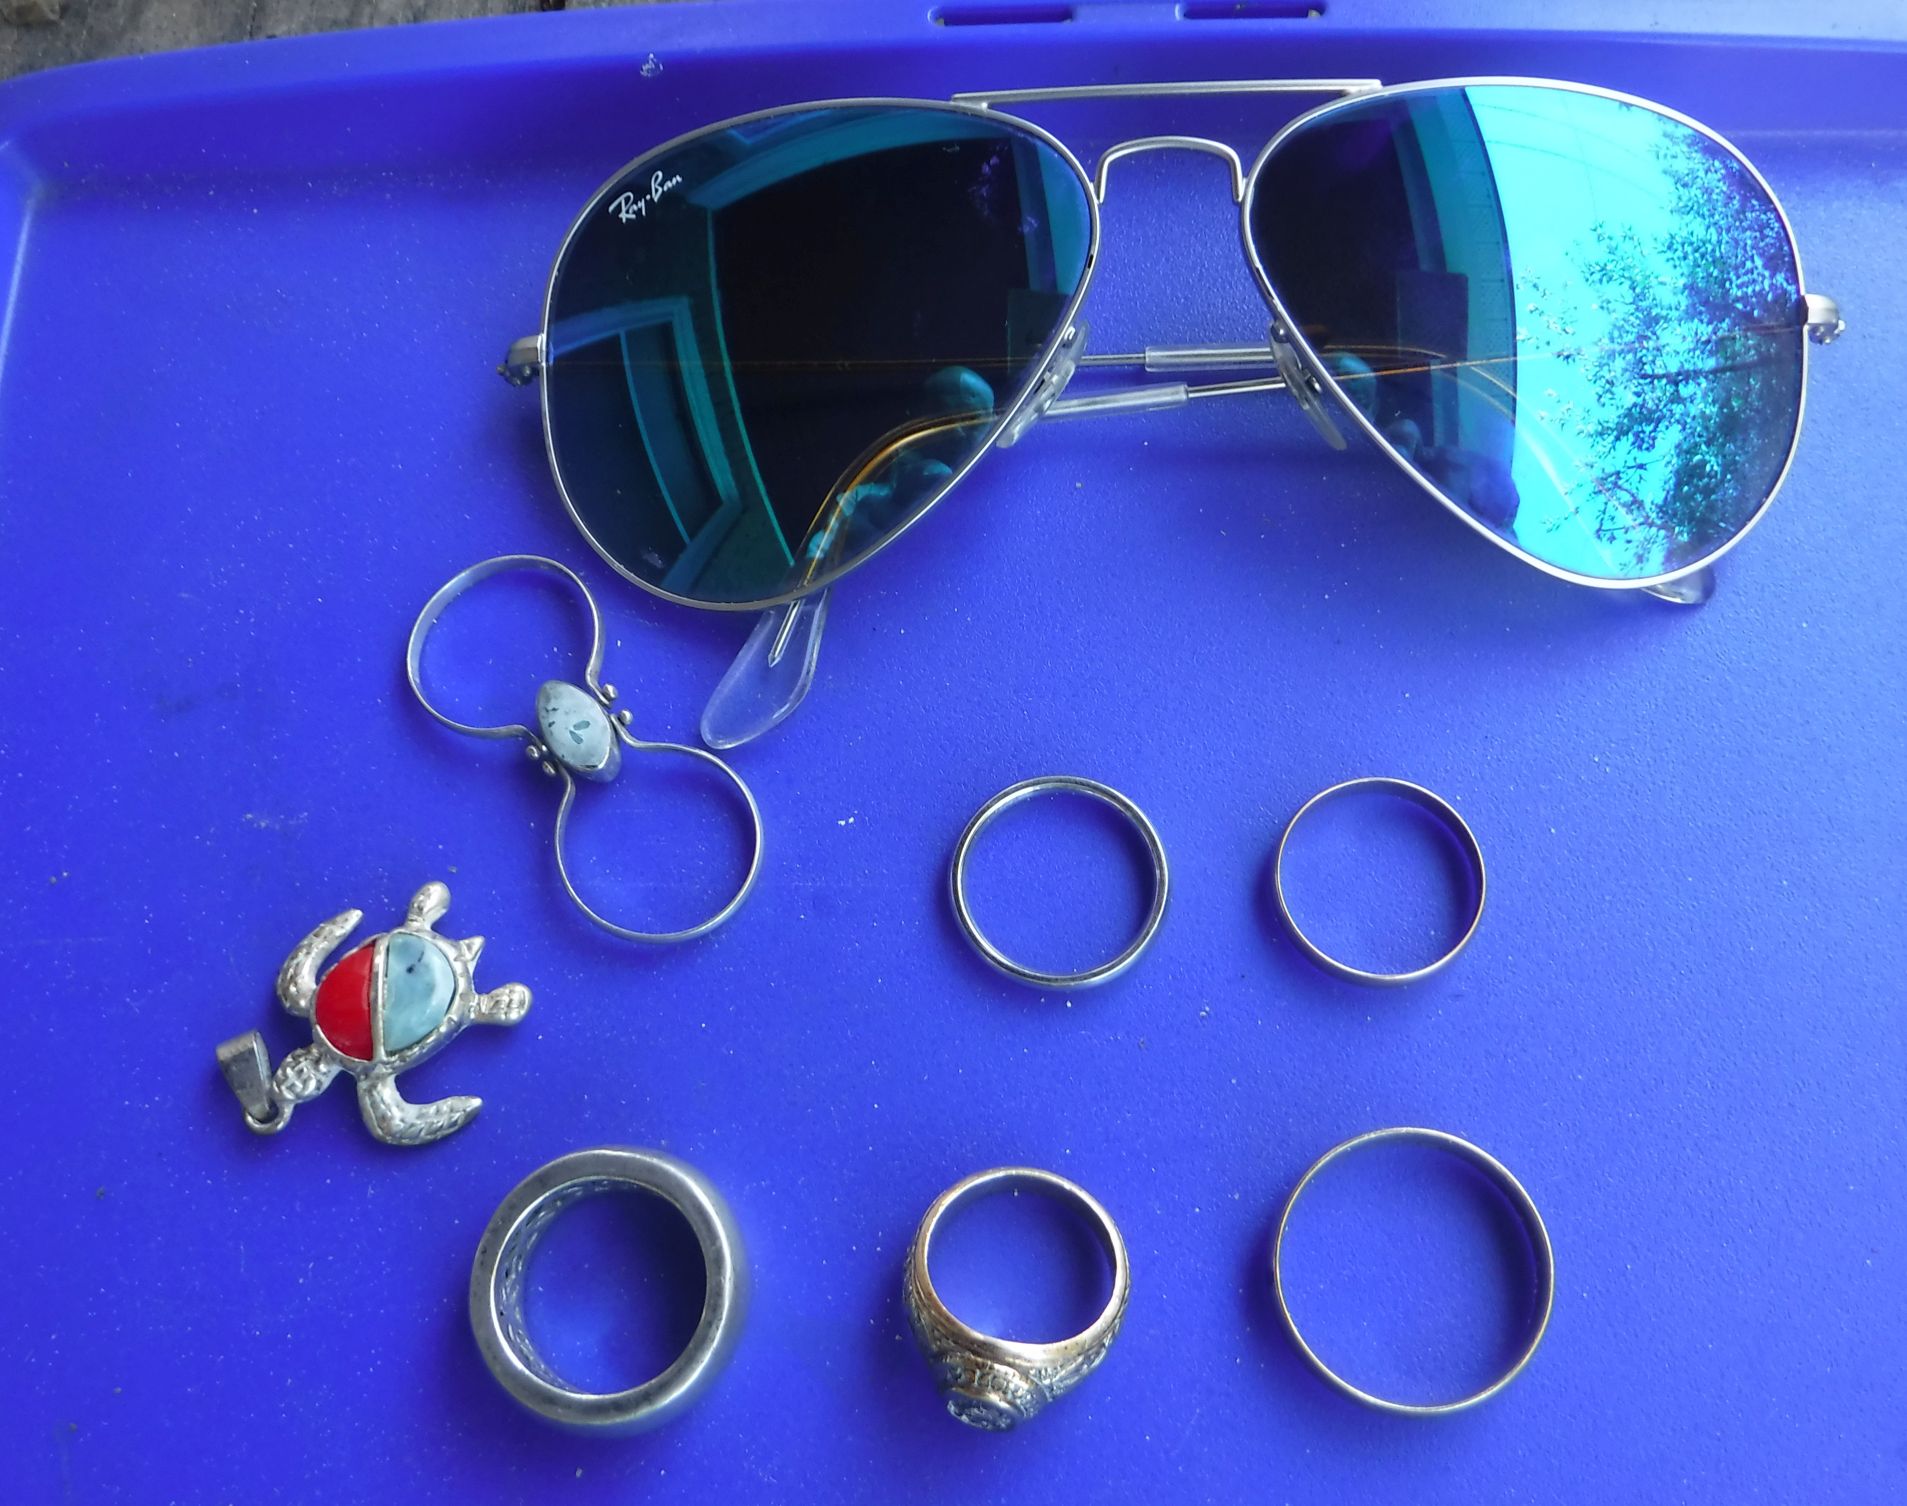
 –and found that “20” is a nice tone selection for gold–try it!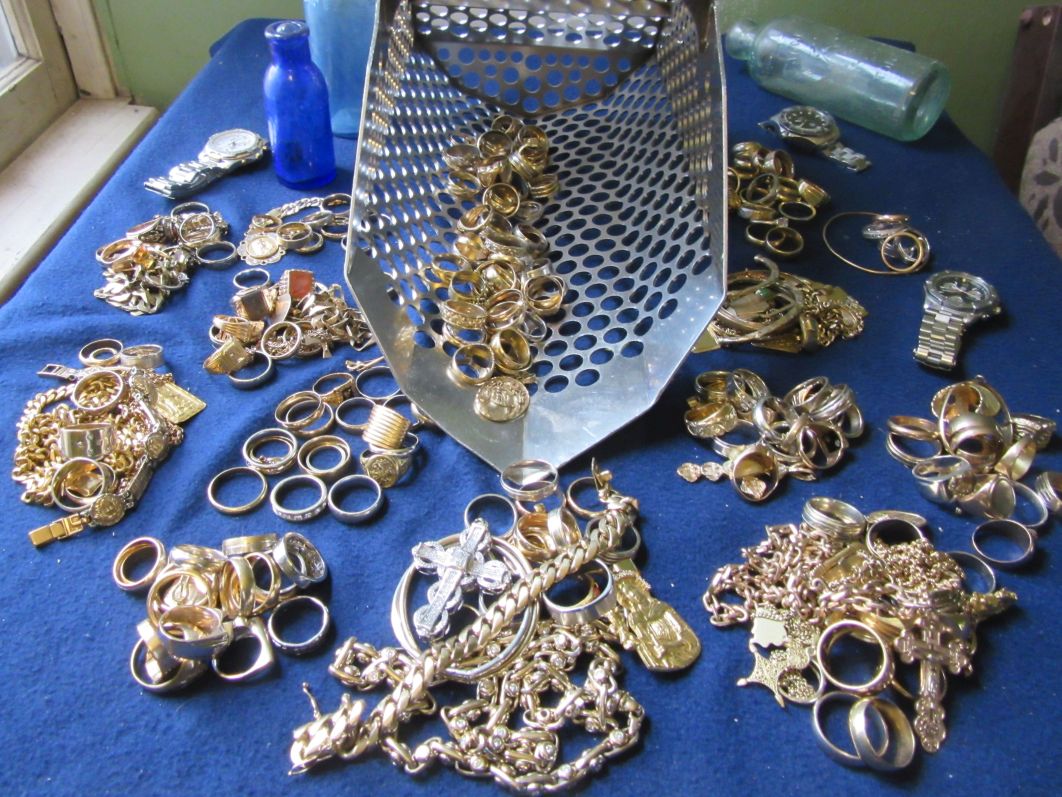
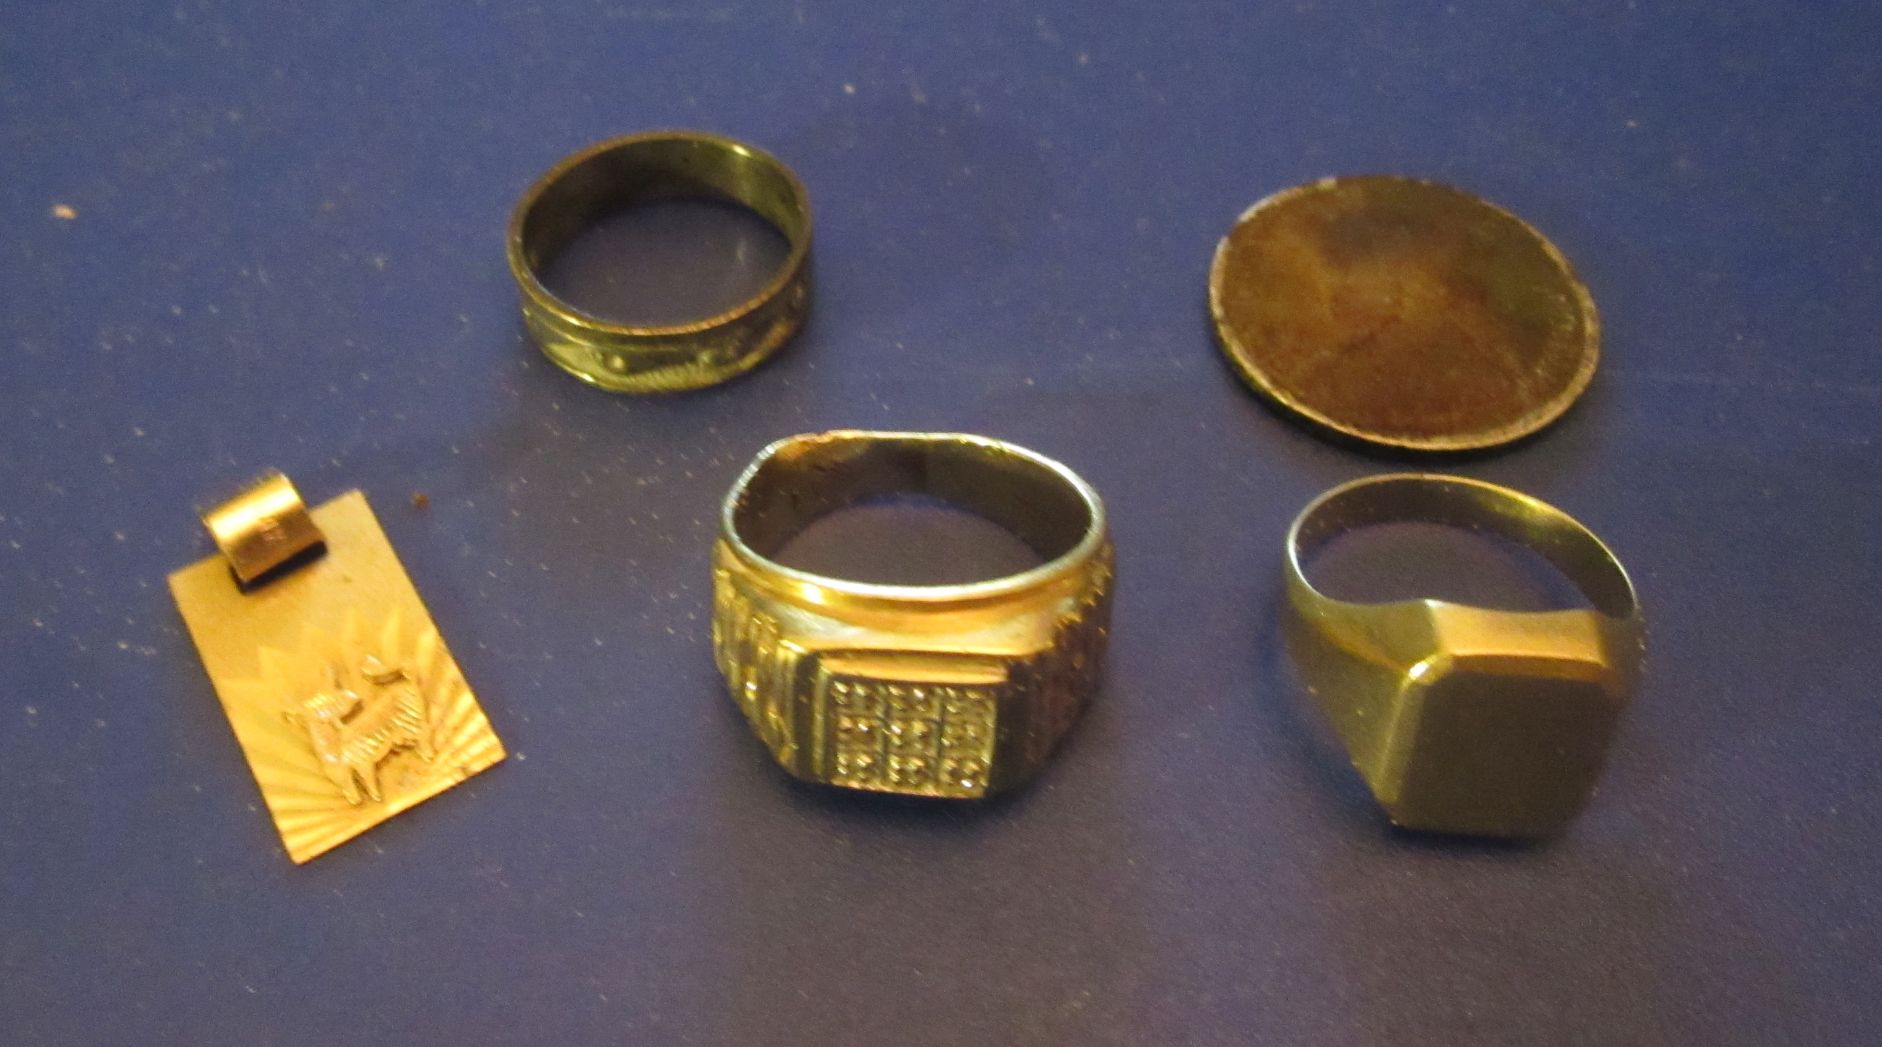

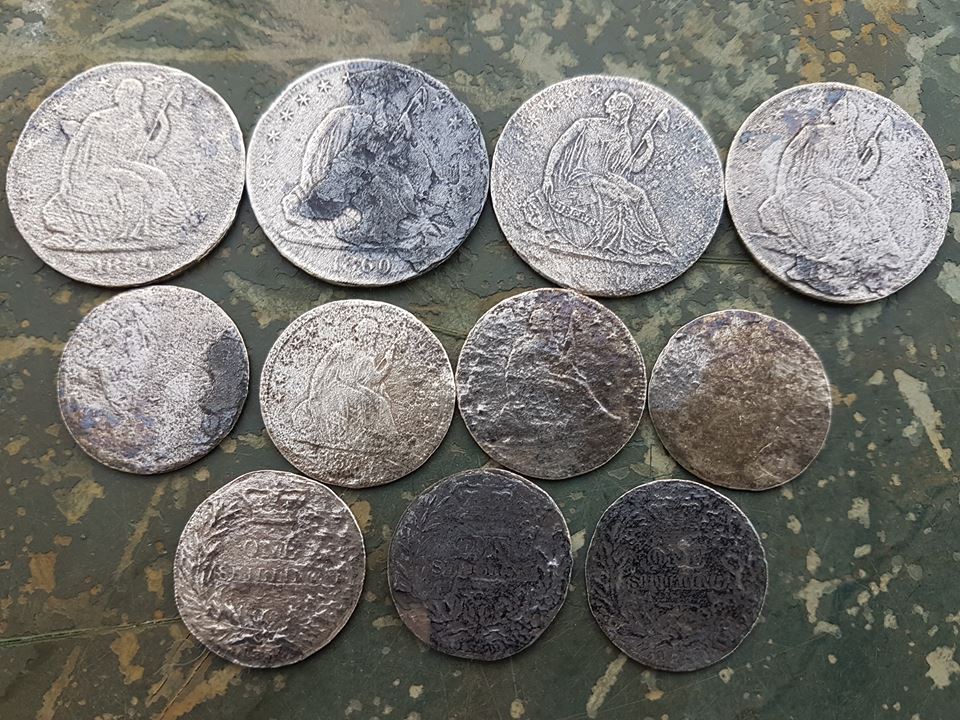


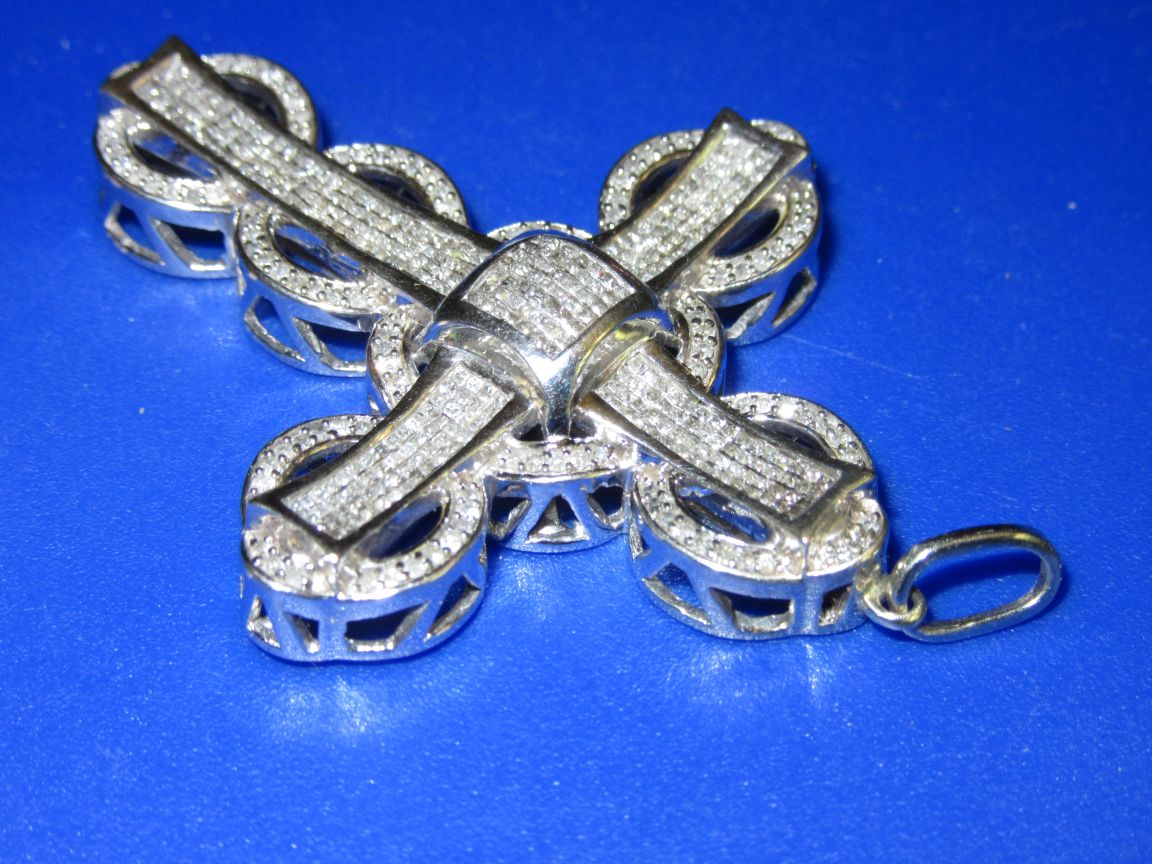
 When you go to the lower uSc ranges–its necessary to do certain thingss to mediate the micro conductors. This may involve coil control (determining the solidiy) using the cross sweep and multiple passes, or doing some “foot digging” to make sure the target is not a small target on the surface. It’s also important to look for ground that itsn’t “silt” carrying this type of micro conductors around–oval tabs, foils, pennies and caps. This is the “tradeoff” for the additional depth you get running down at say 10 uSc. Where you have a lot of targets, there is more of an emphasis on checking the general features ofa response–size, shape and where it is sitting in the strata. To a certain extent, understanding the sand texture is one thing that helps you recognise what an object is–by how deep it’s sitting. People ask why I have a large number of pulse machines. This is because they all do different things and are suited to different condtions. My small coil Cuda is great in black sand of harsh, fast salt conditions. It also has great audio to keep off the caps and pins. The Dual Field also has great audio and gives a long “tune-out” sound on iron. The Aquasearch has great optimization and adjustable SAT–for sidewalls or fast water.–to compensate for interference. More generally the idea with a pulse is to incorporate site knowledge and a number of target features into your dig selection. While iron will sound off–it doesent “carry” to the surface as well. Looking for small, sharp, narrow responses that don’t give a double tone on the cross sweep can reduce the amound of iron you dig. As well, when you turn the Gain (or de-tune) a pulse, the response to iron is reduced more than is the response to gold. So in dense traash going to a lowered “discriminate” mode, combined with carefull listening to the strength of your signals is another way to increase your accuracy. I’ve made all my best finds with pulse machines and although its great to have the fidelity and accuracy of a CTX or EQ, where there is any serious competition or changing “sanded in” type conditions a pulse is the way to get down deeper, find “strip outs” and hit those big lunkers. Pulse hunting teaches you to examine responses fully, and pay attention to the strata, grade, bottom contours and sand textures. These skills in turn will help you with any machine you use. cjc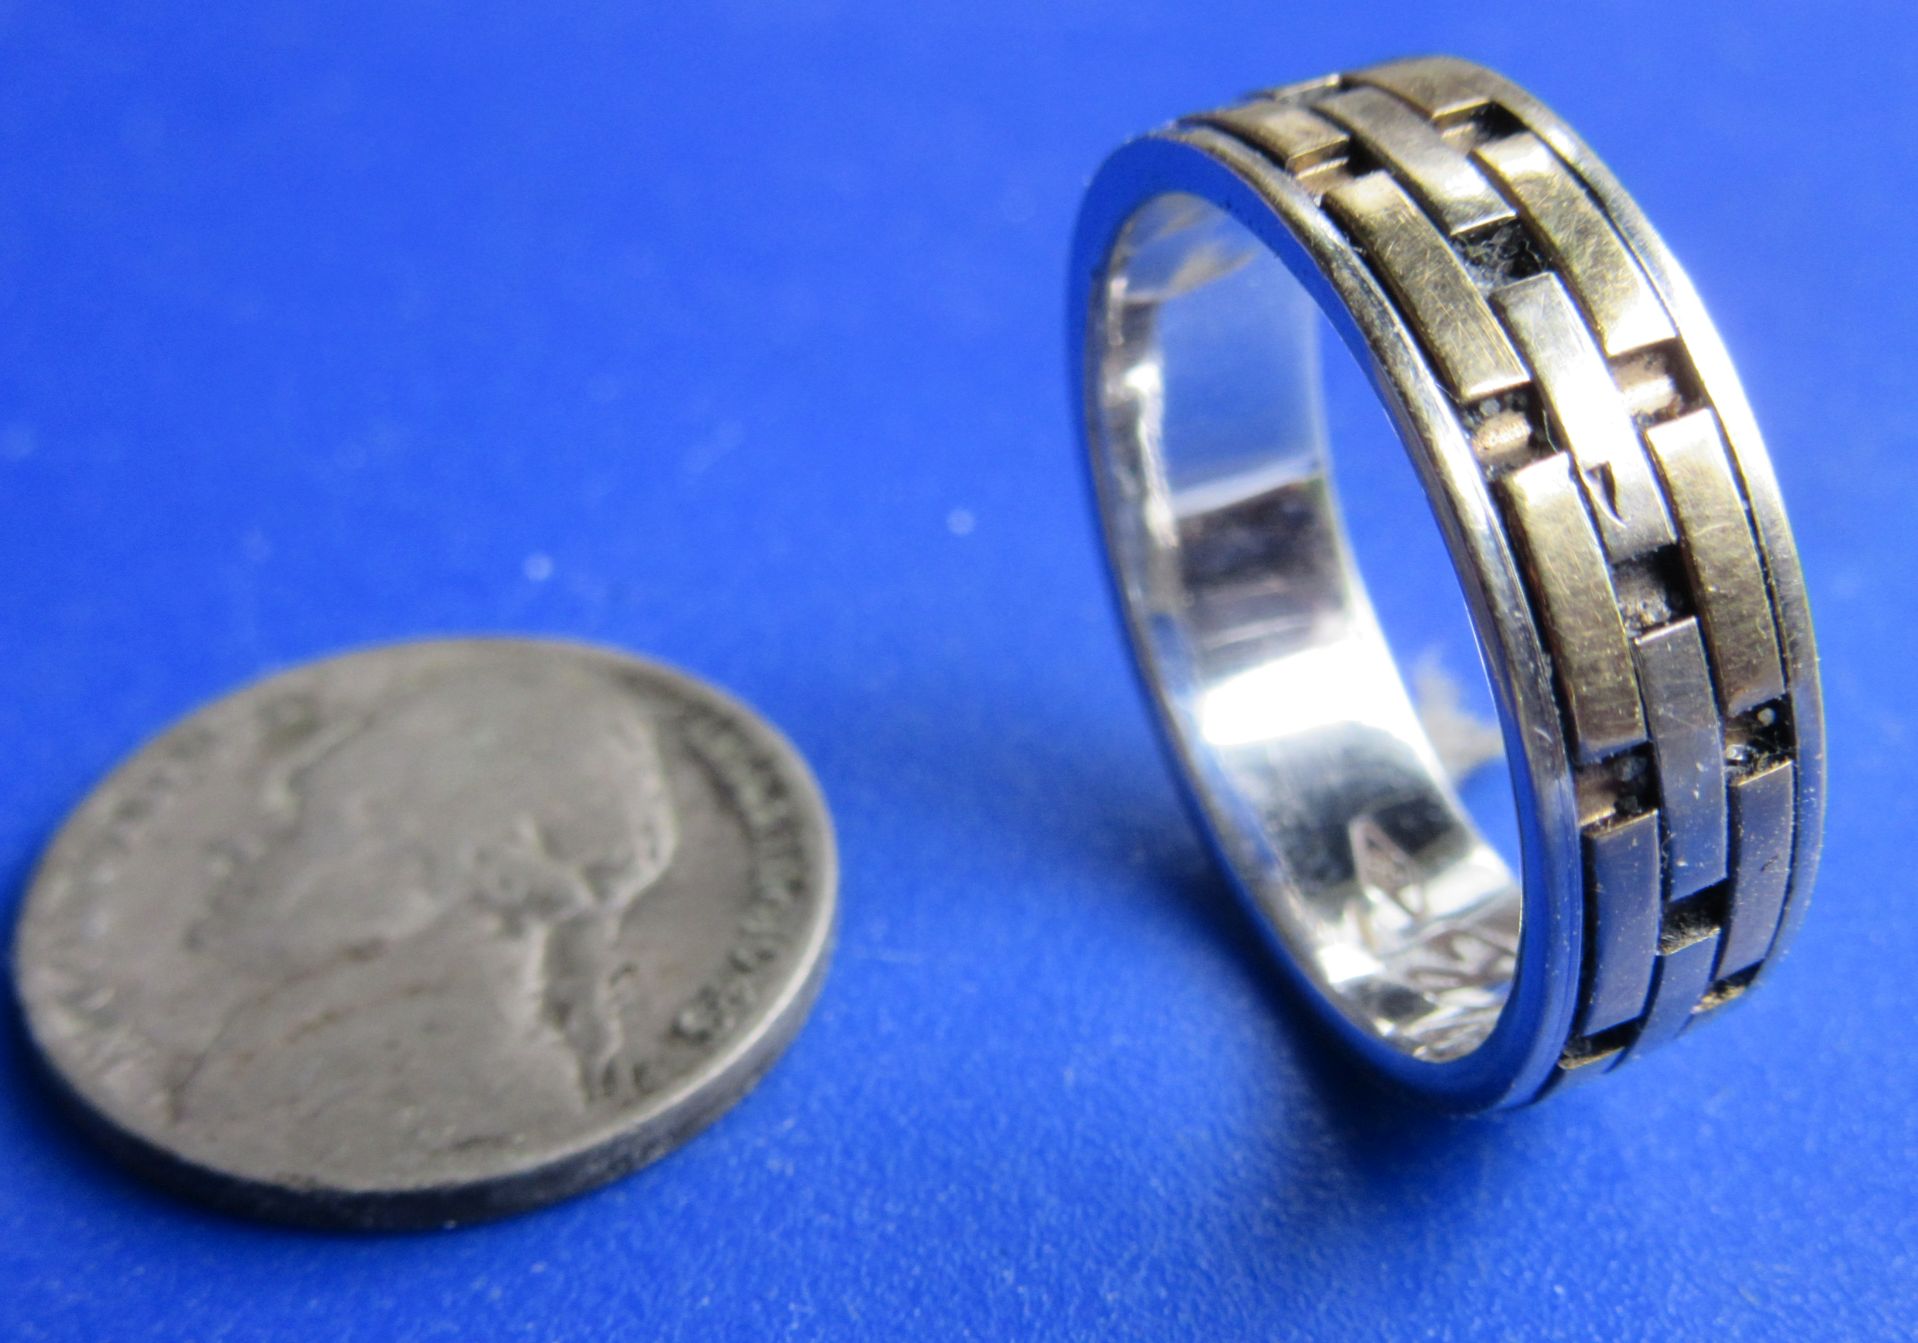

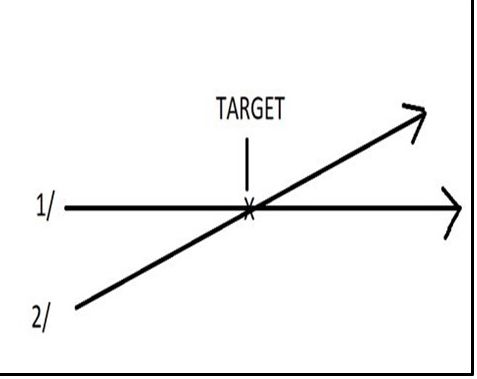

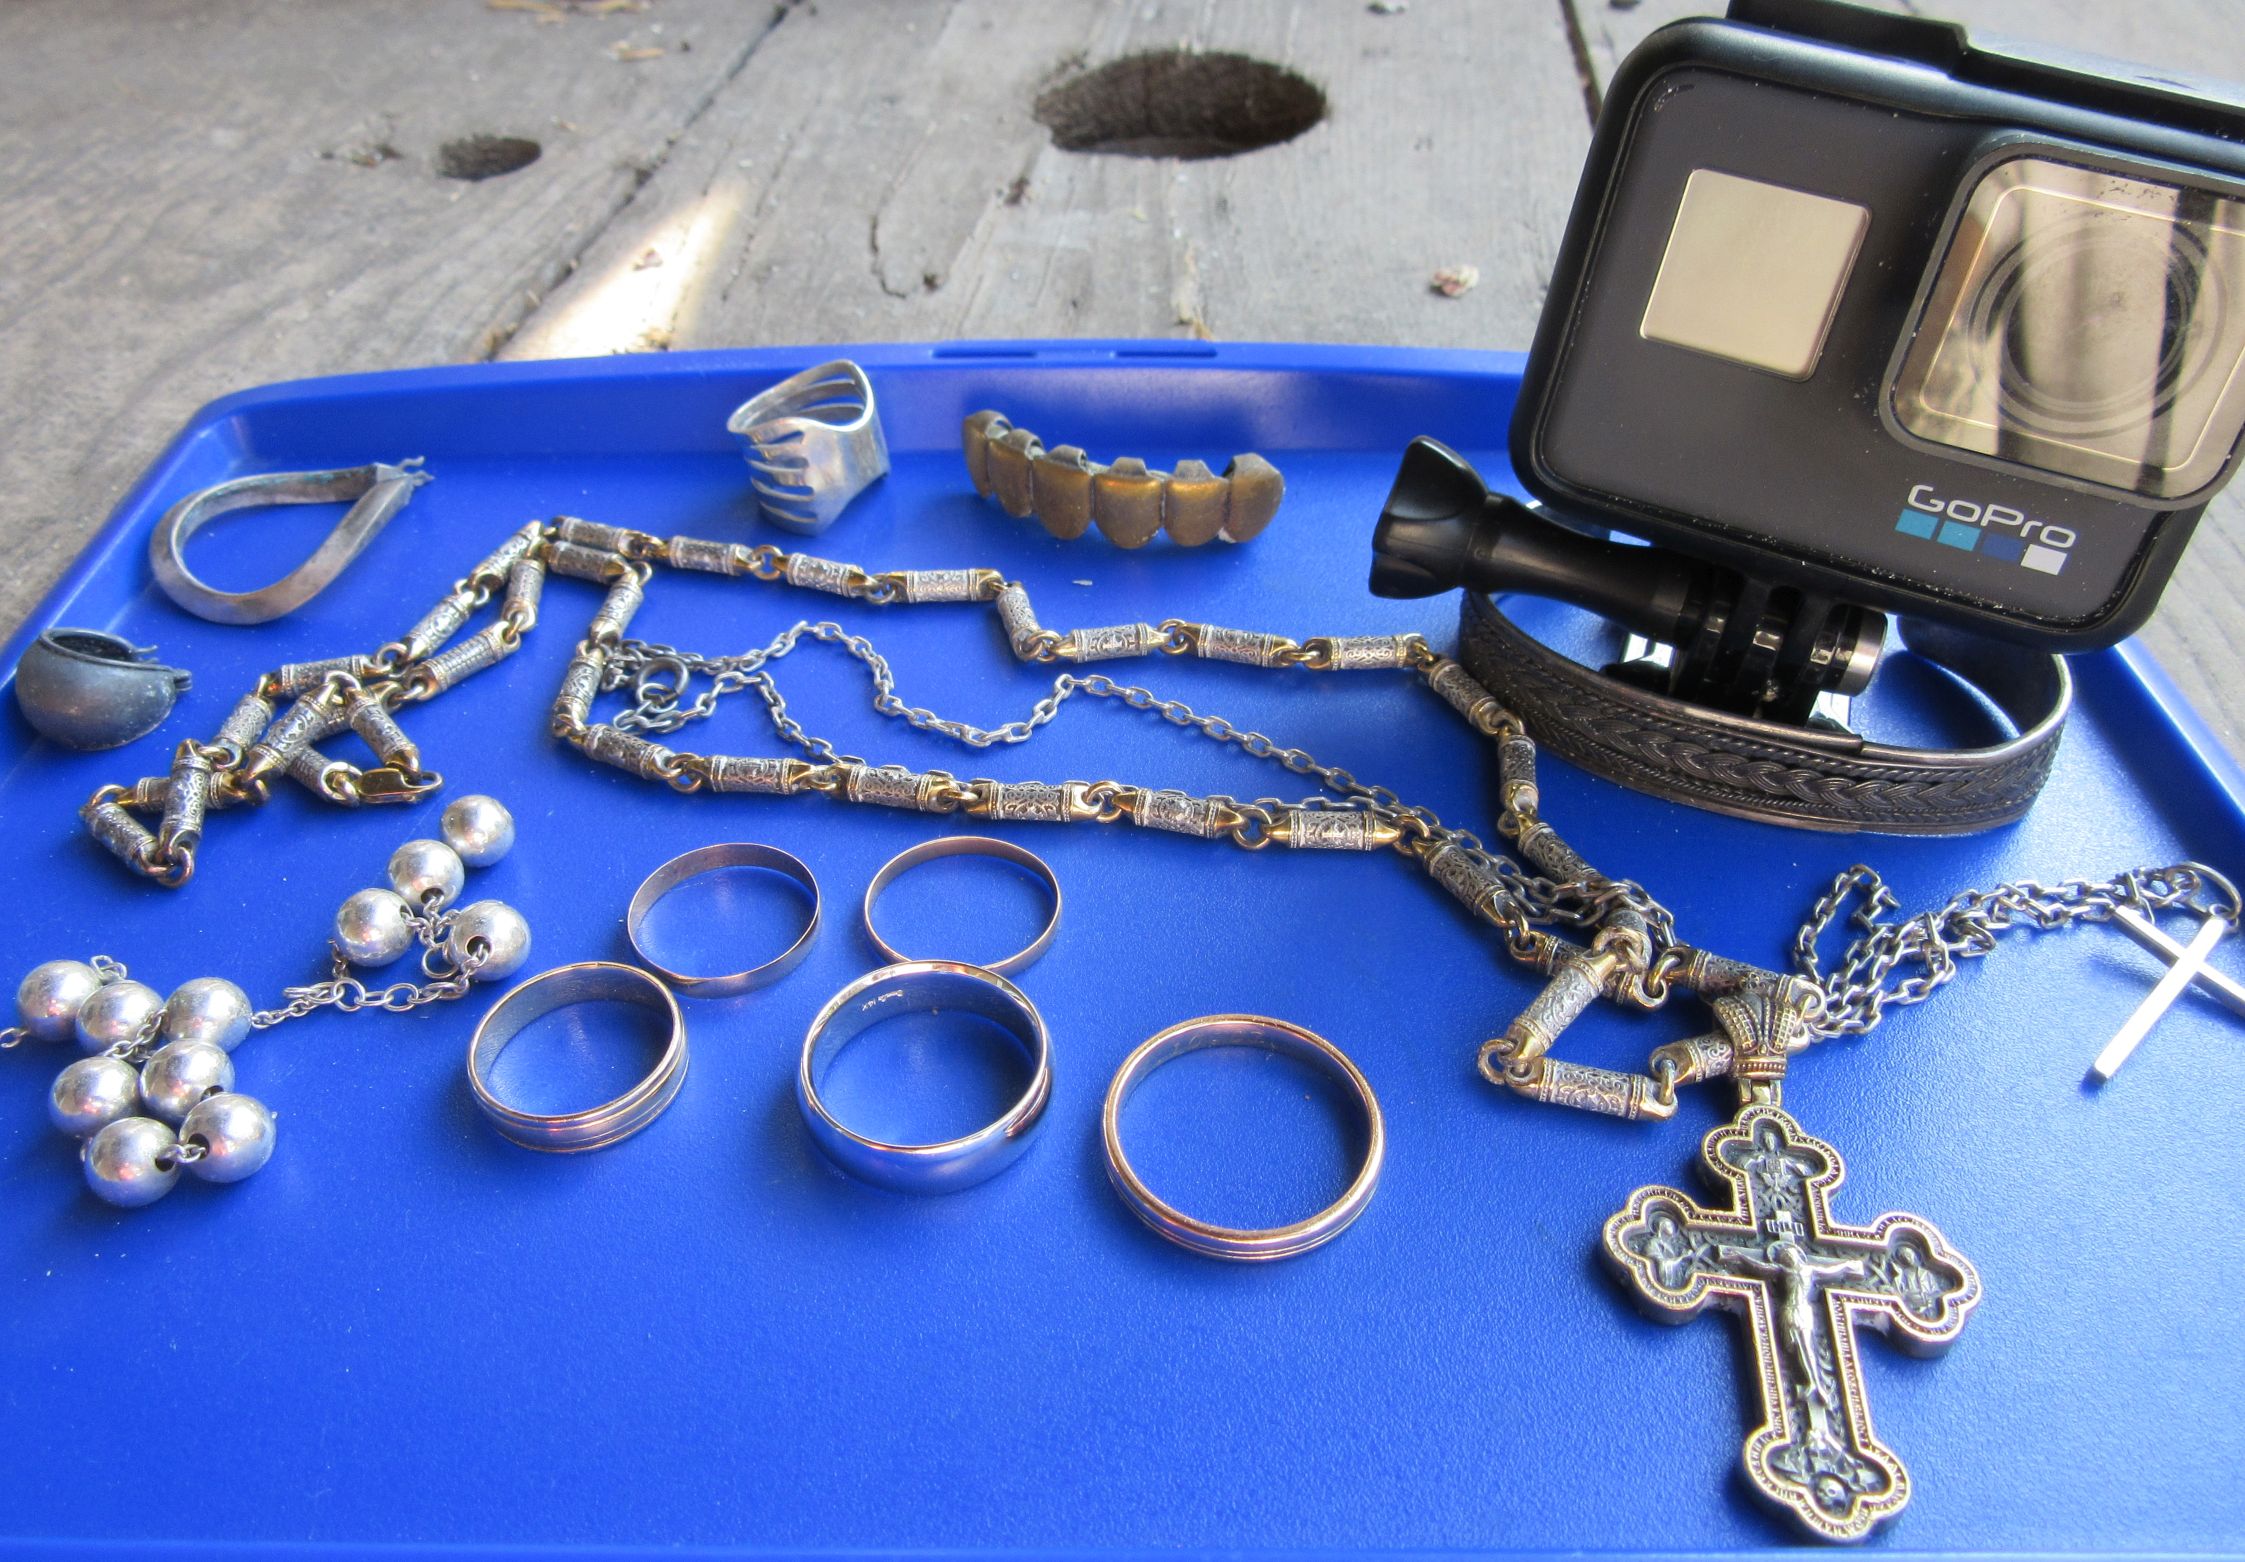

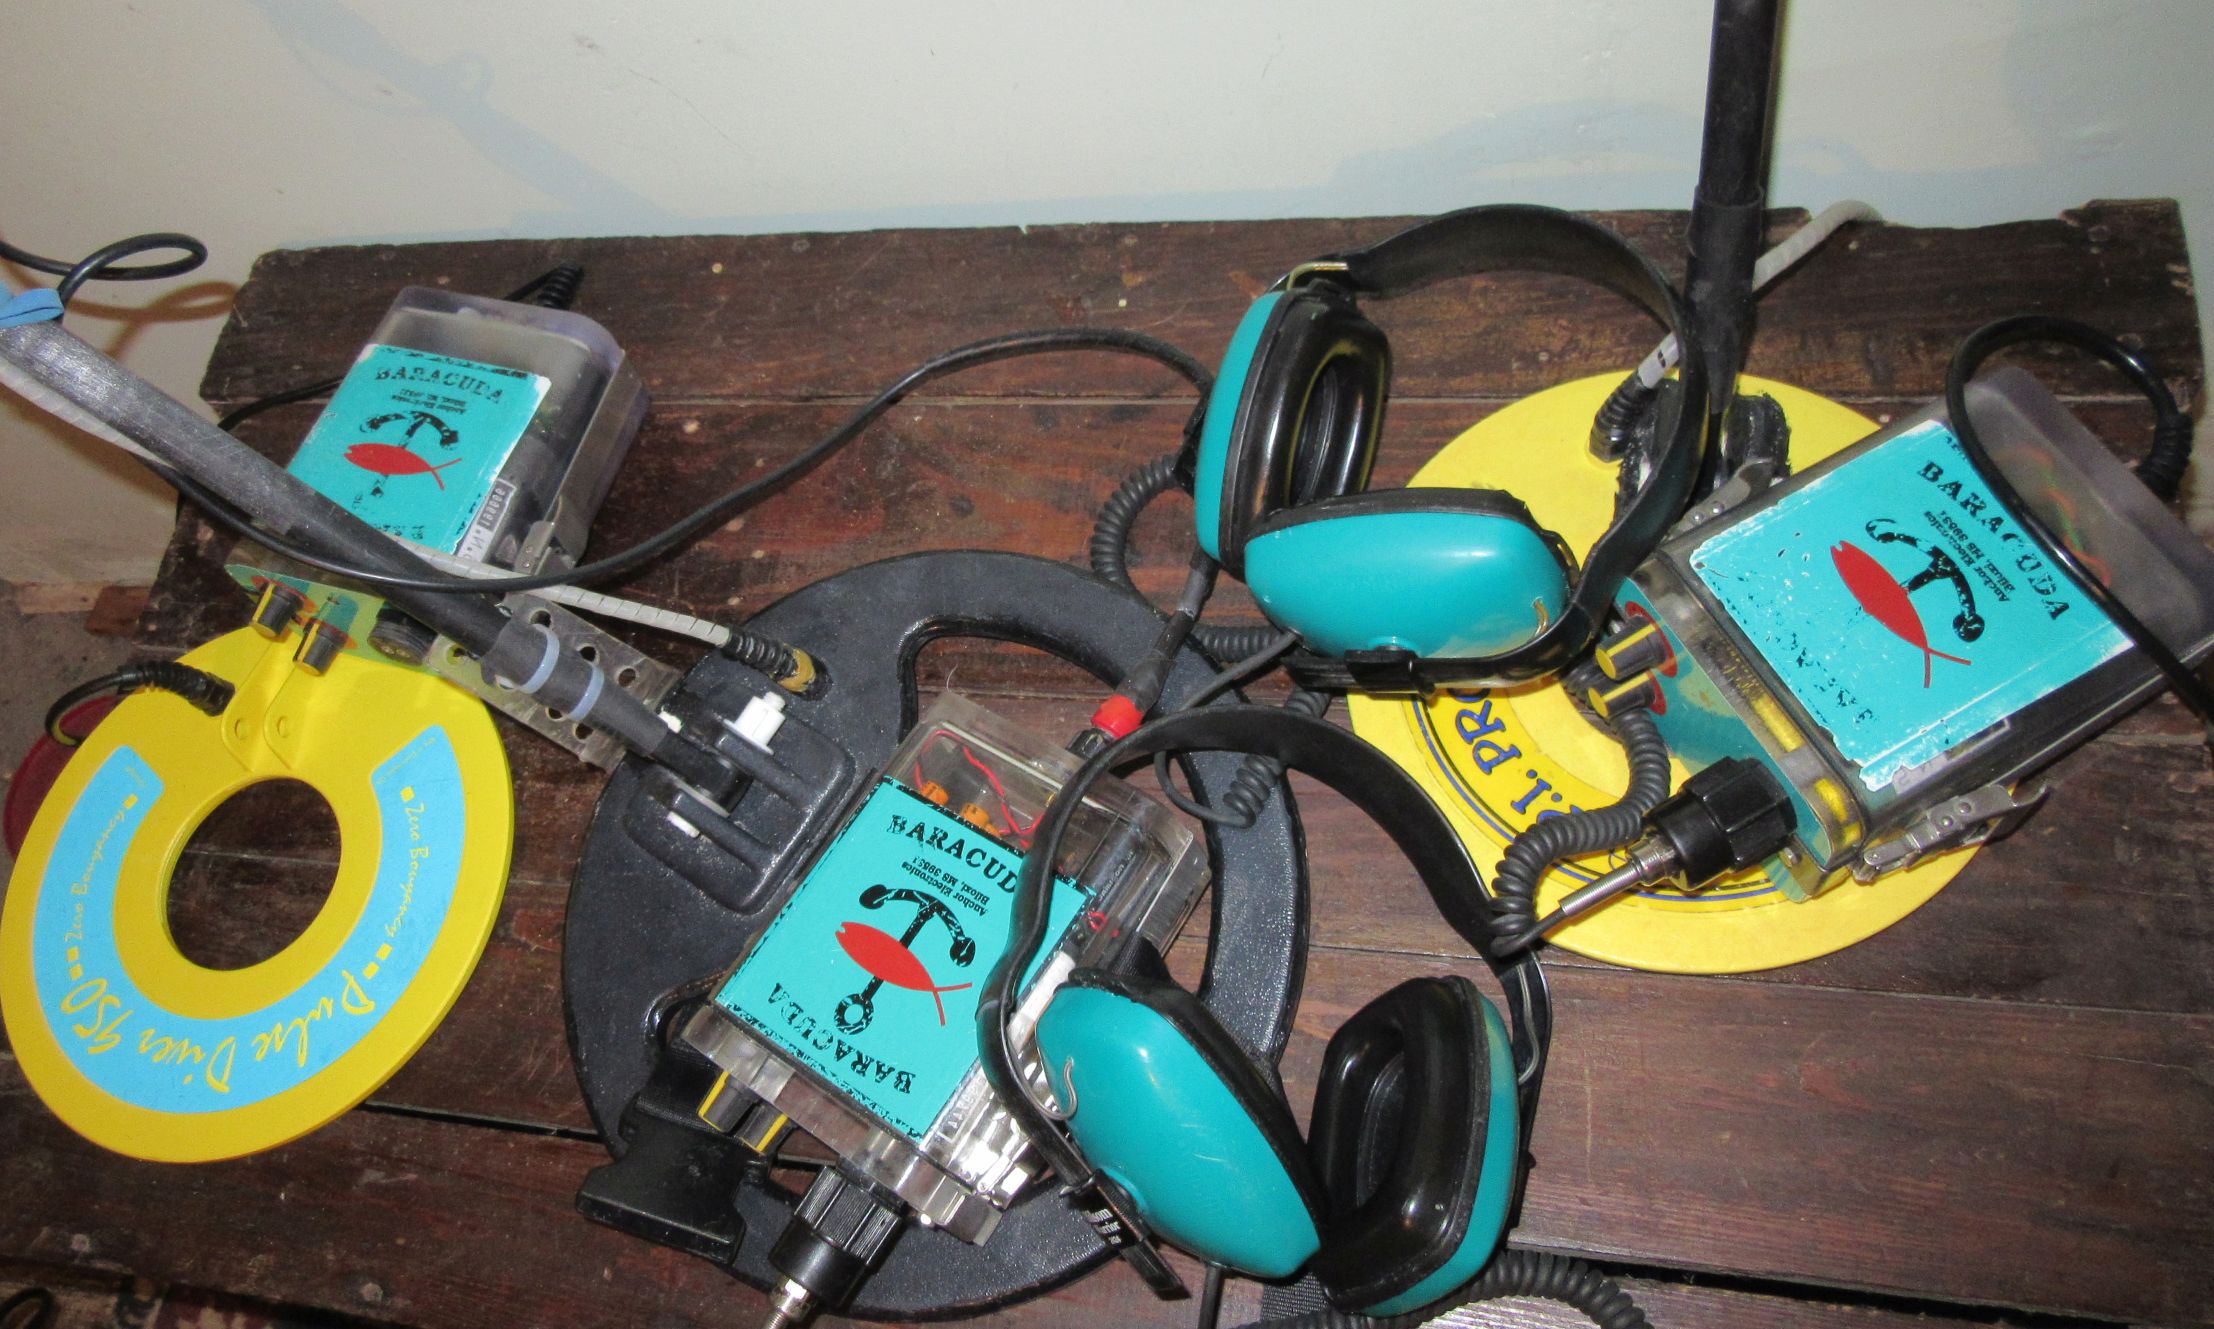

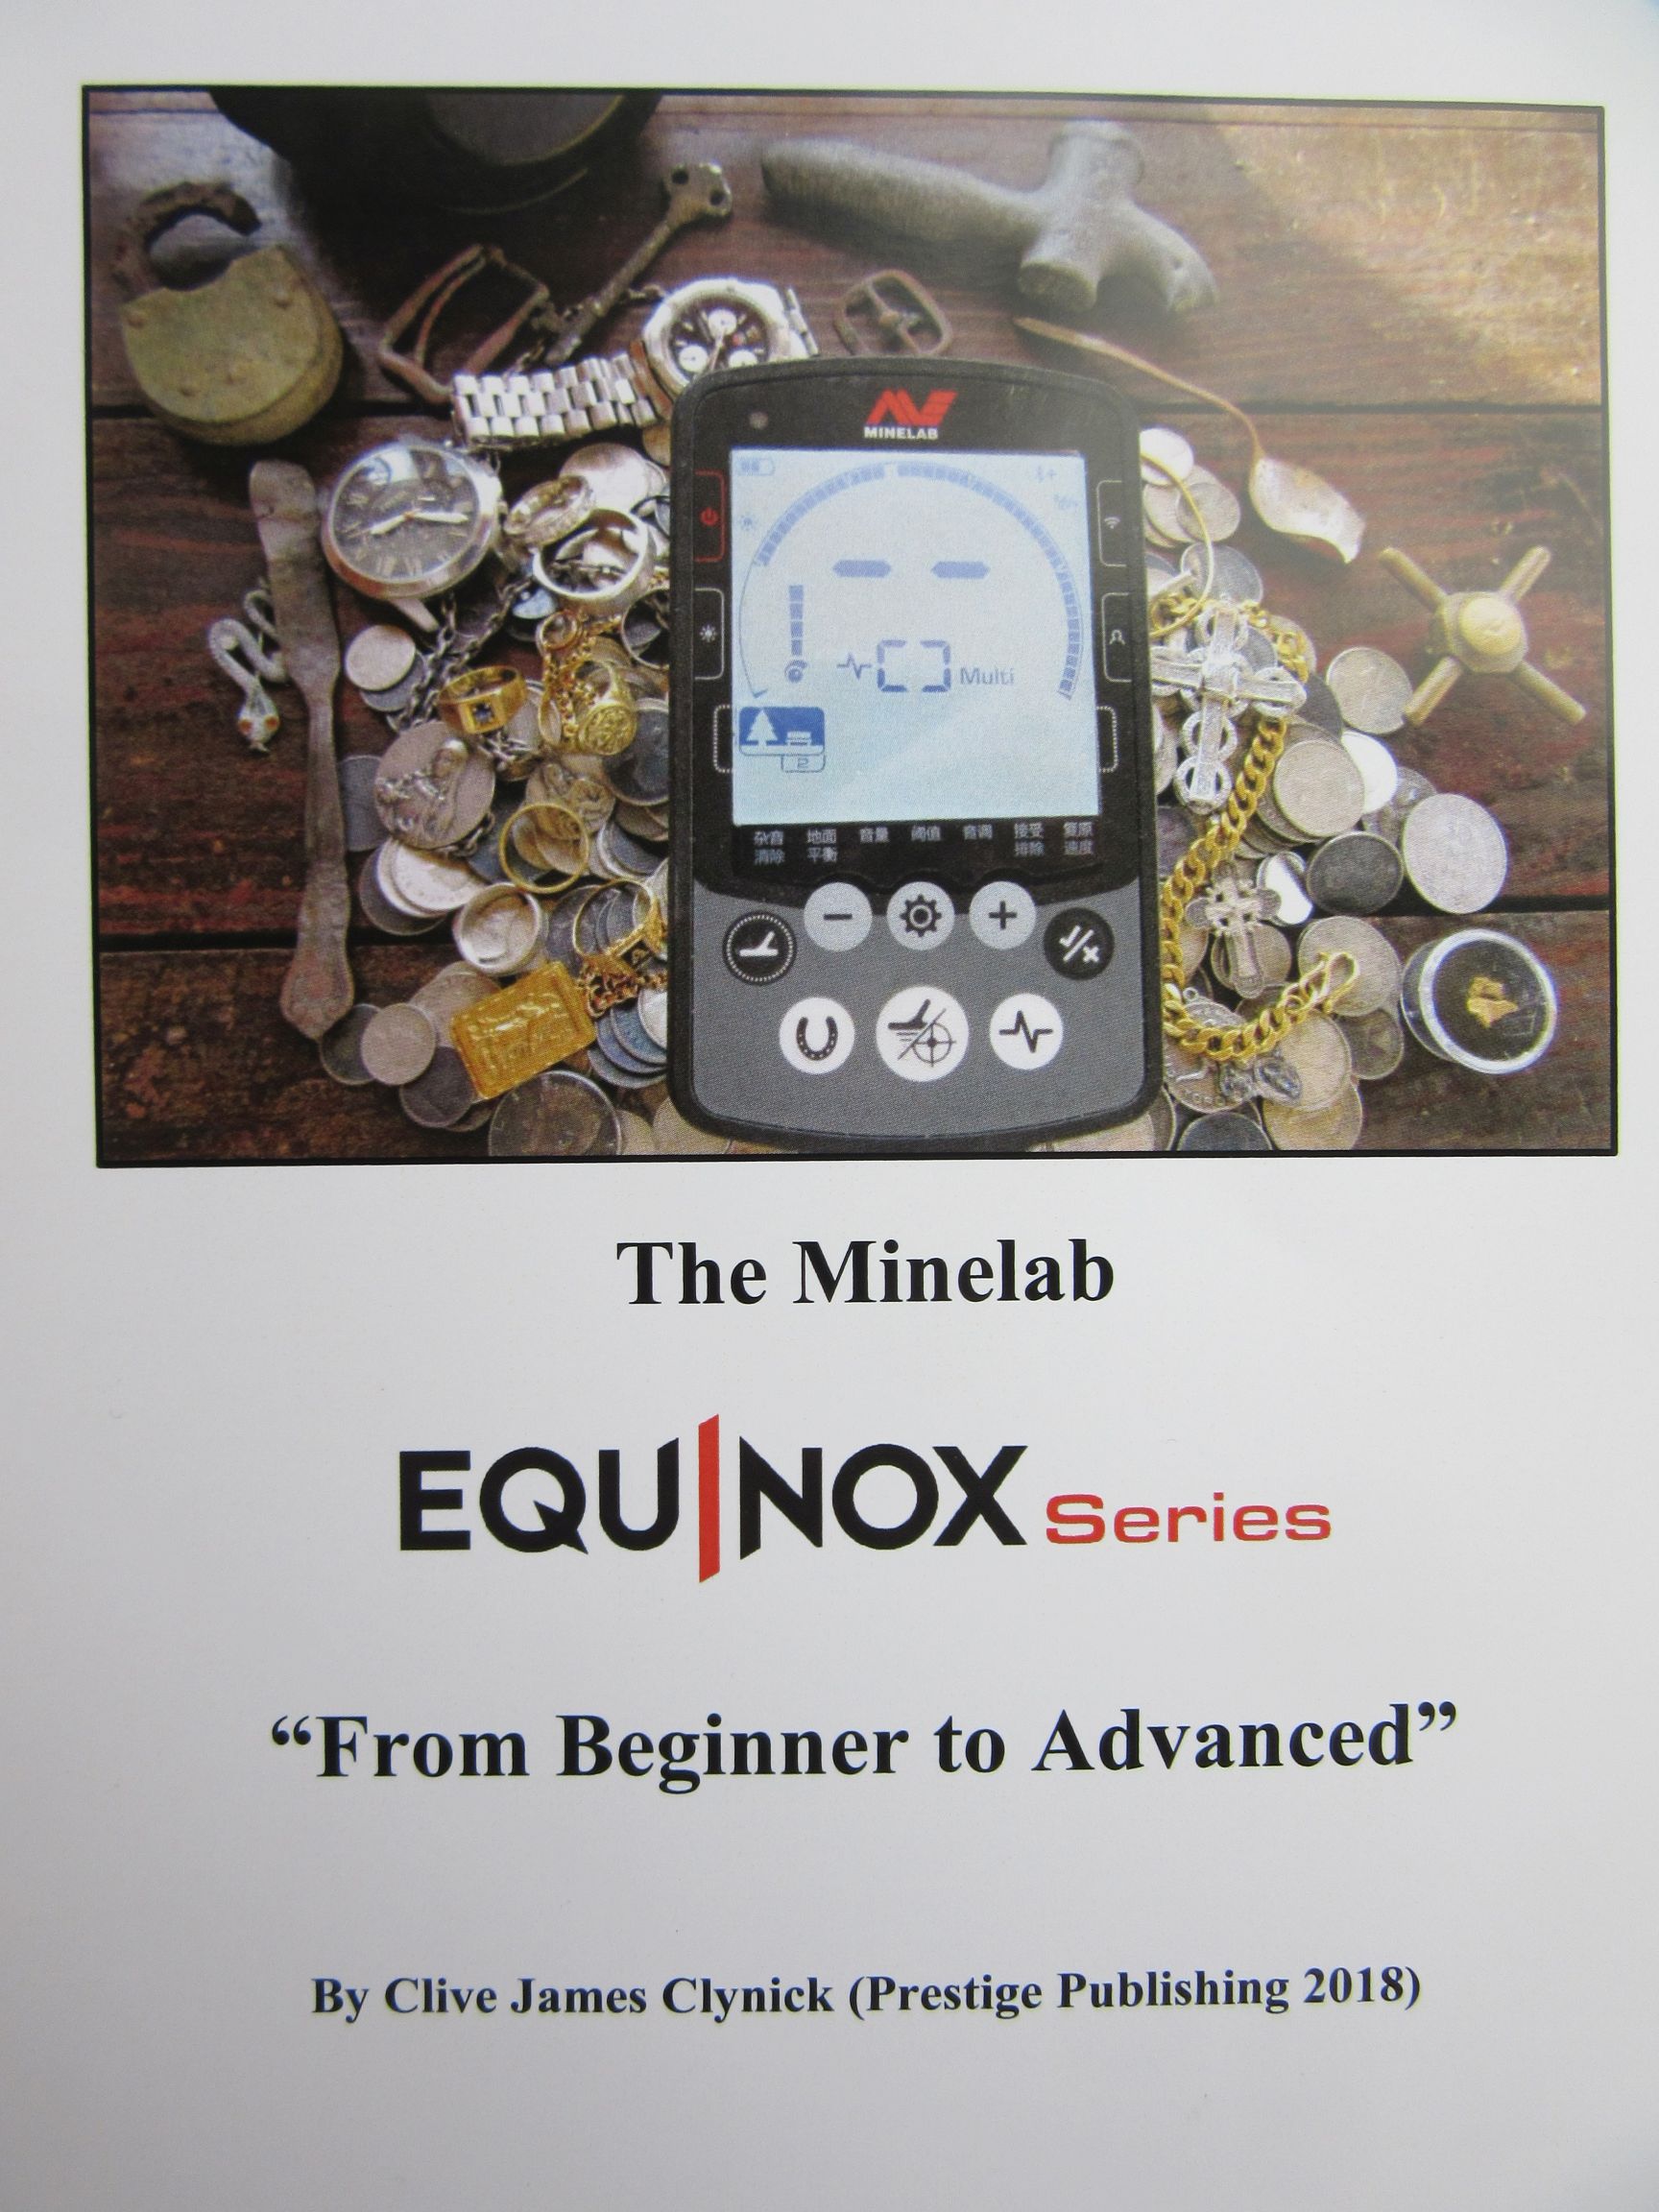


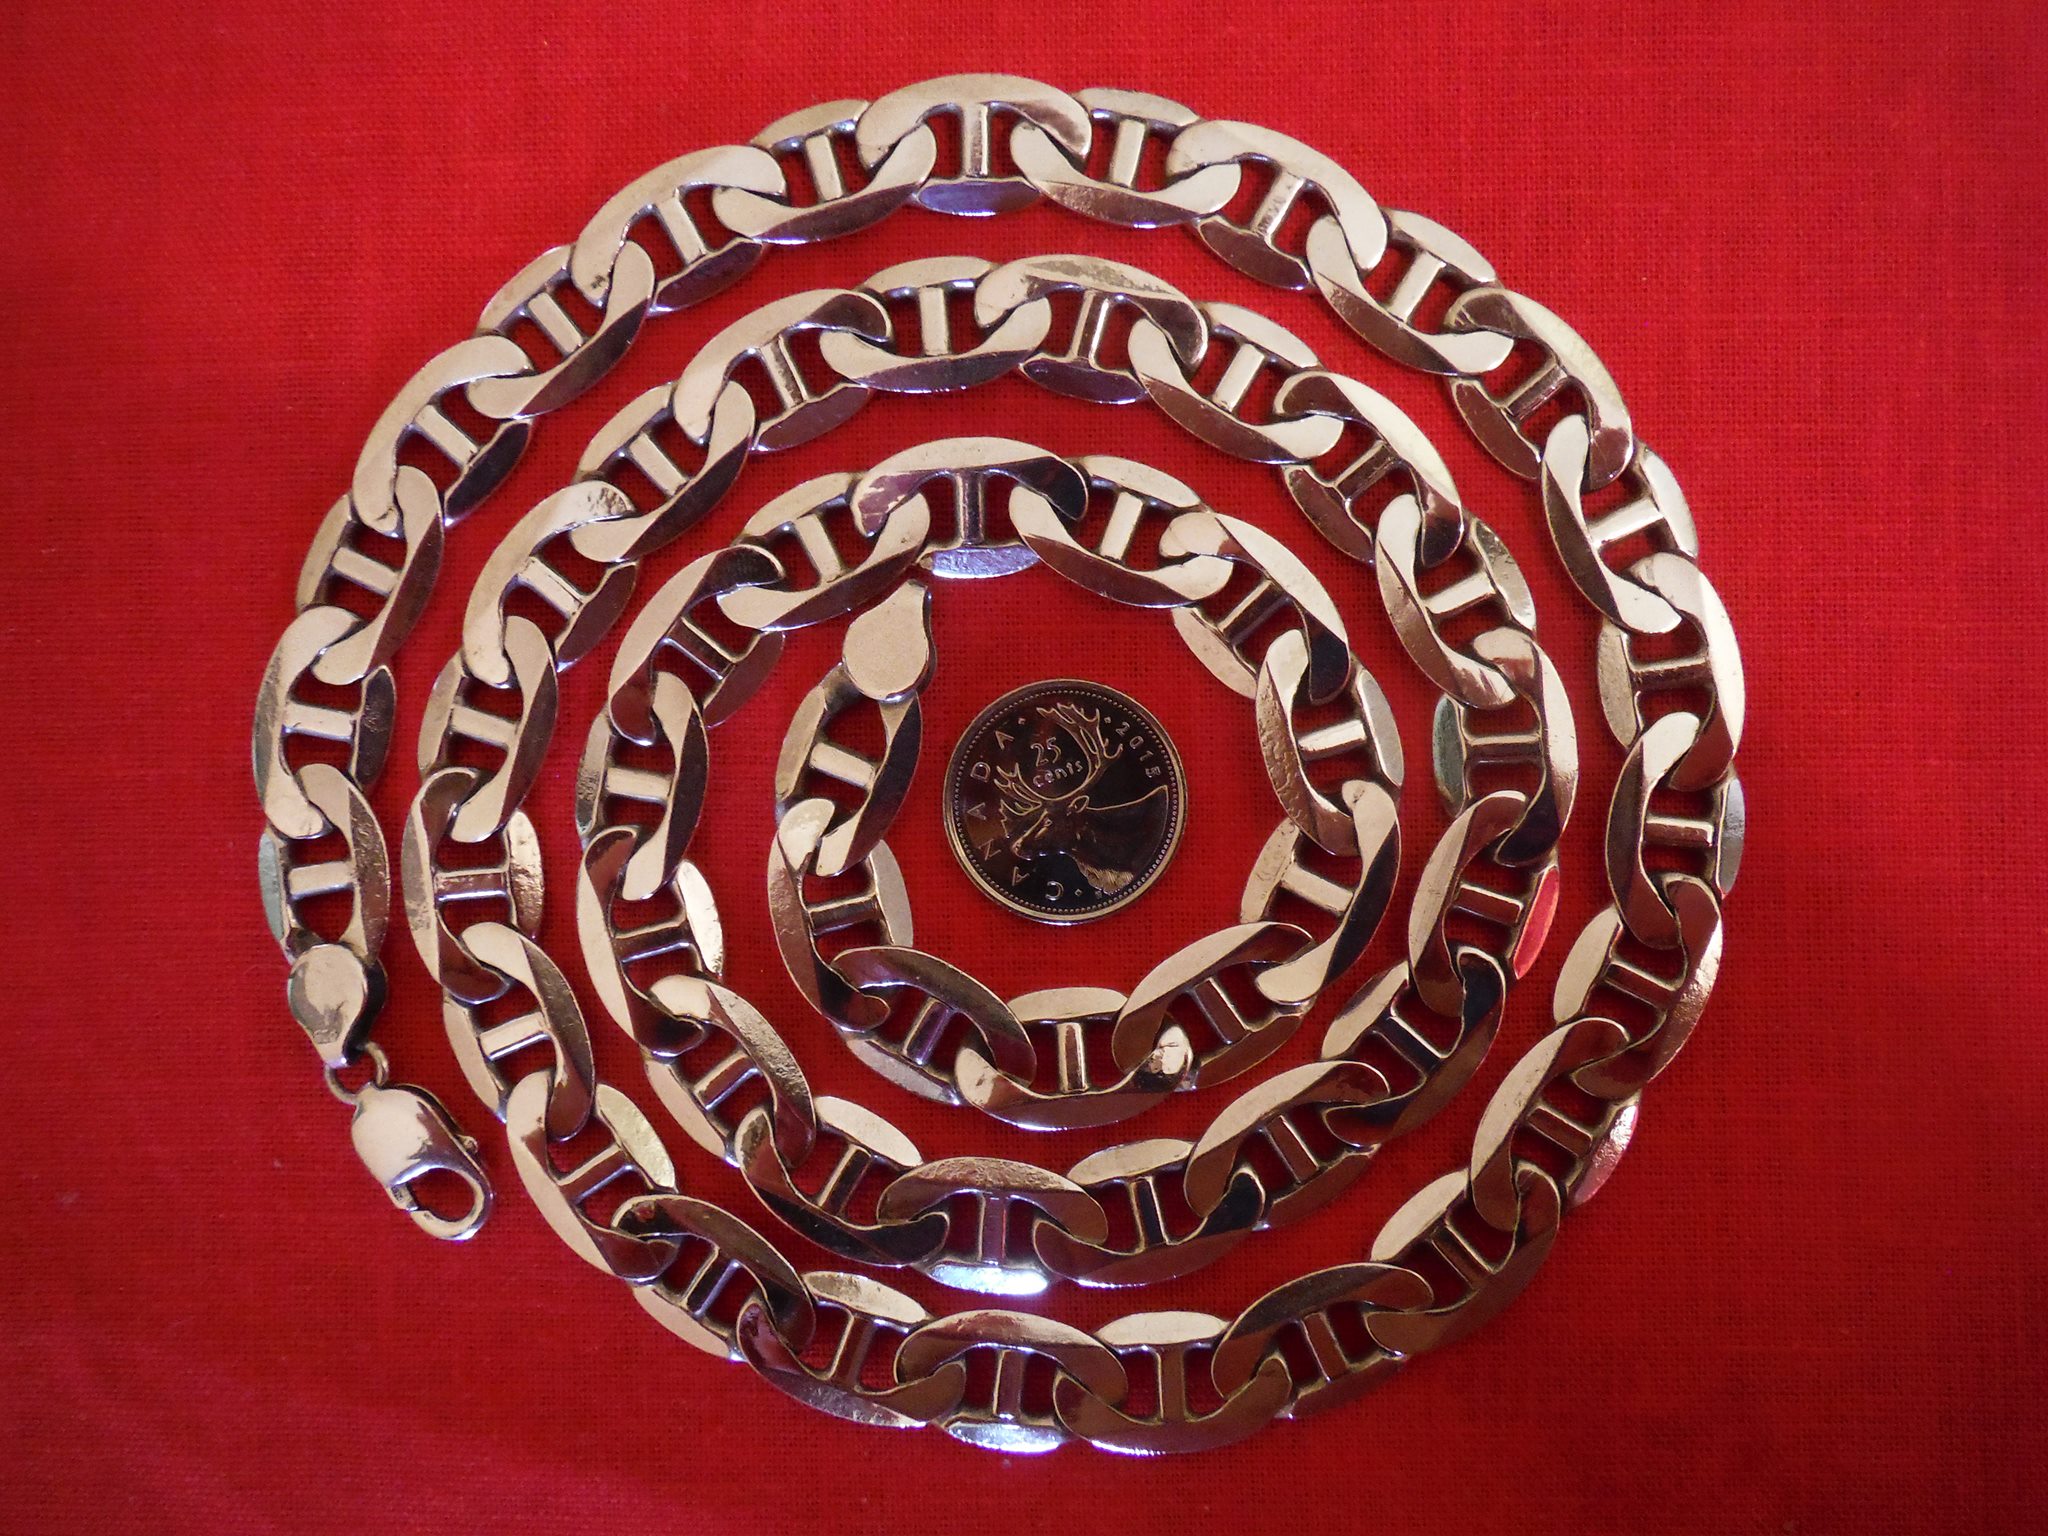

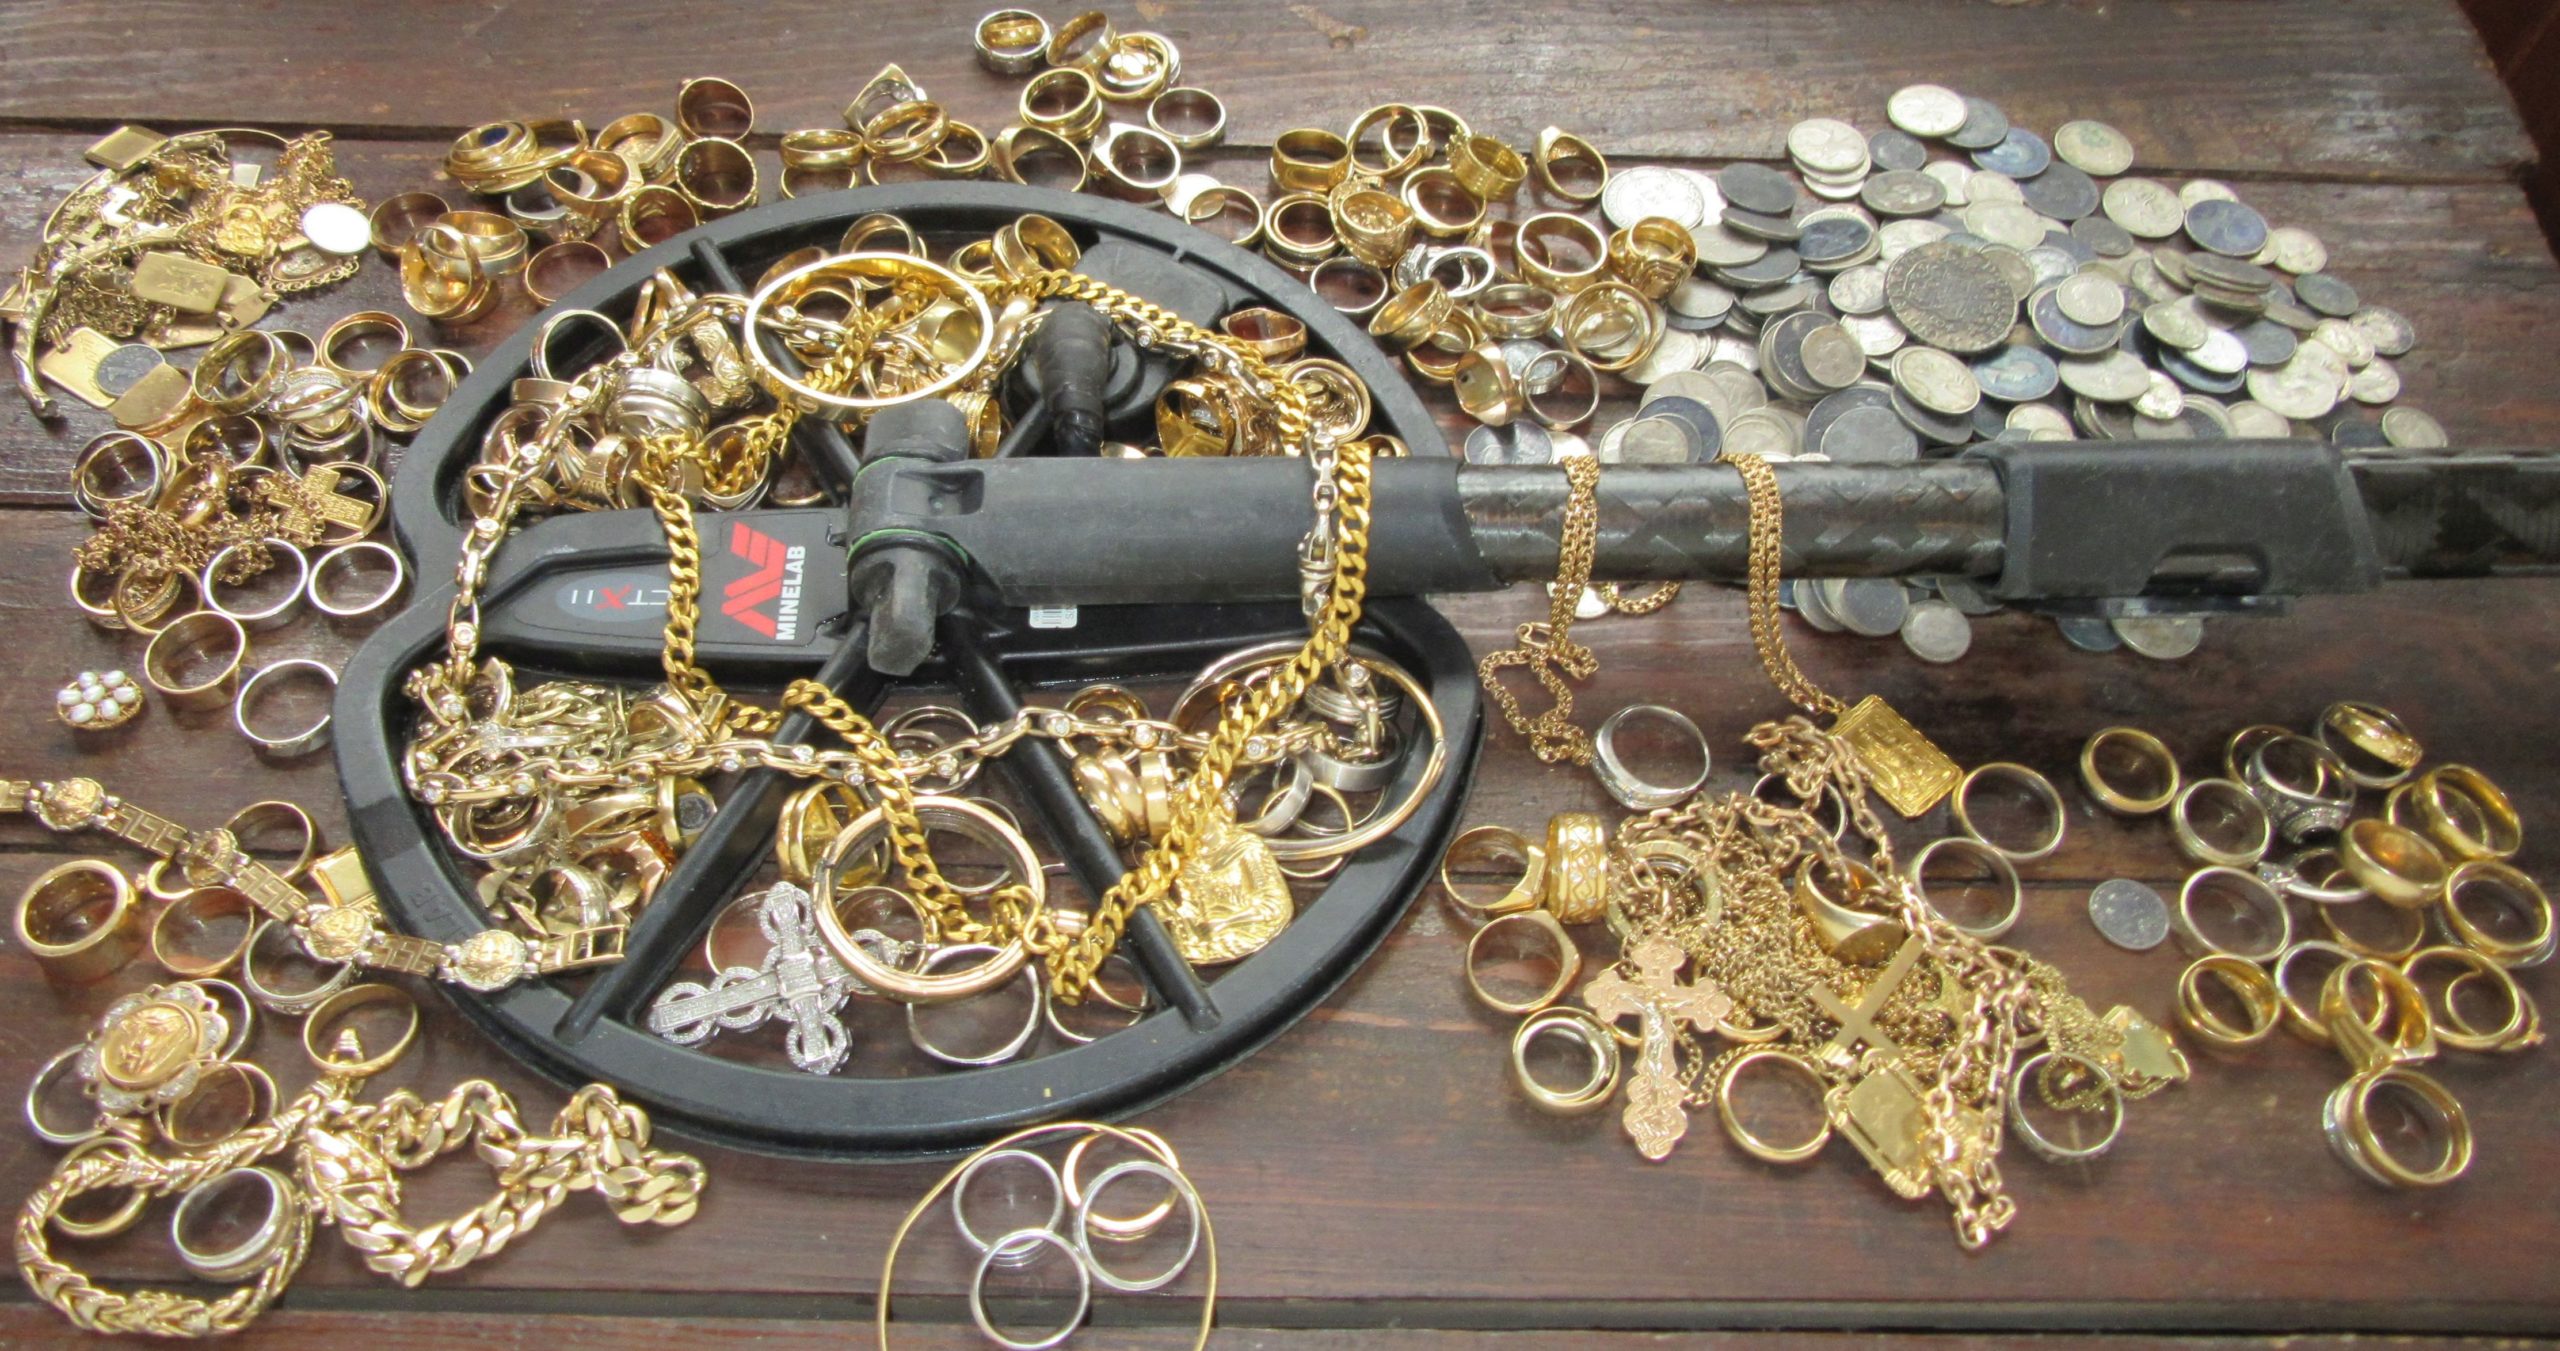
 er’s Guide” by Clive James Clynick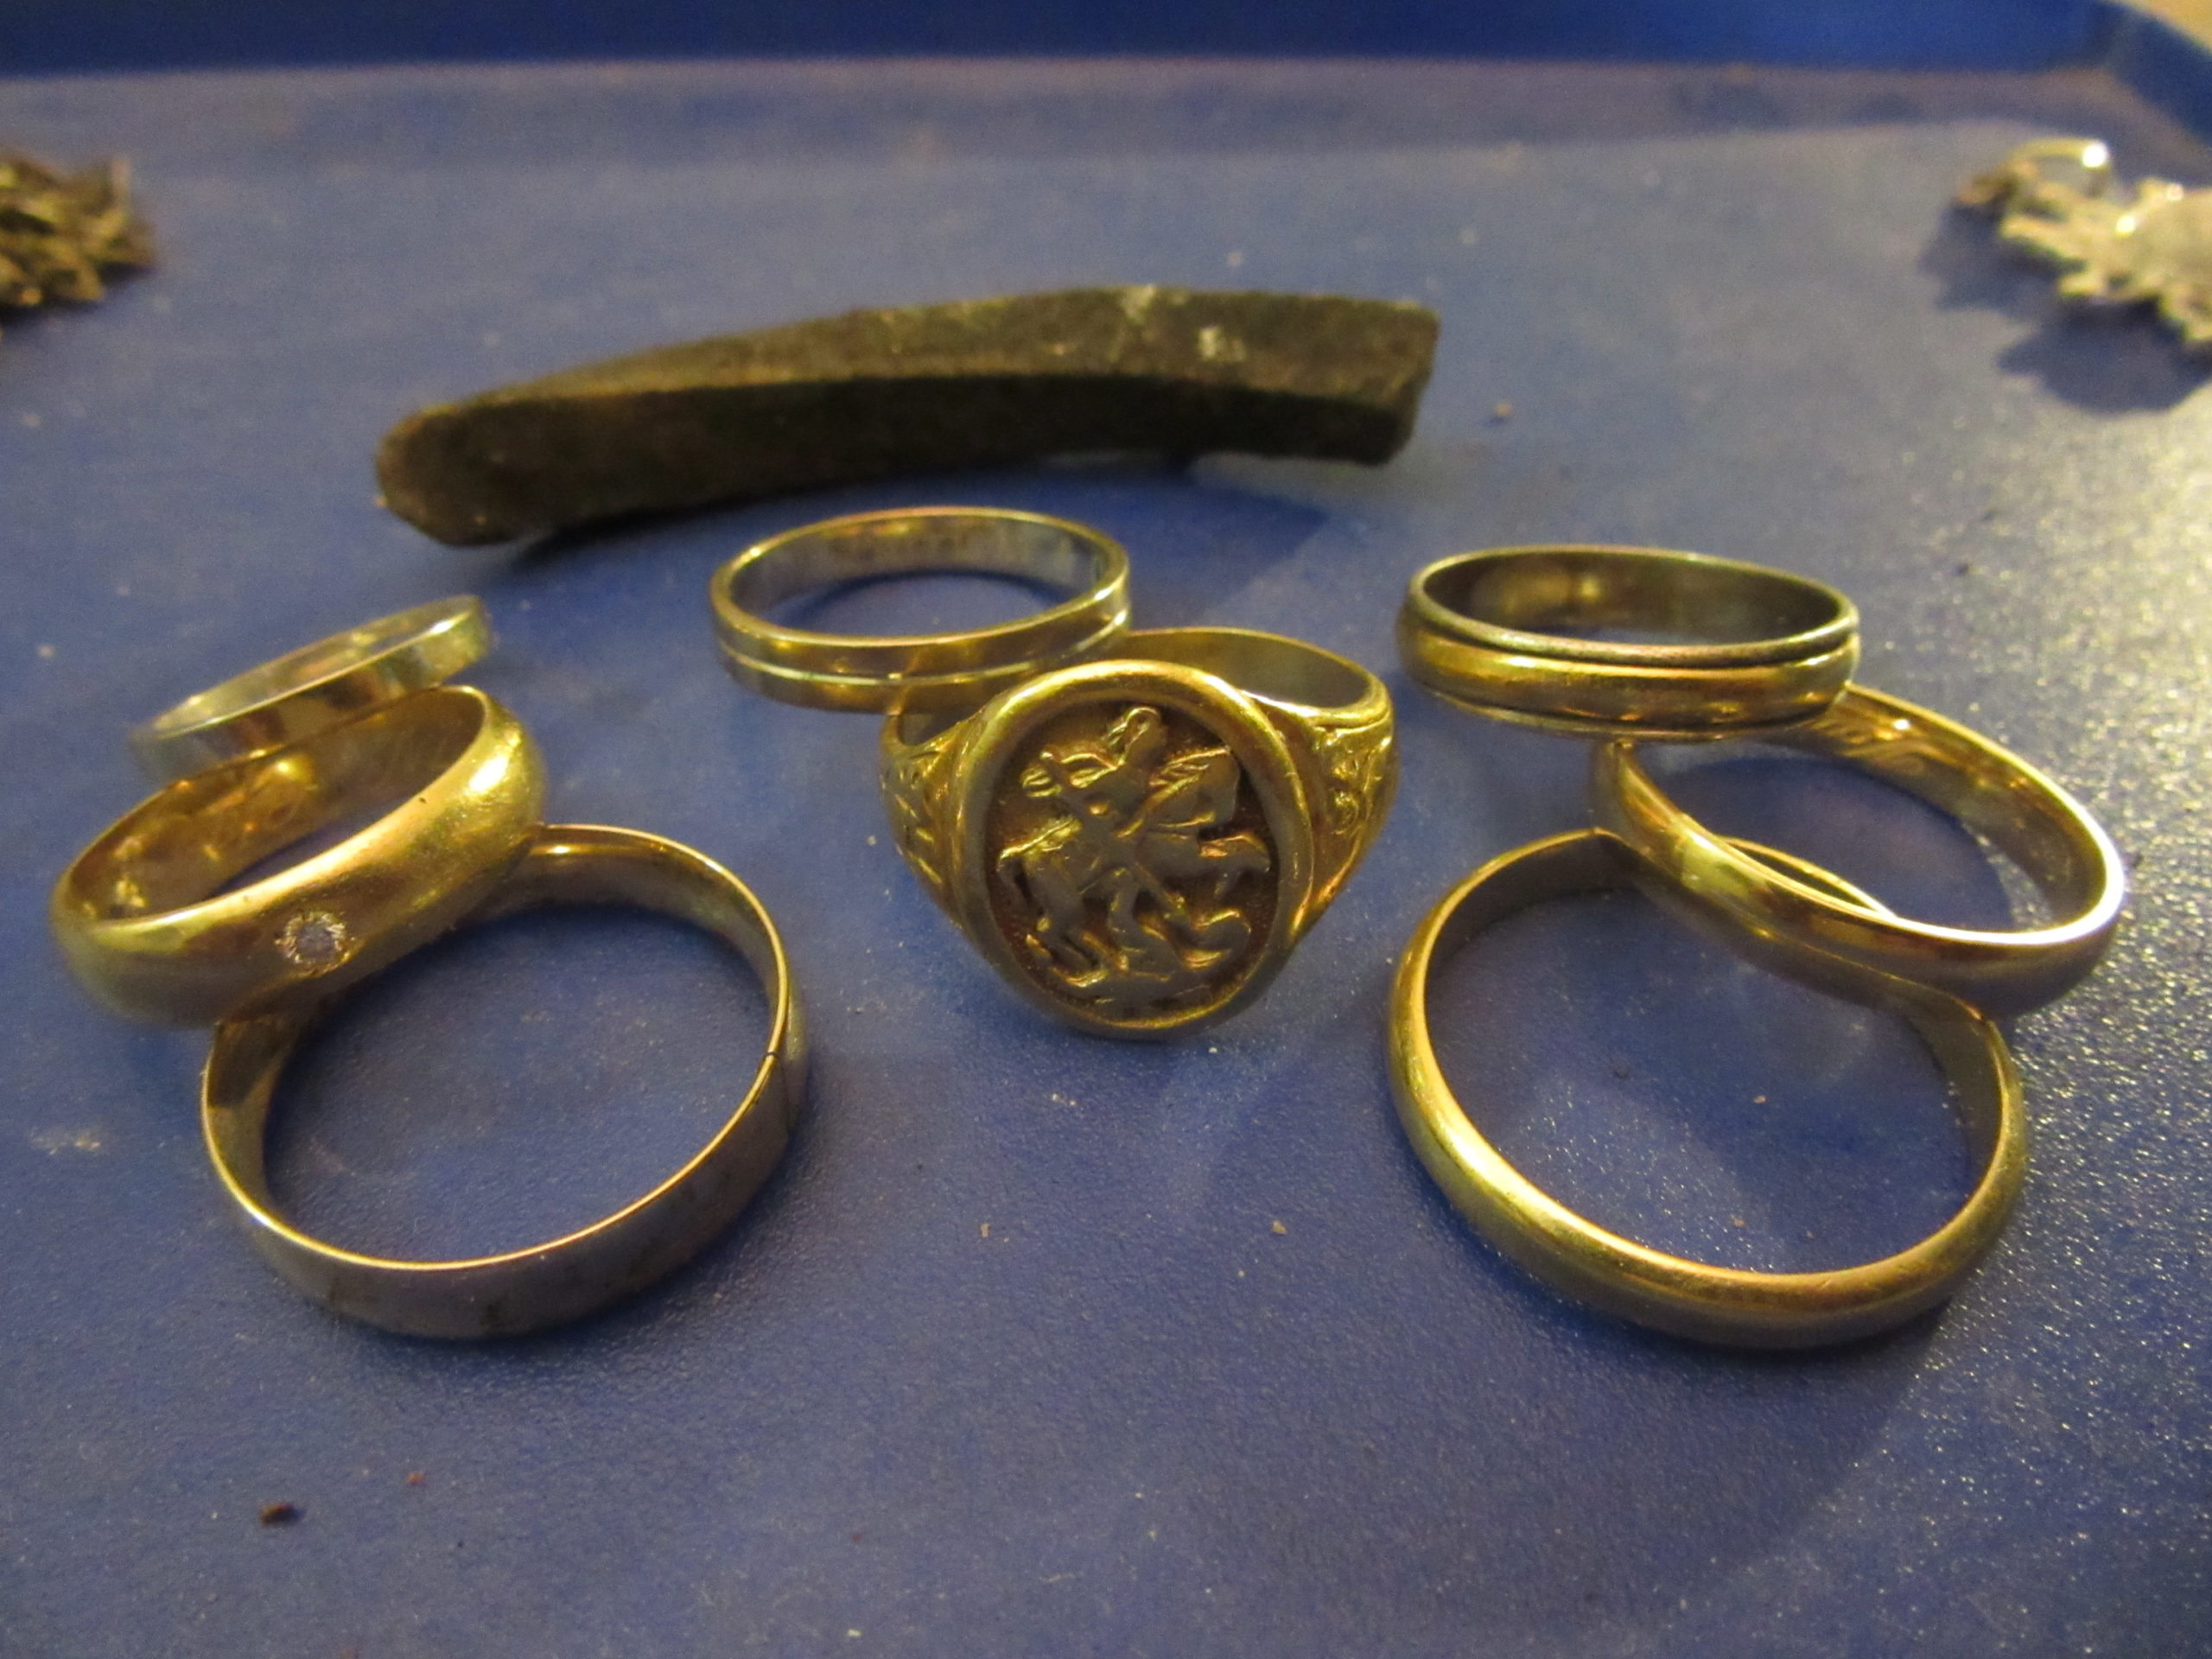


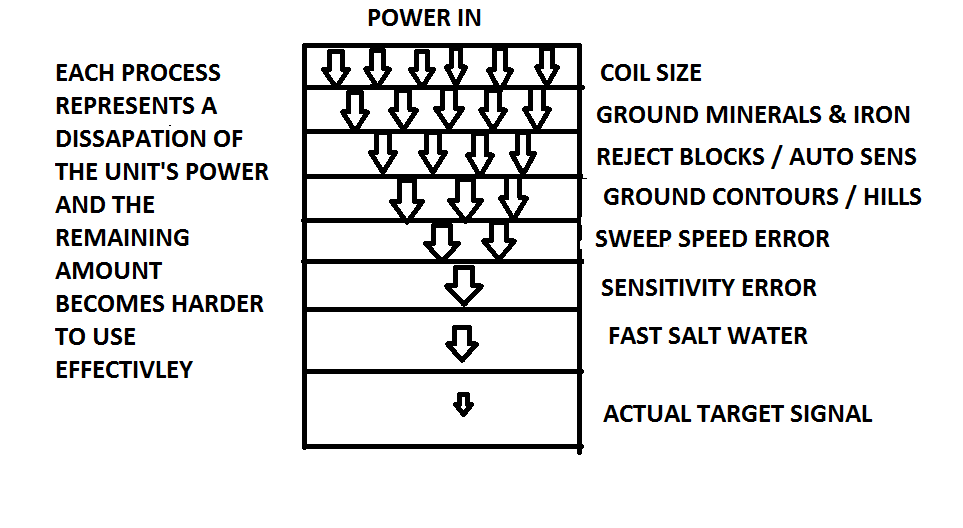

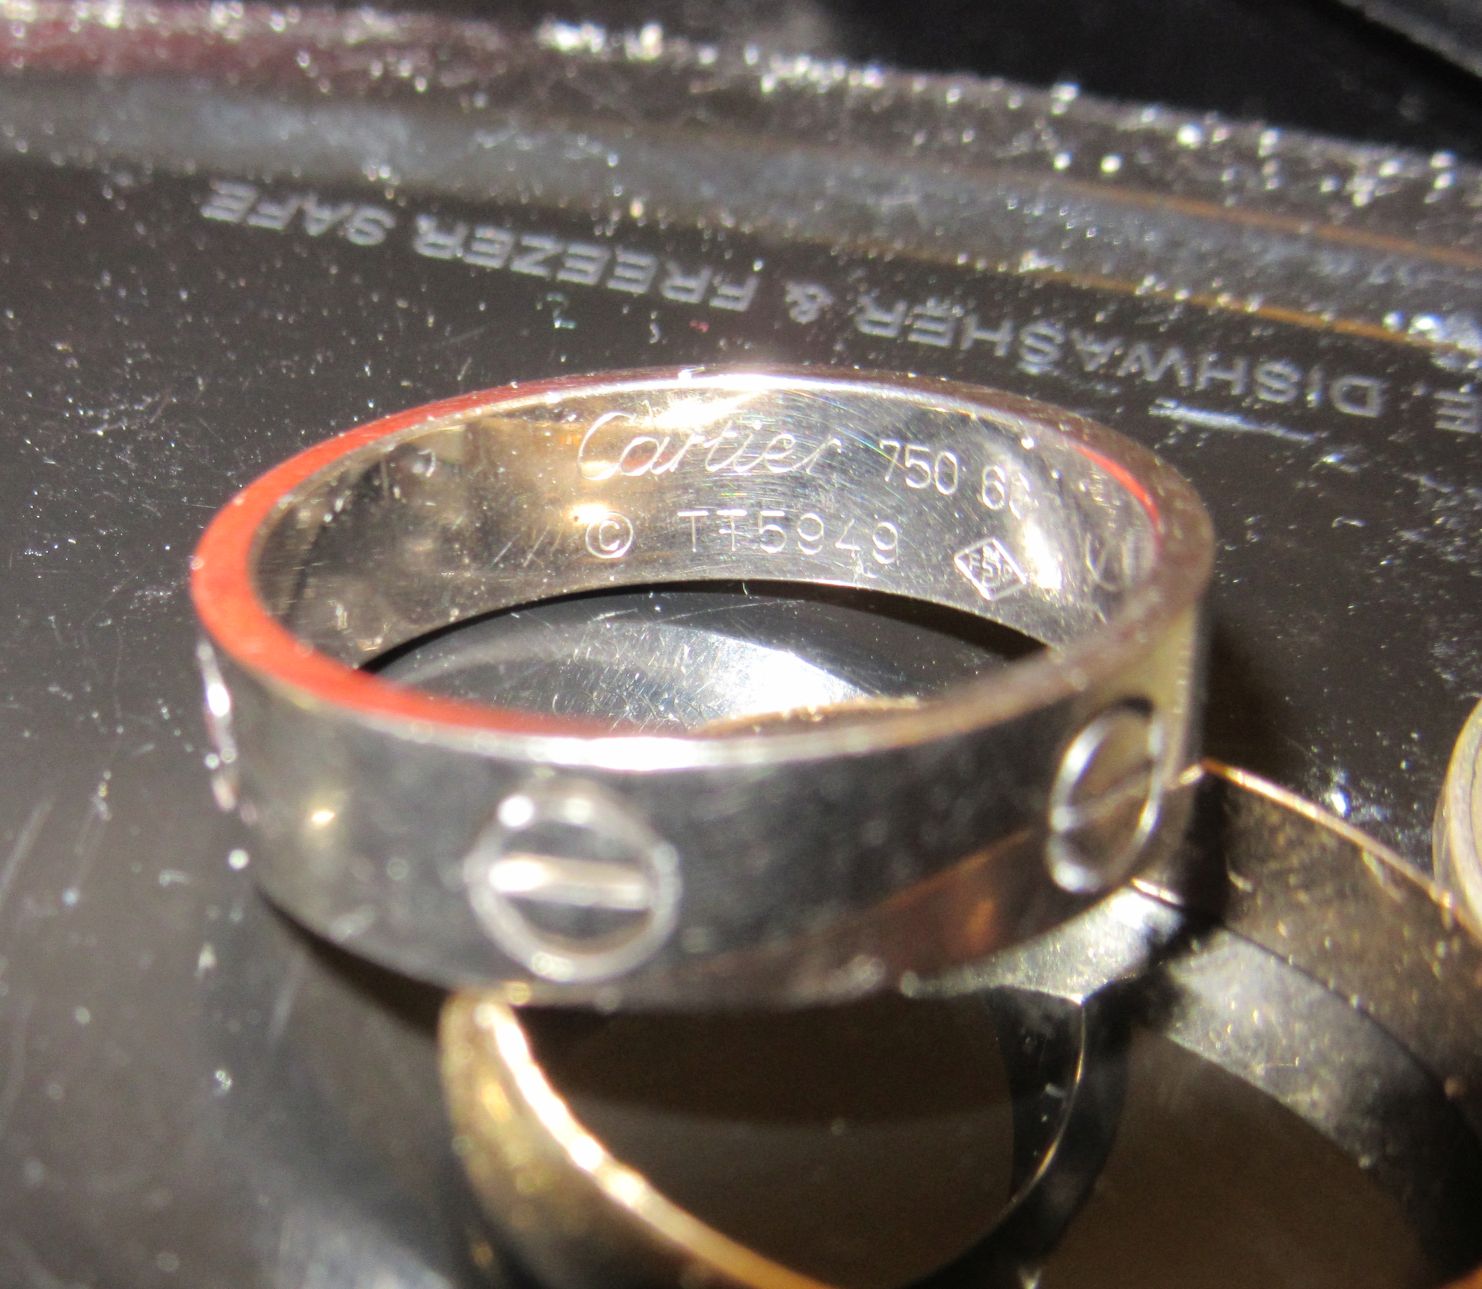


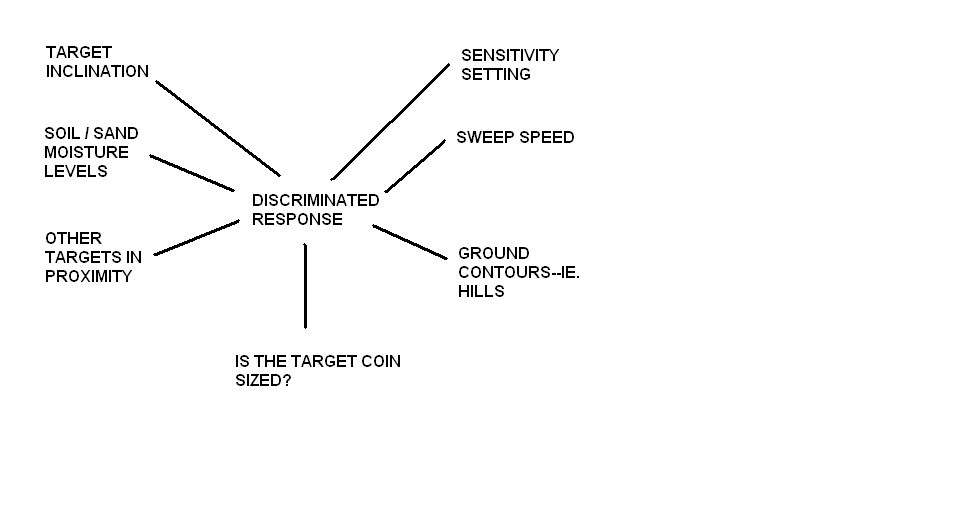
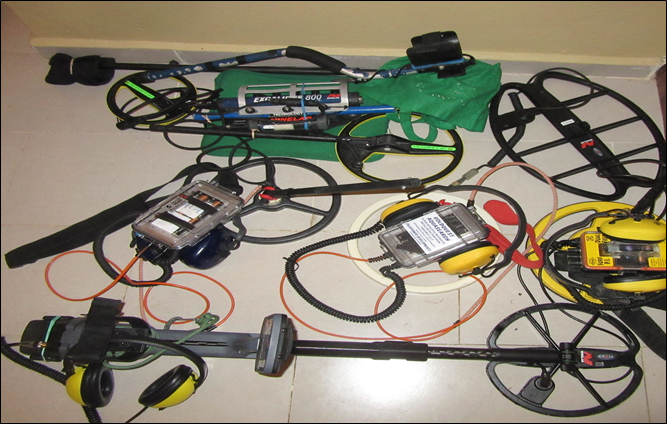

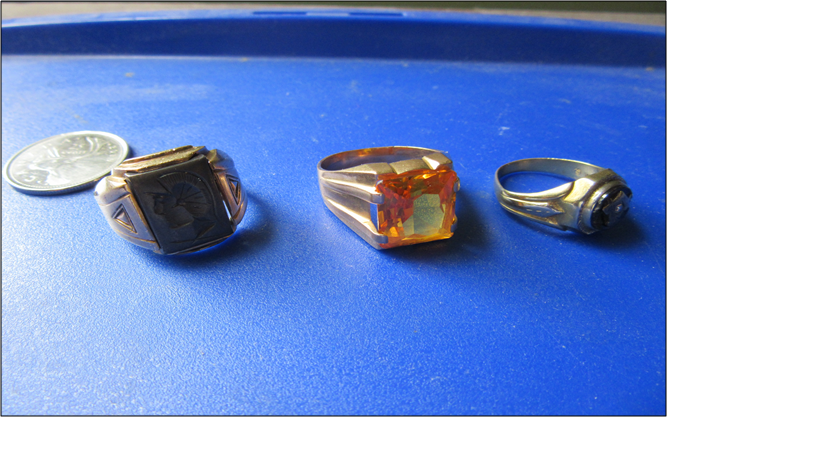


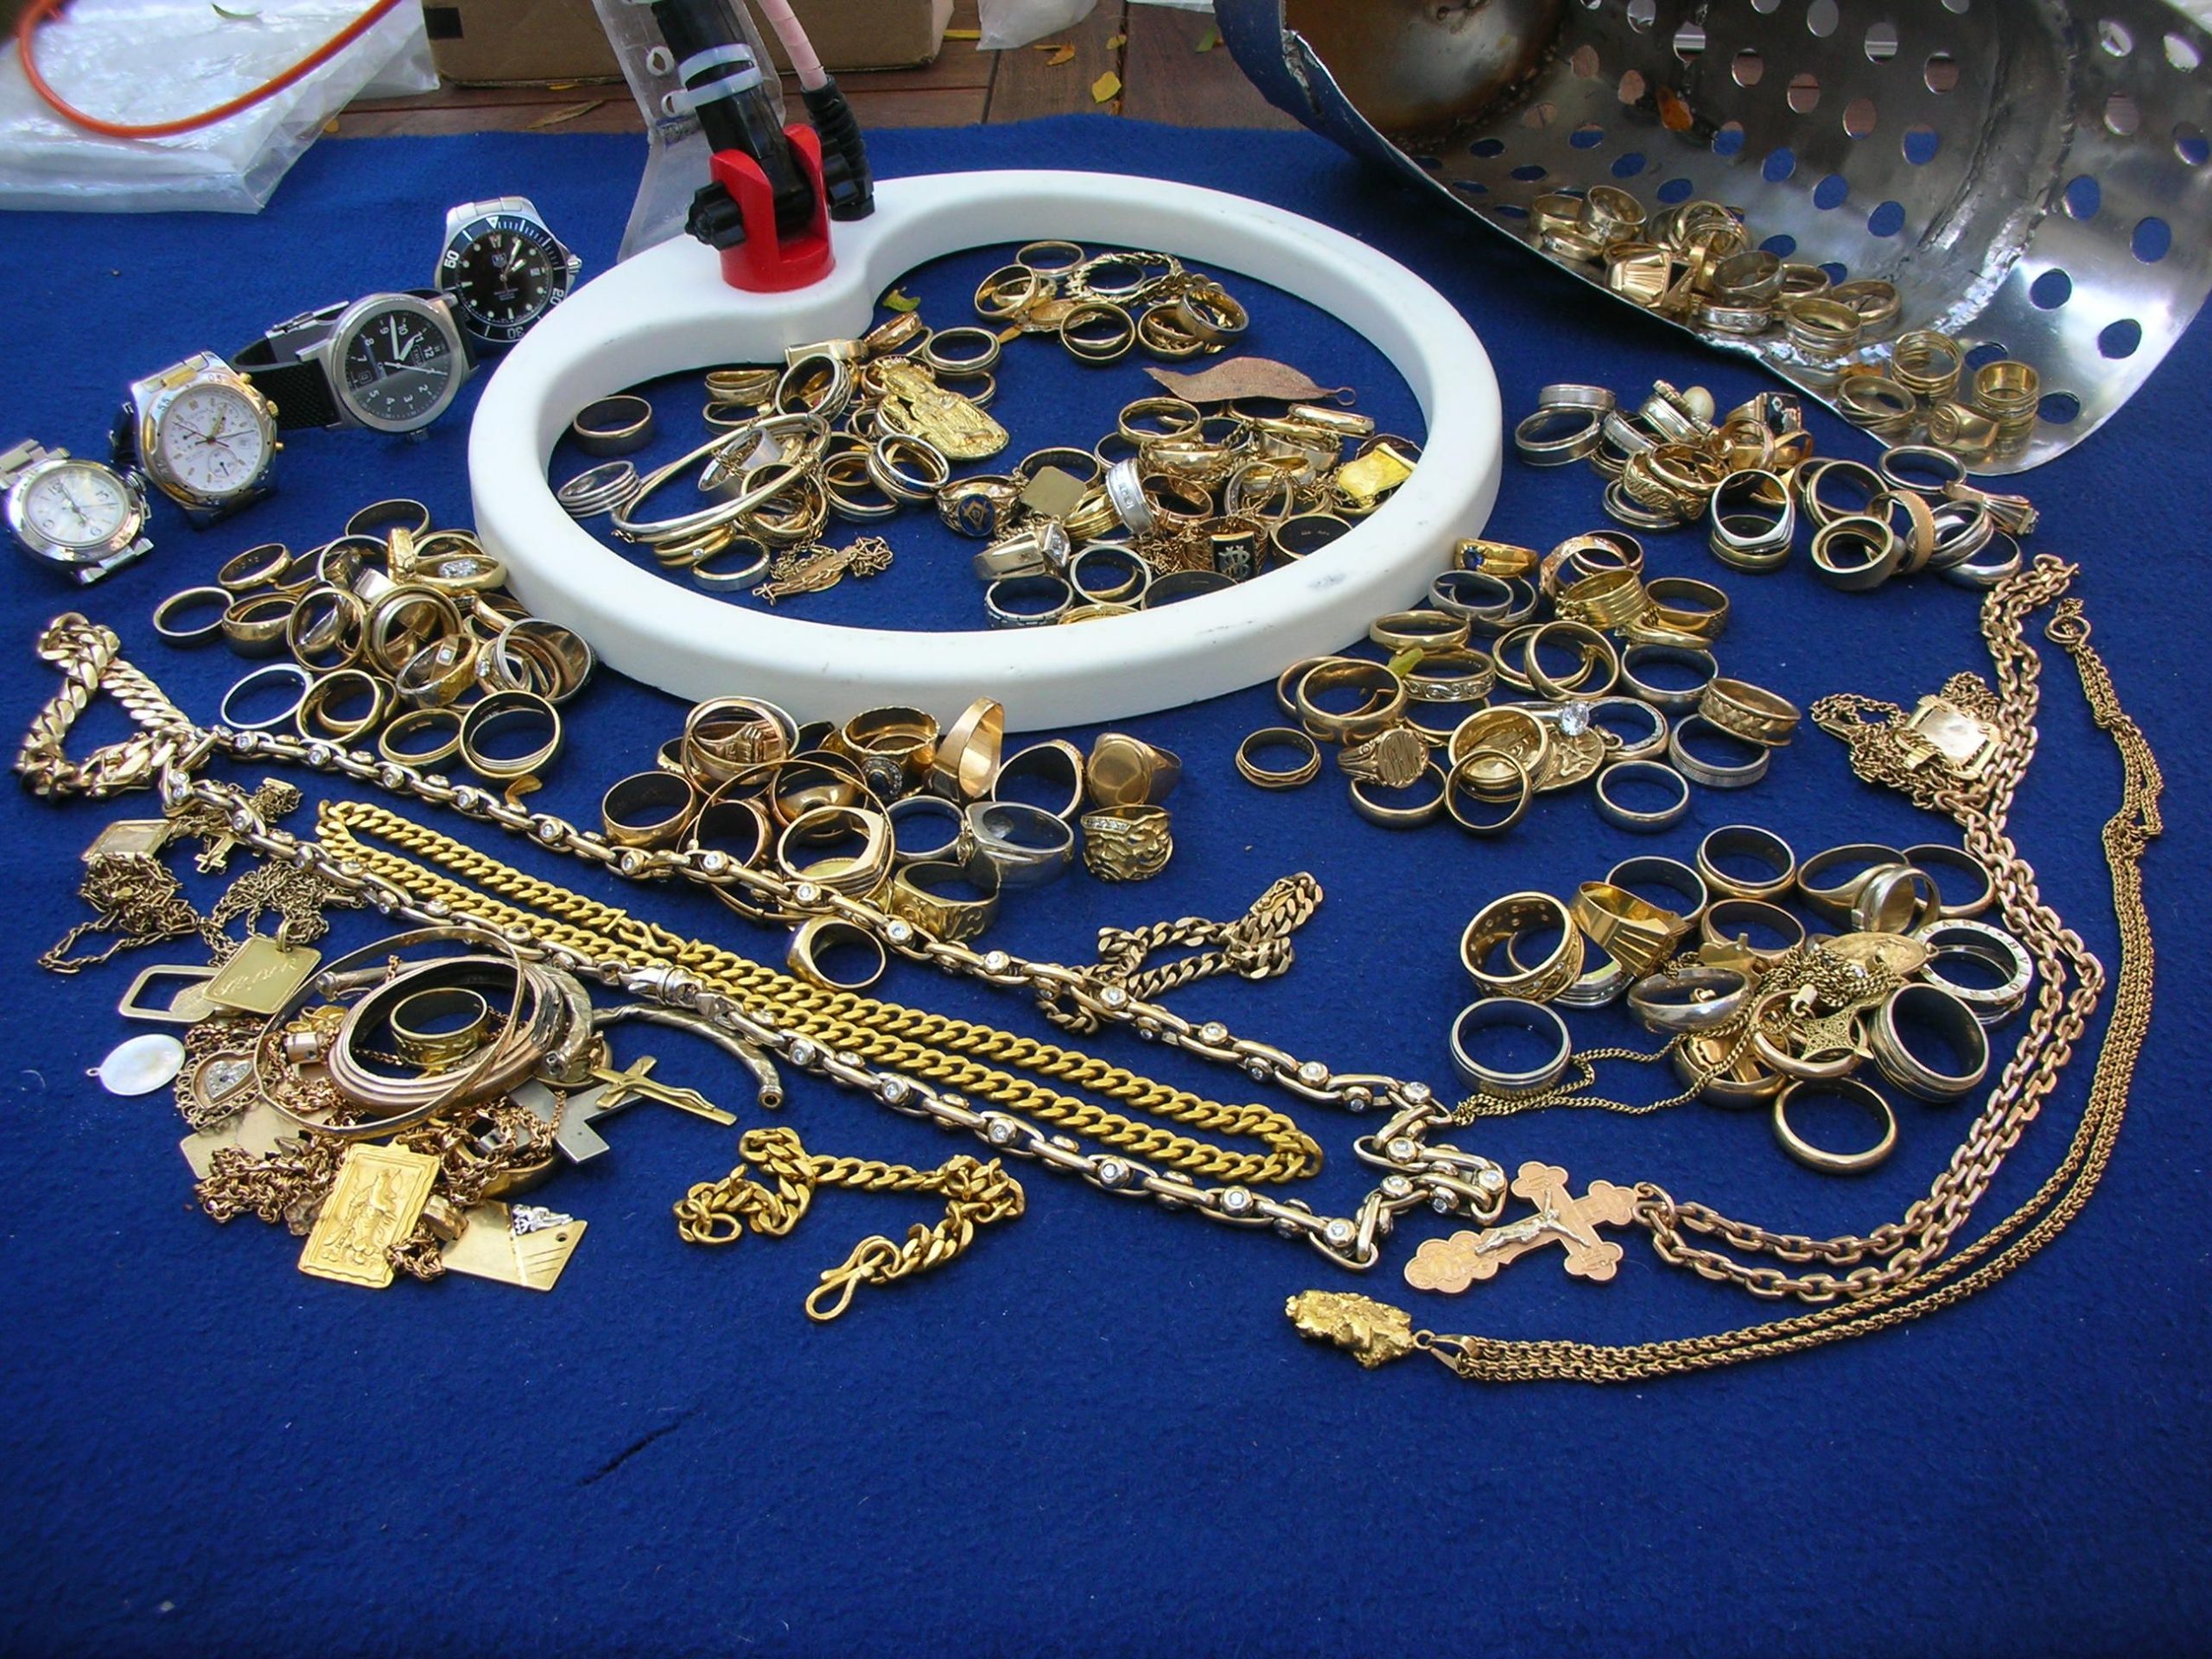




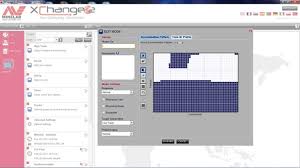
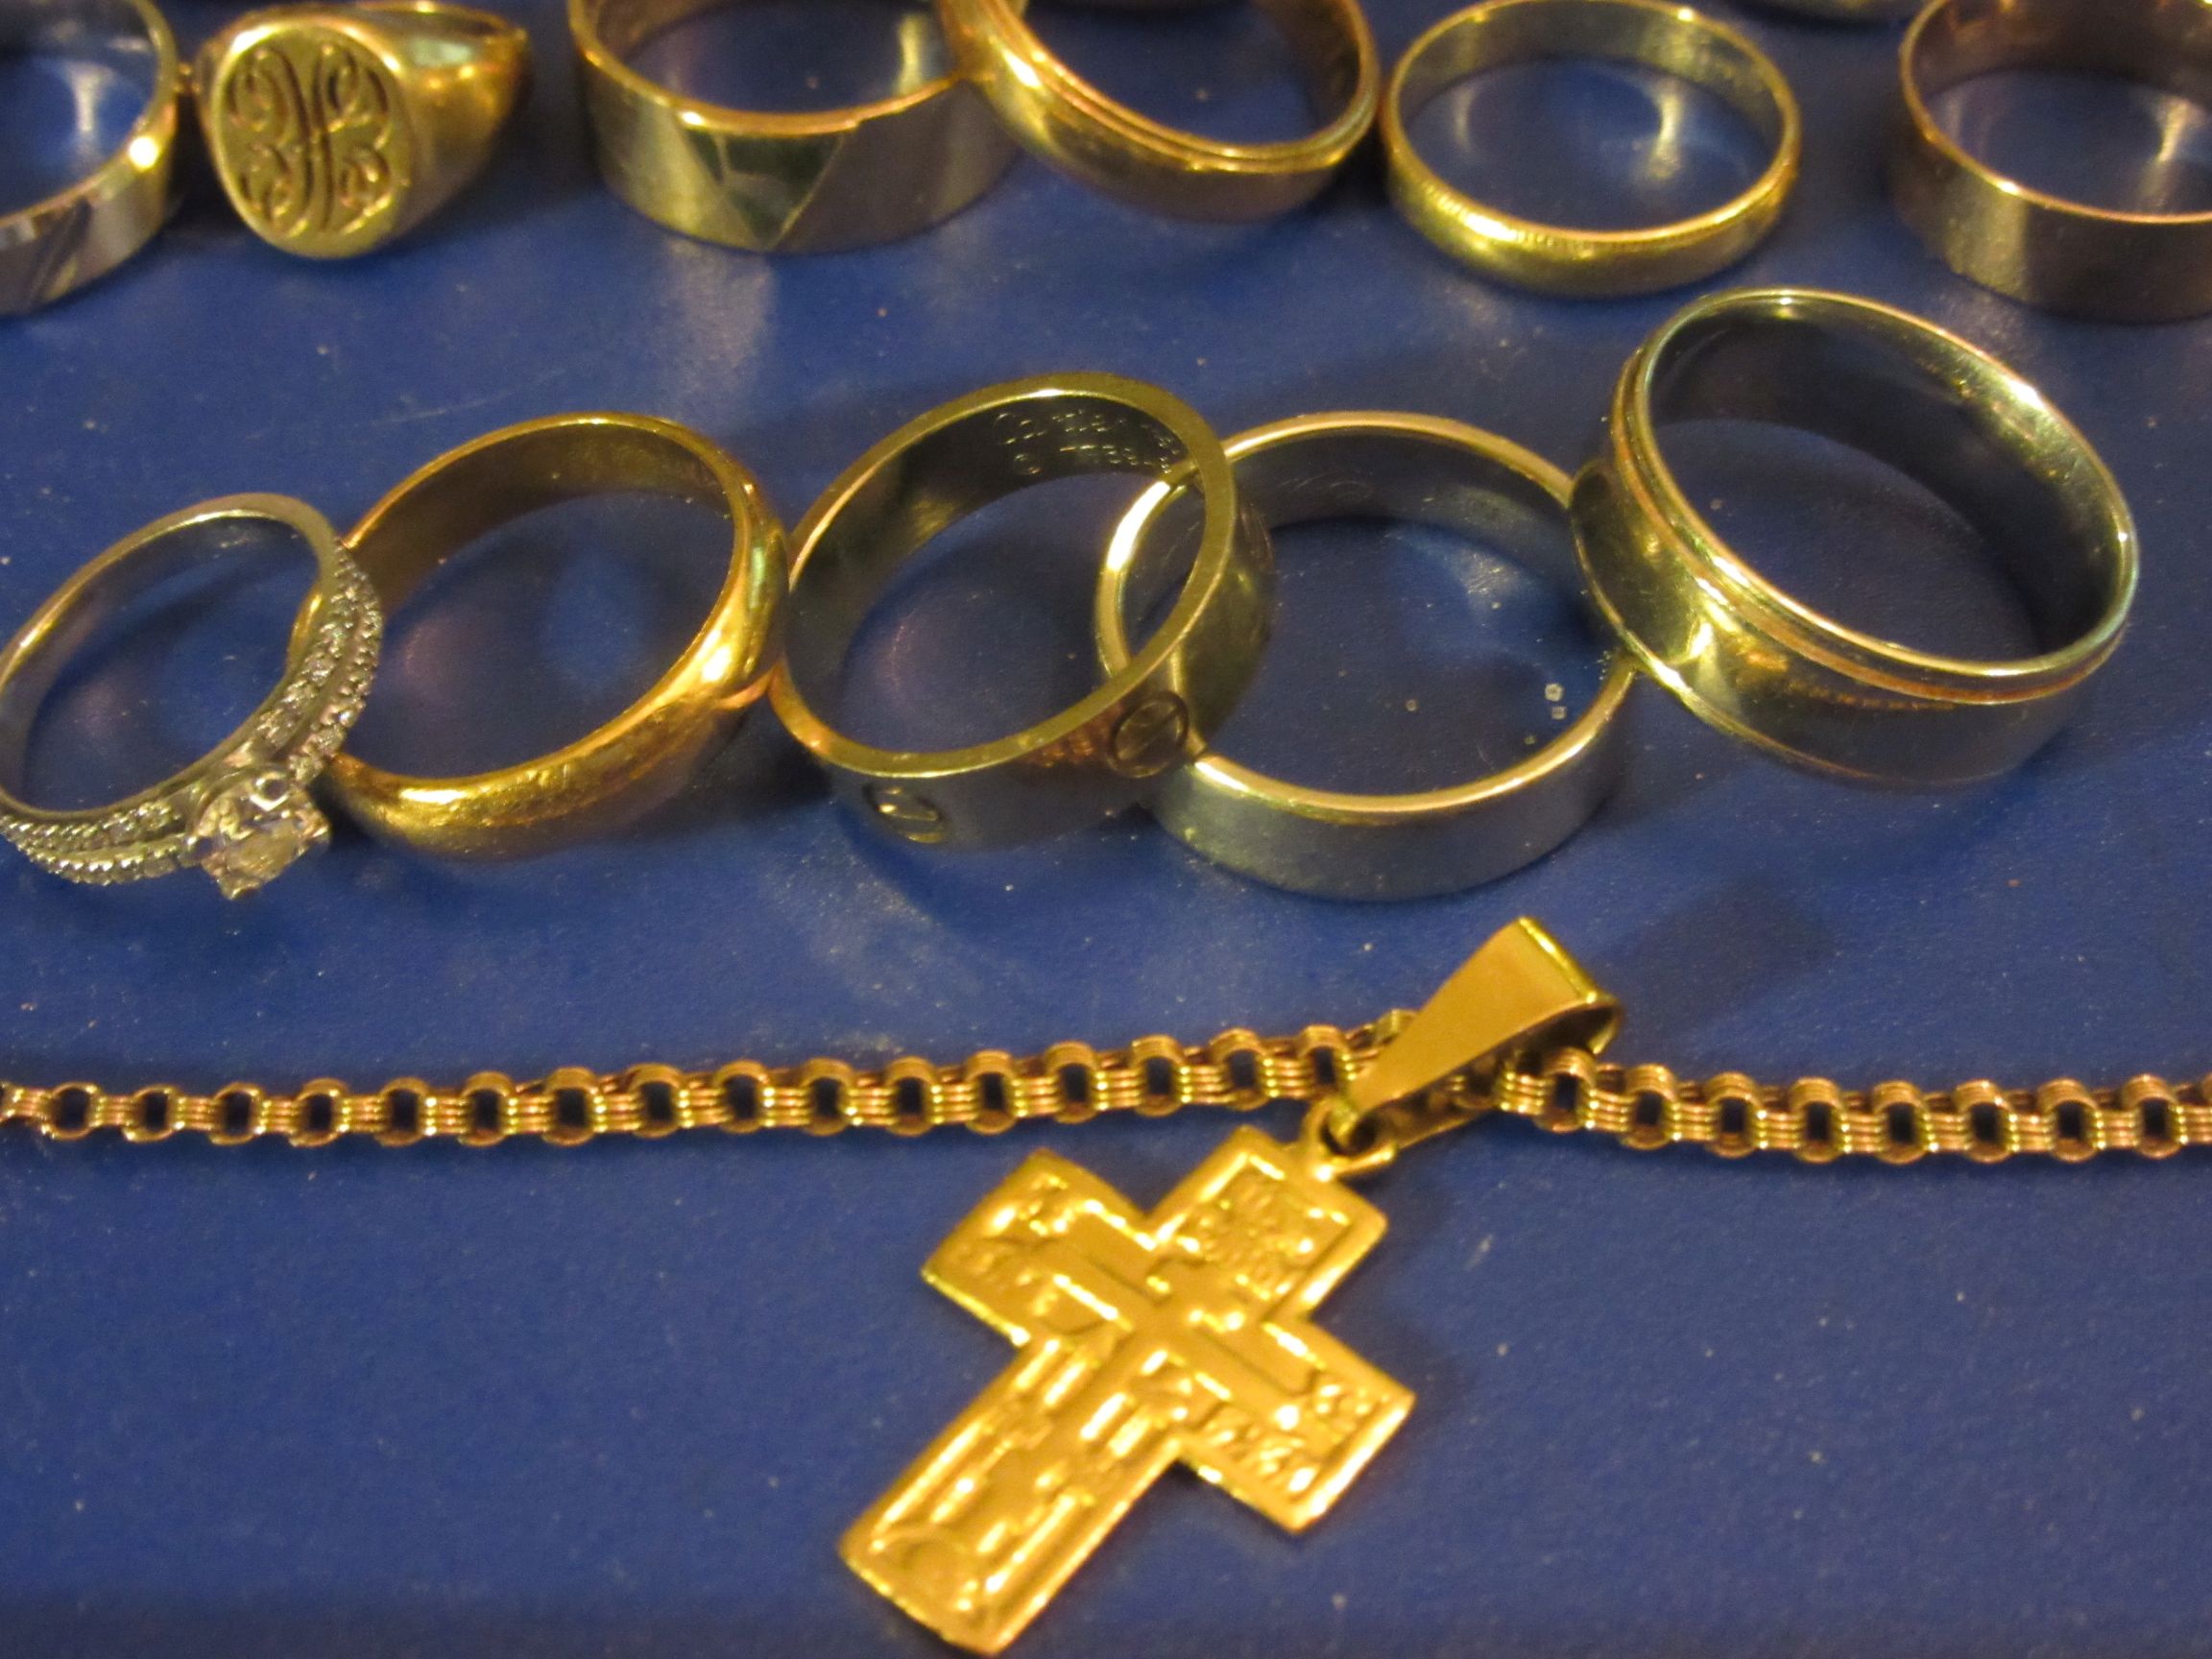


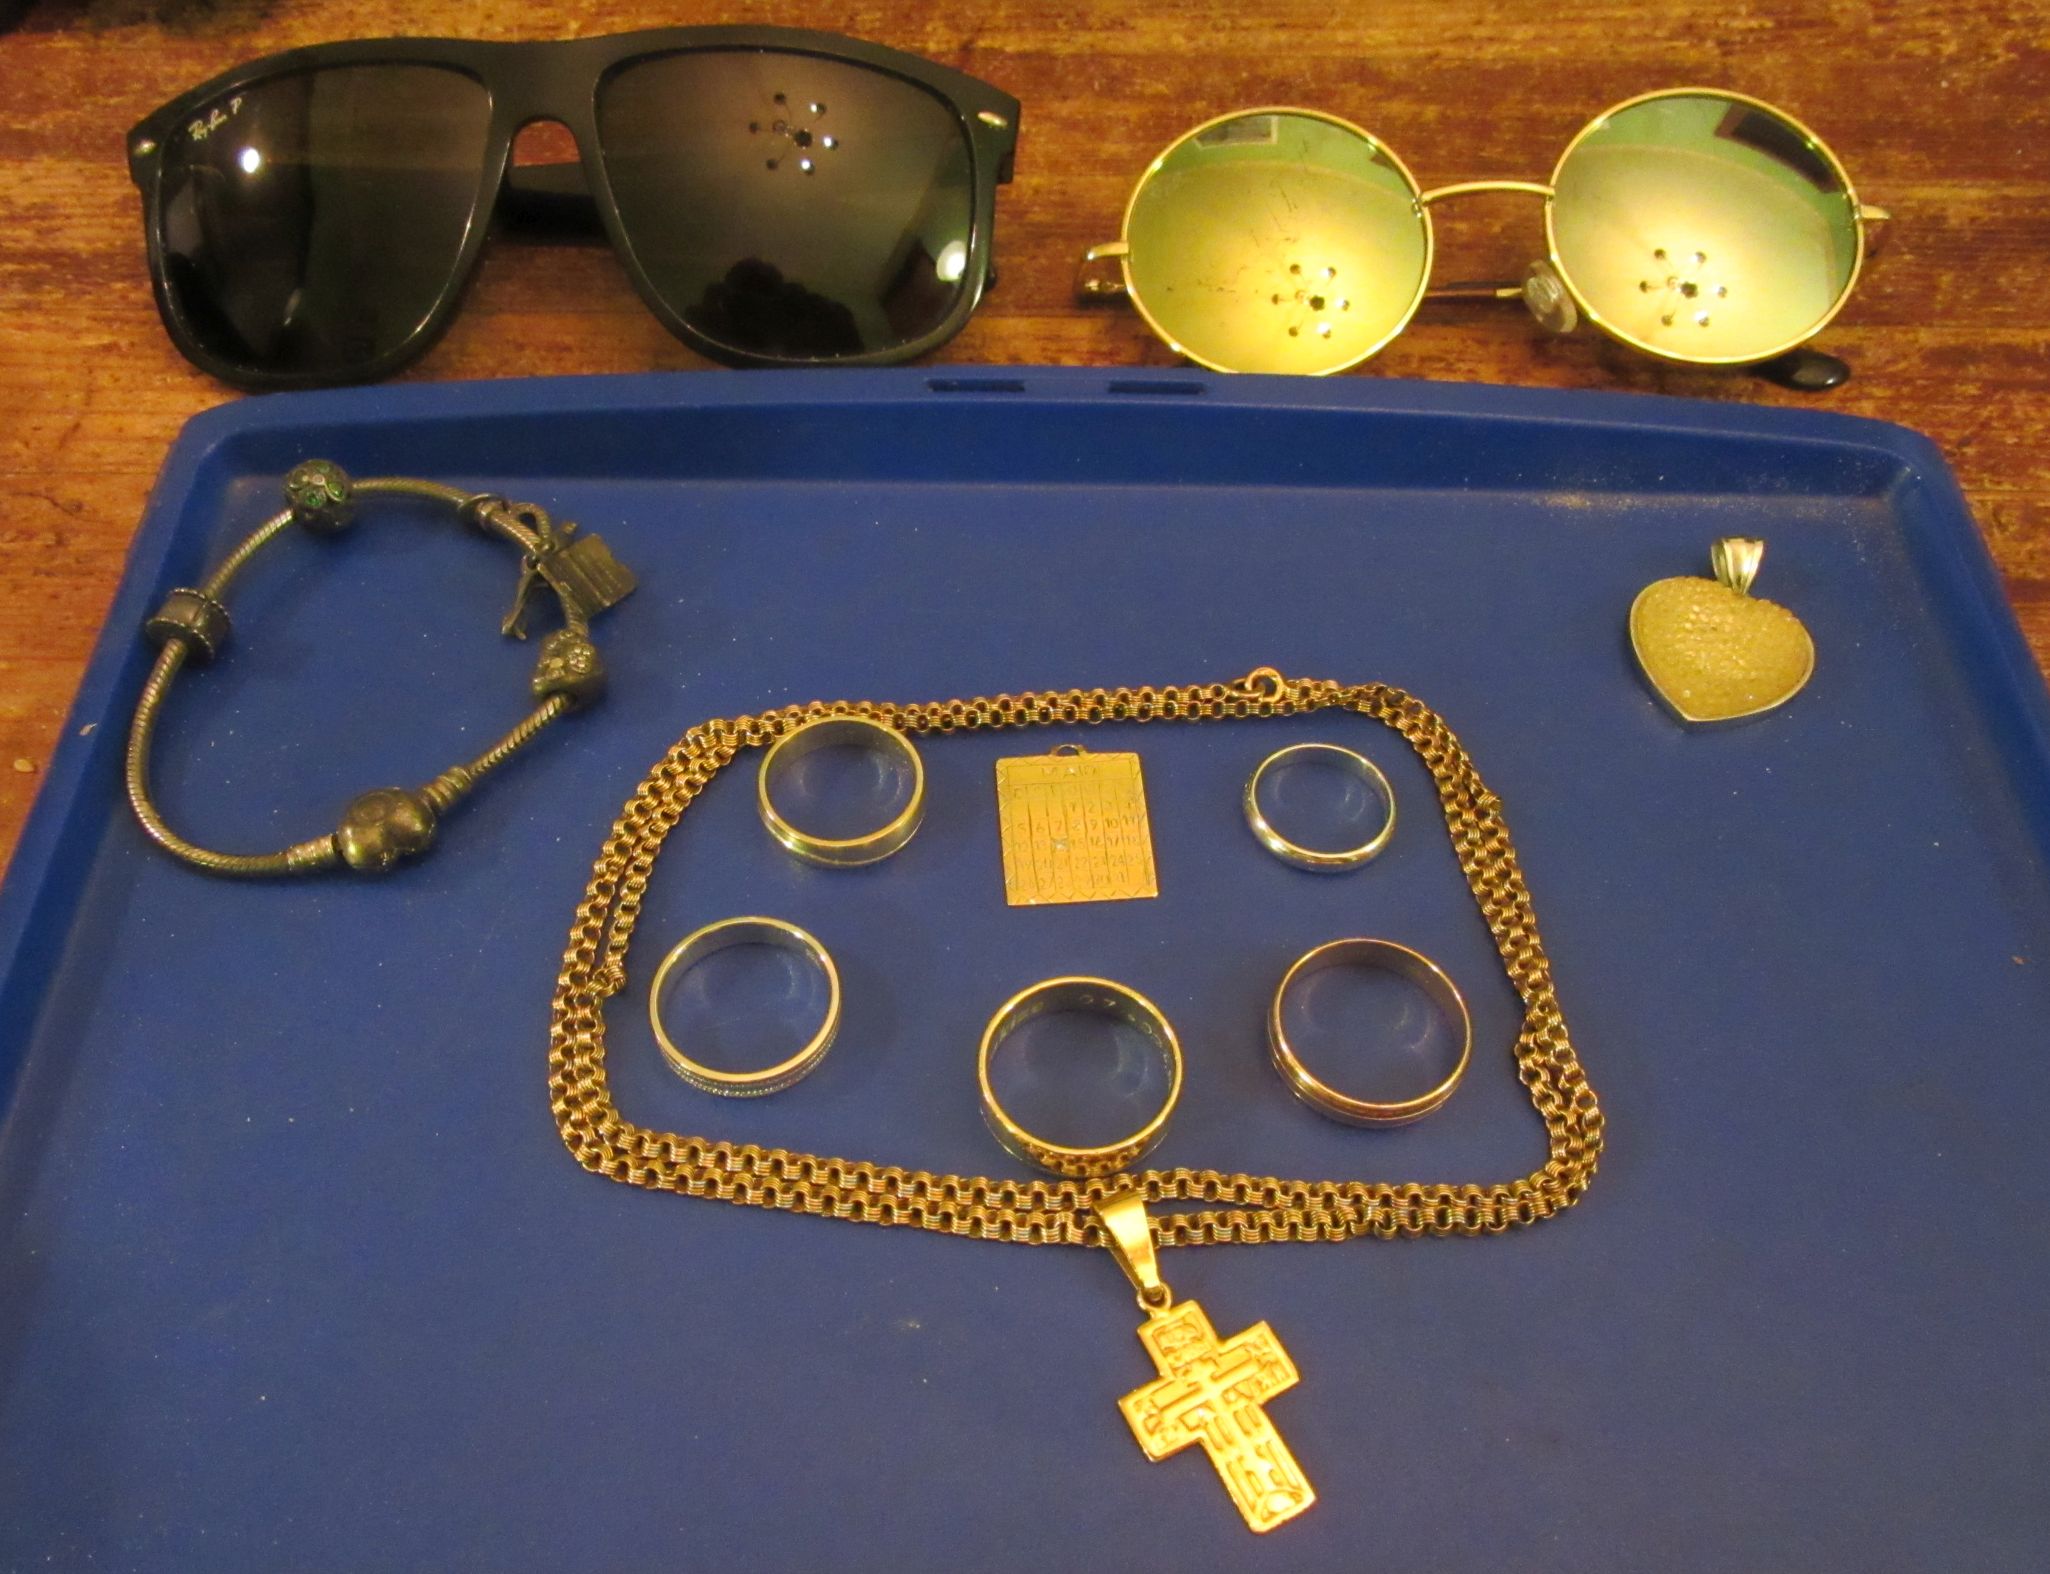

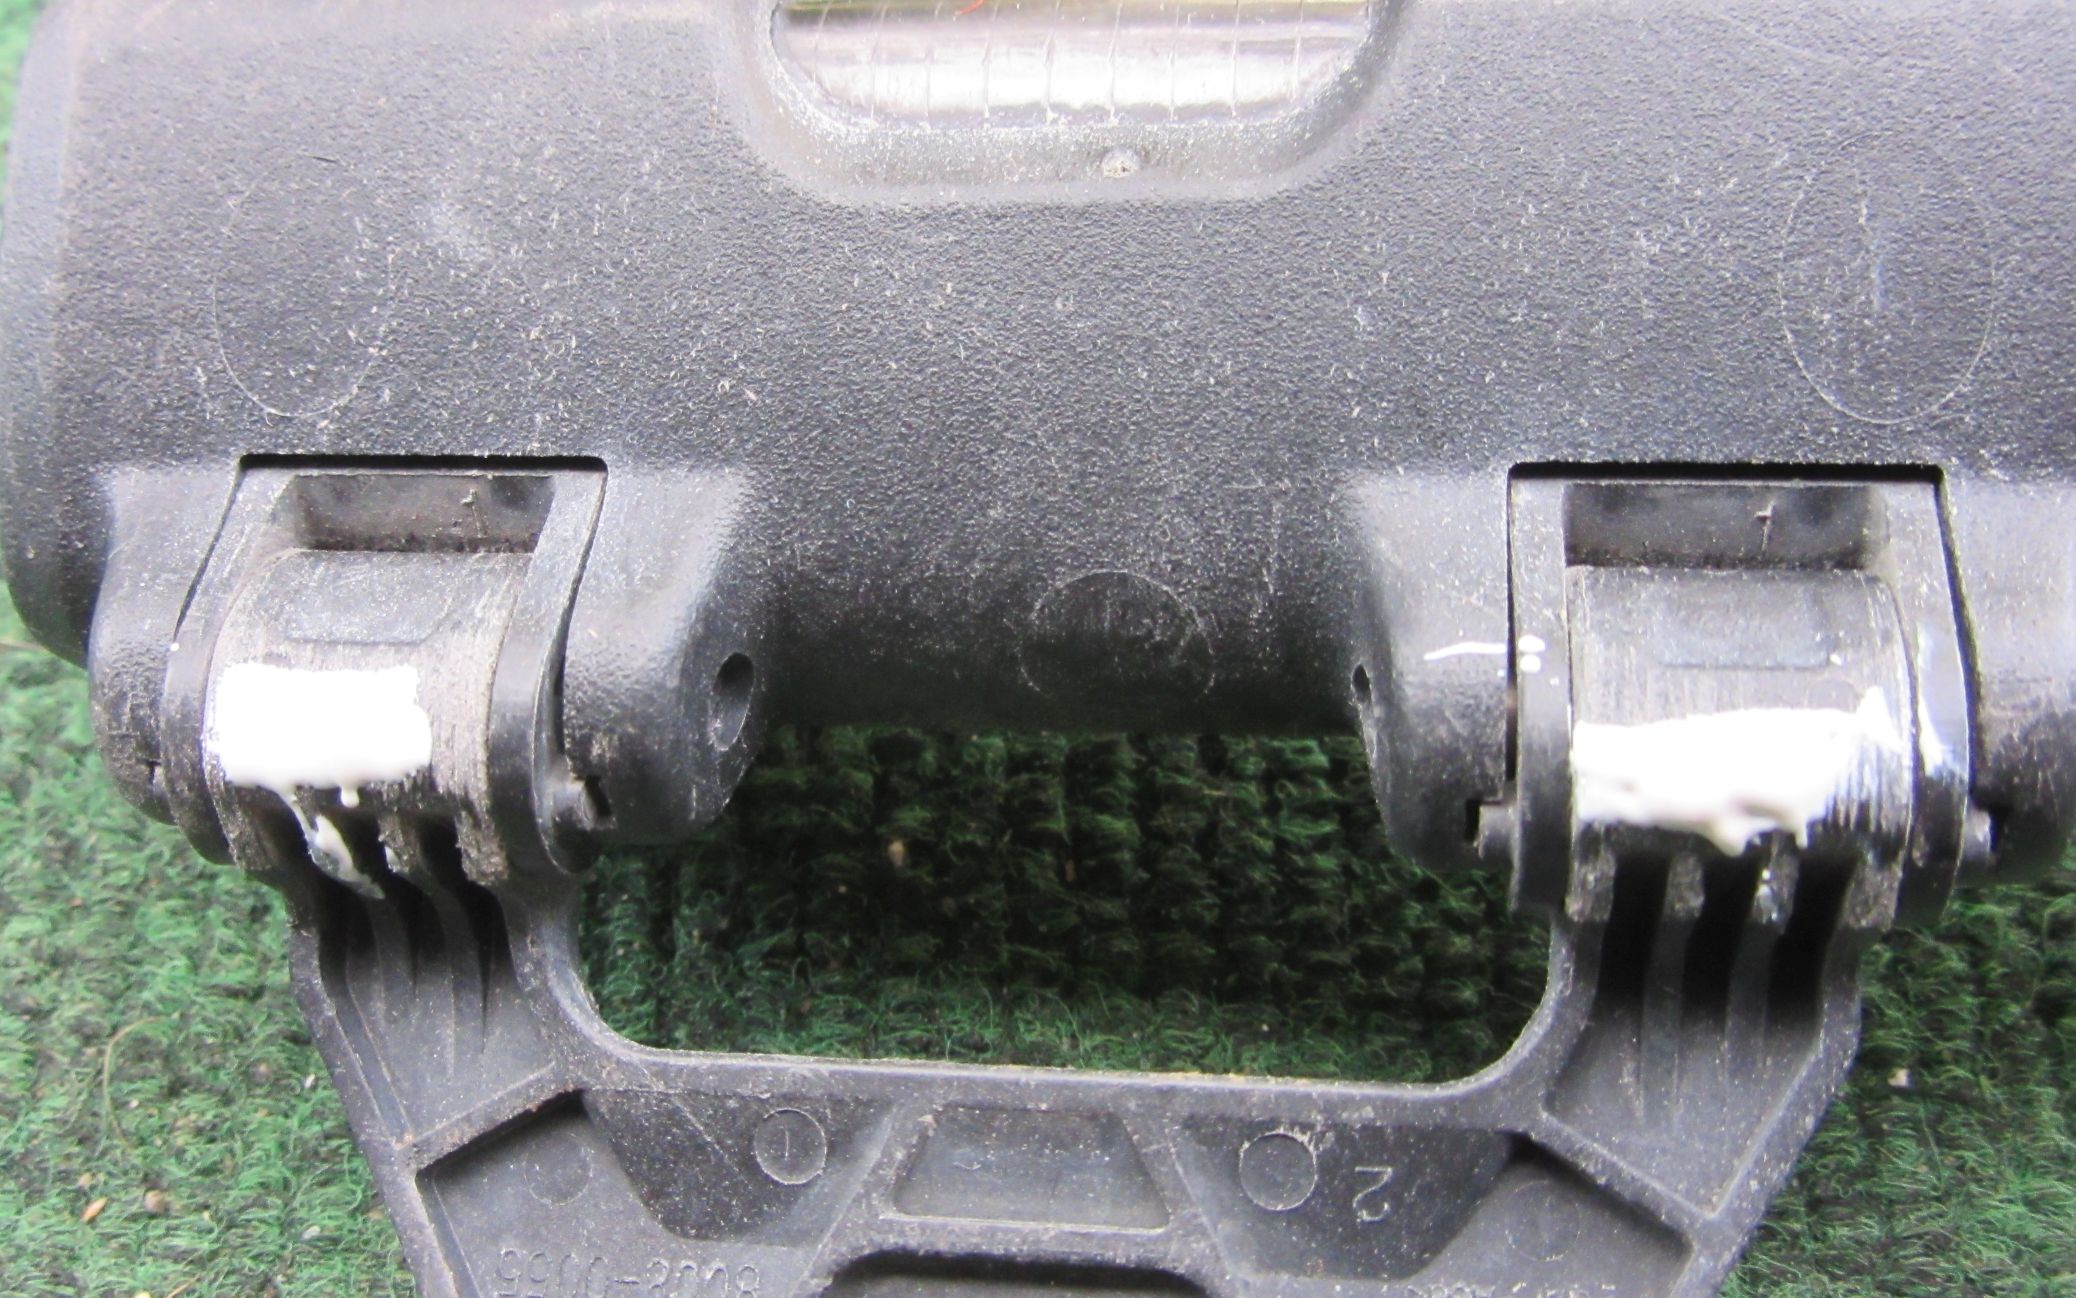
 you set it to. The epoxy can then be filed as needed. Make sure that it’s moving properly before the epoxy sets!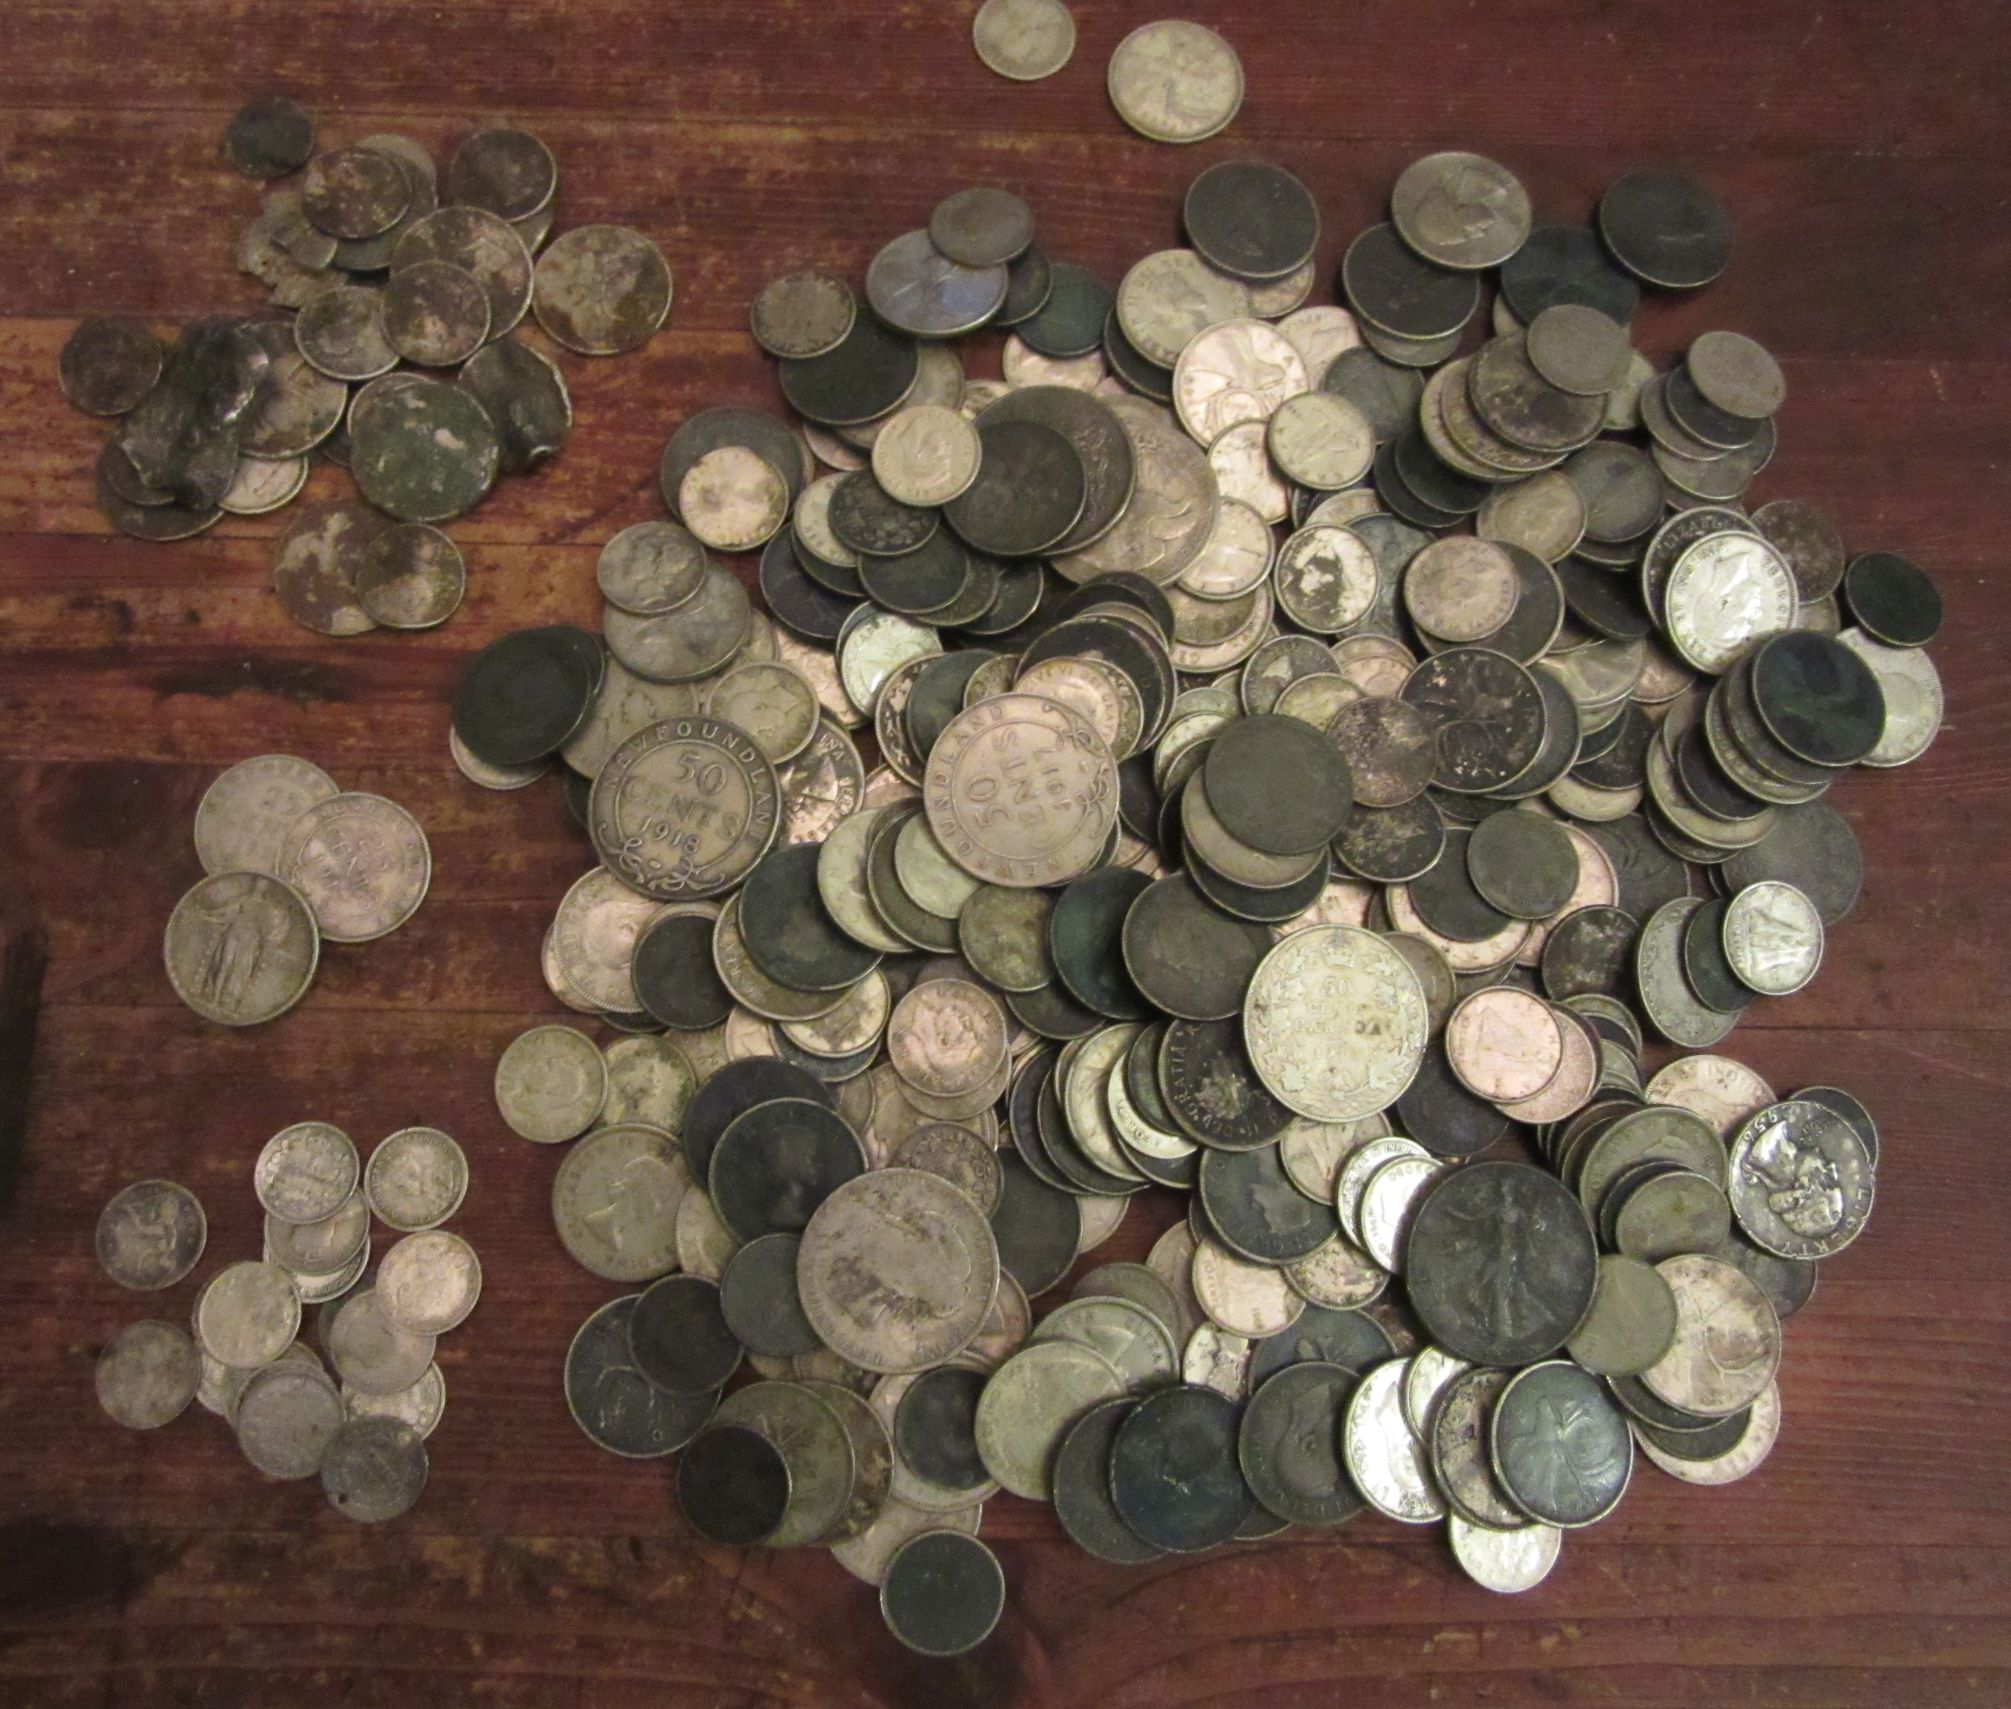

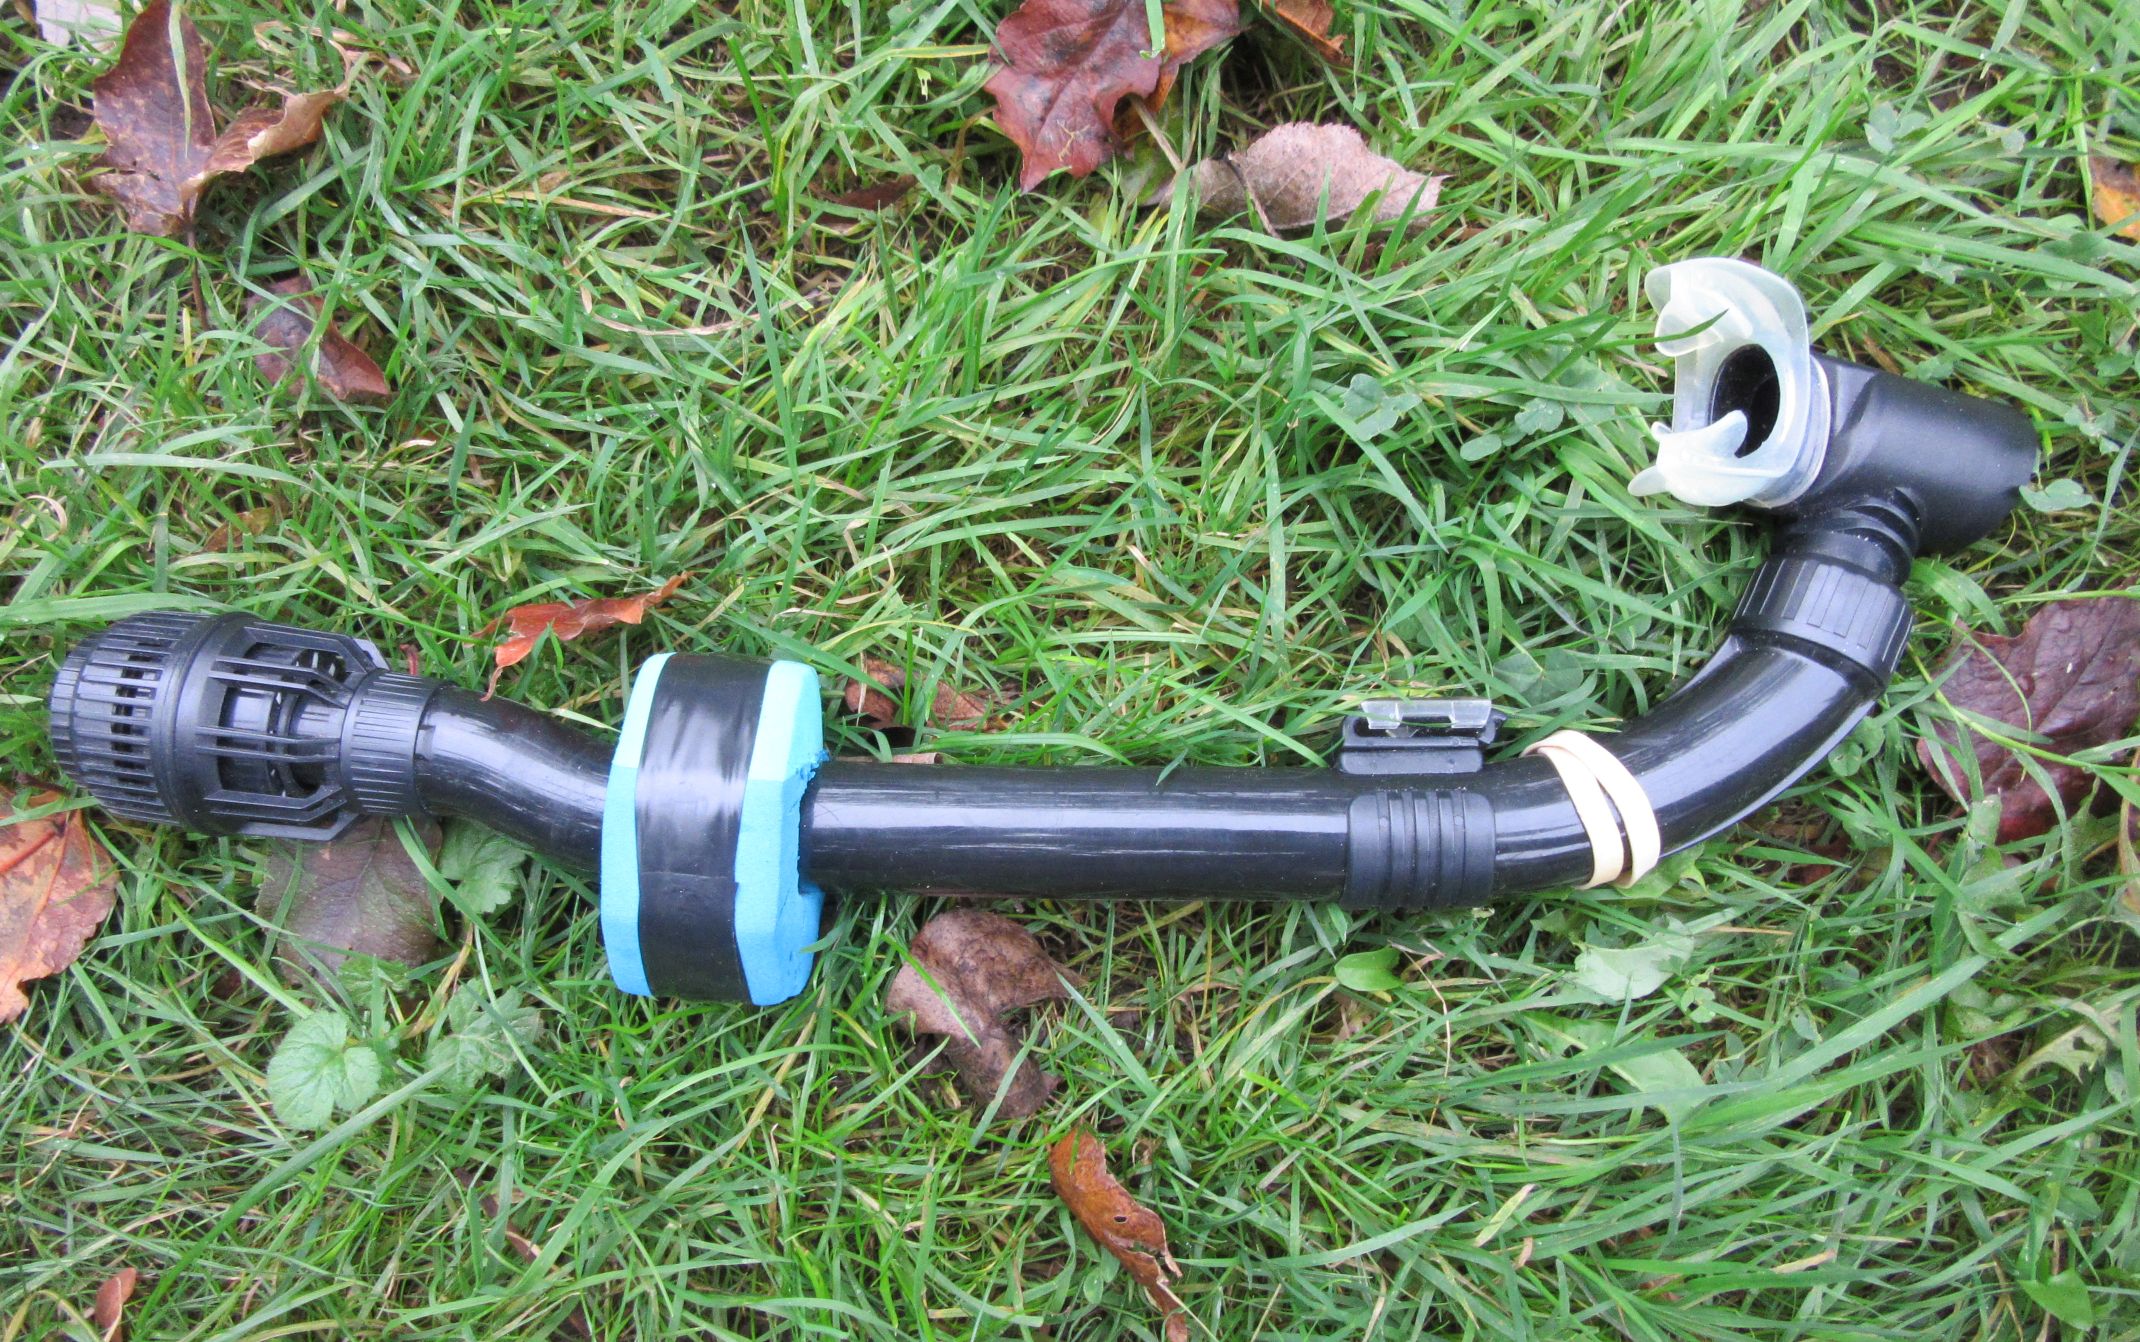


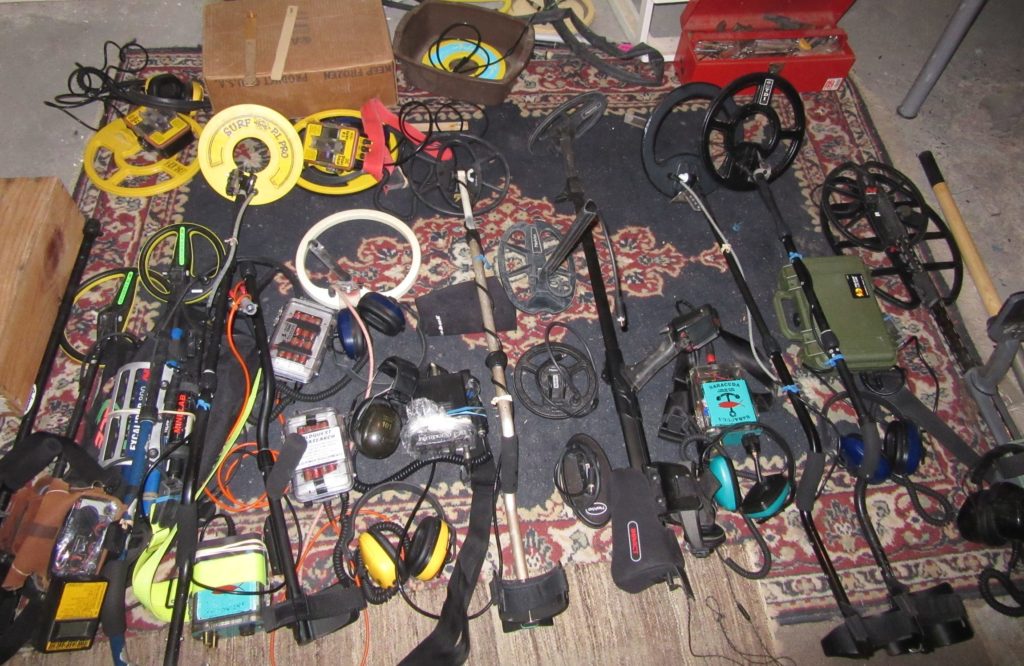
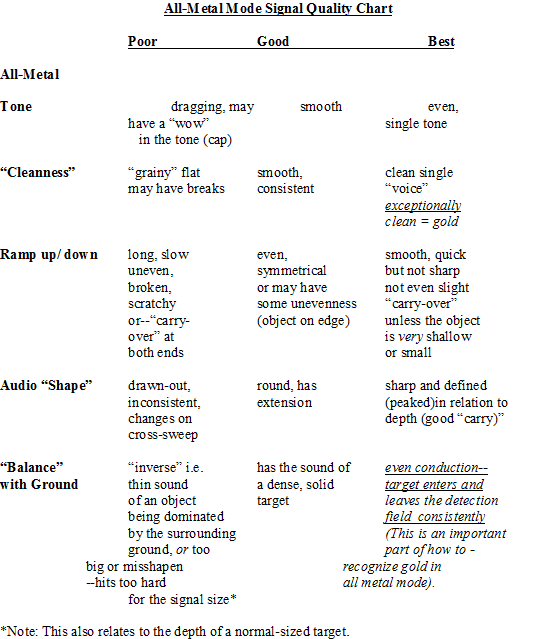

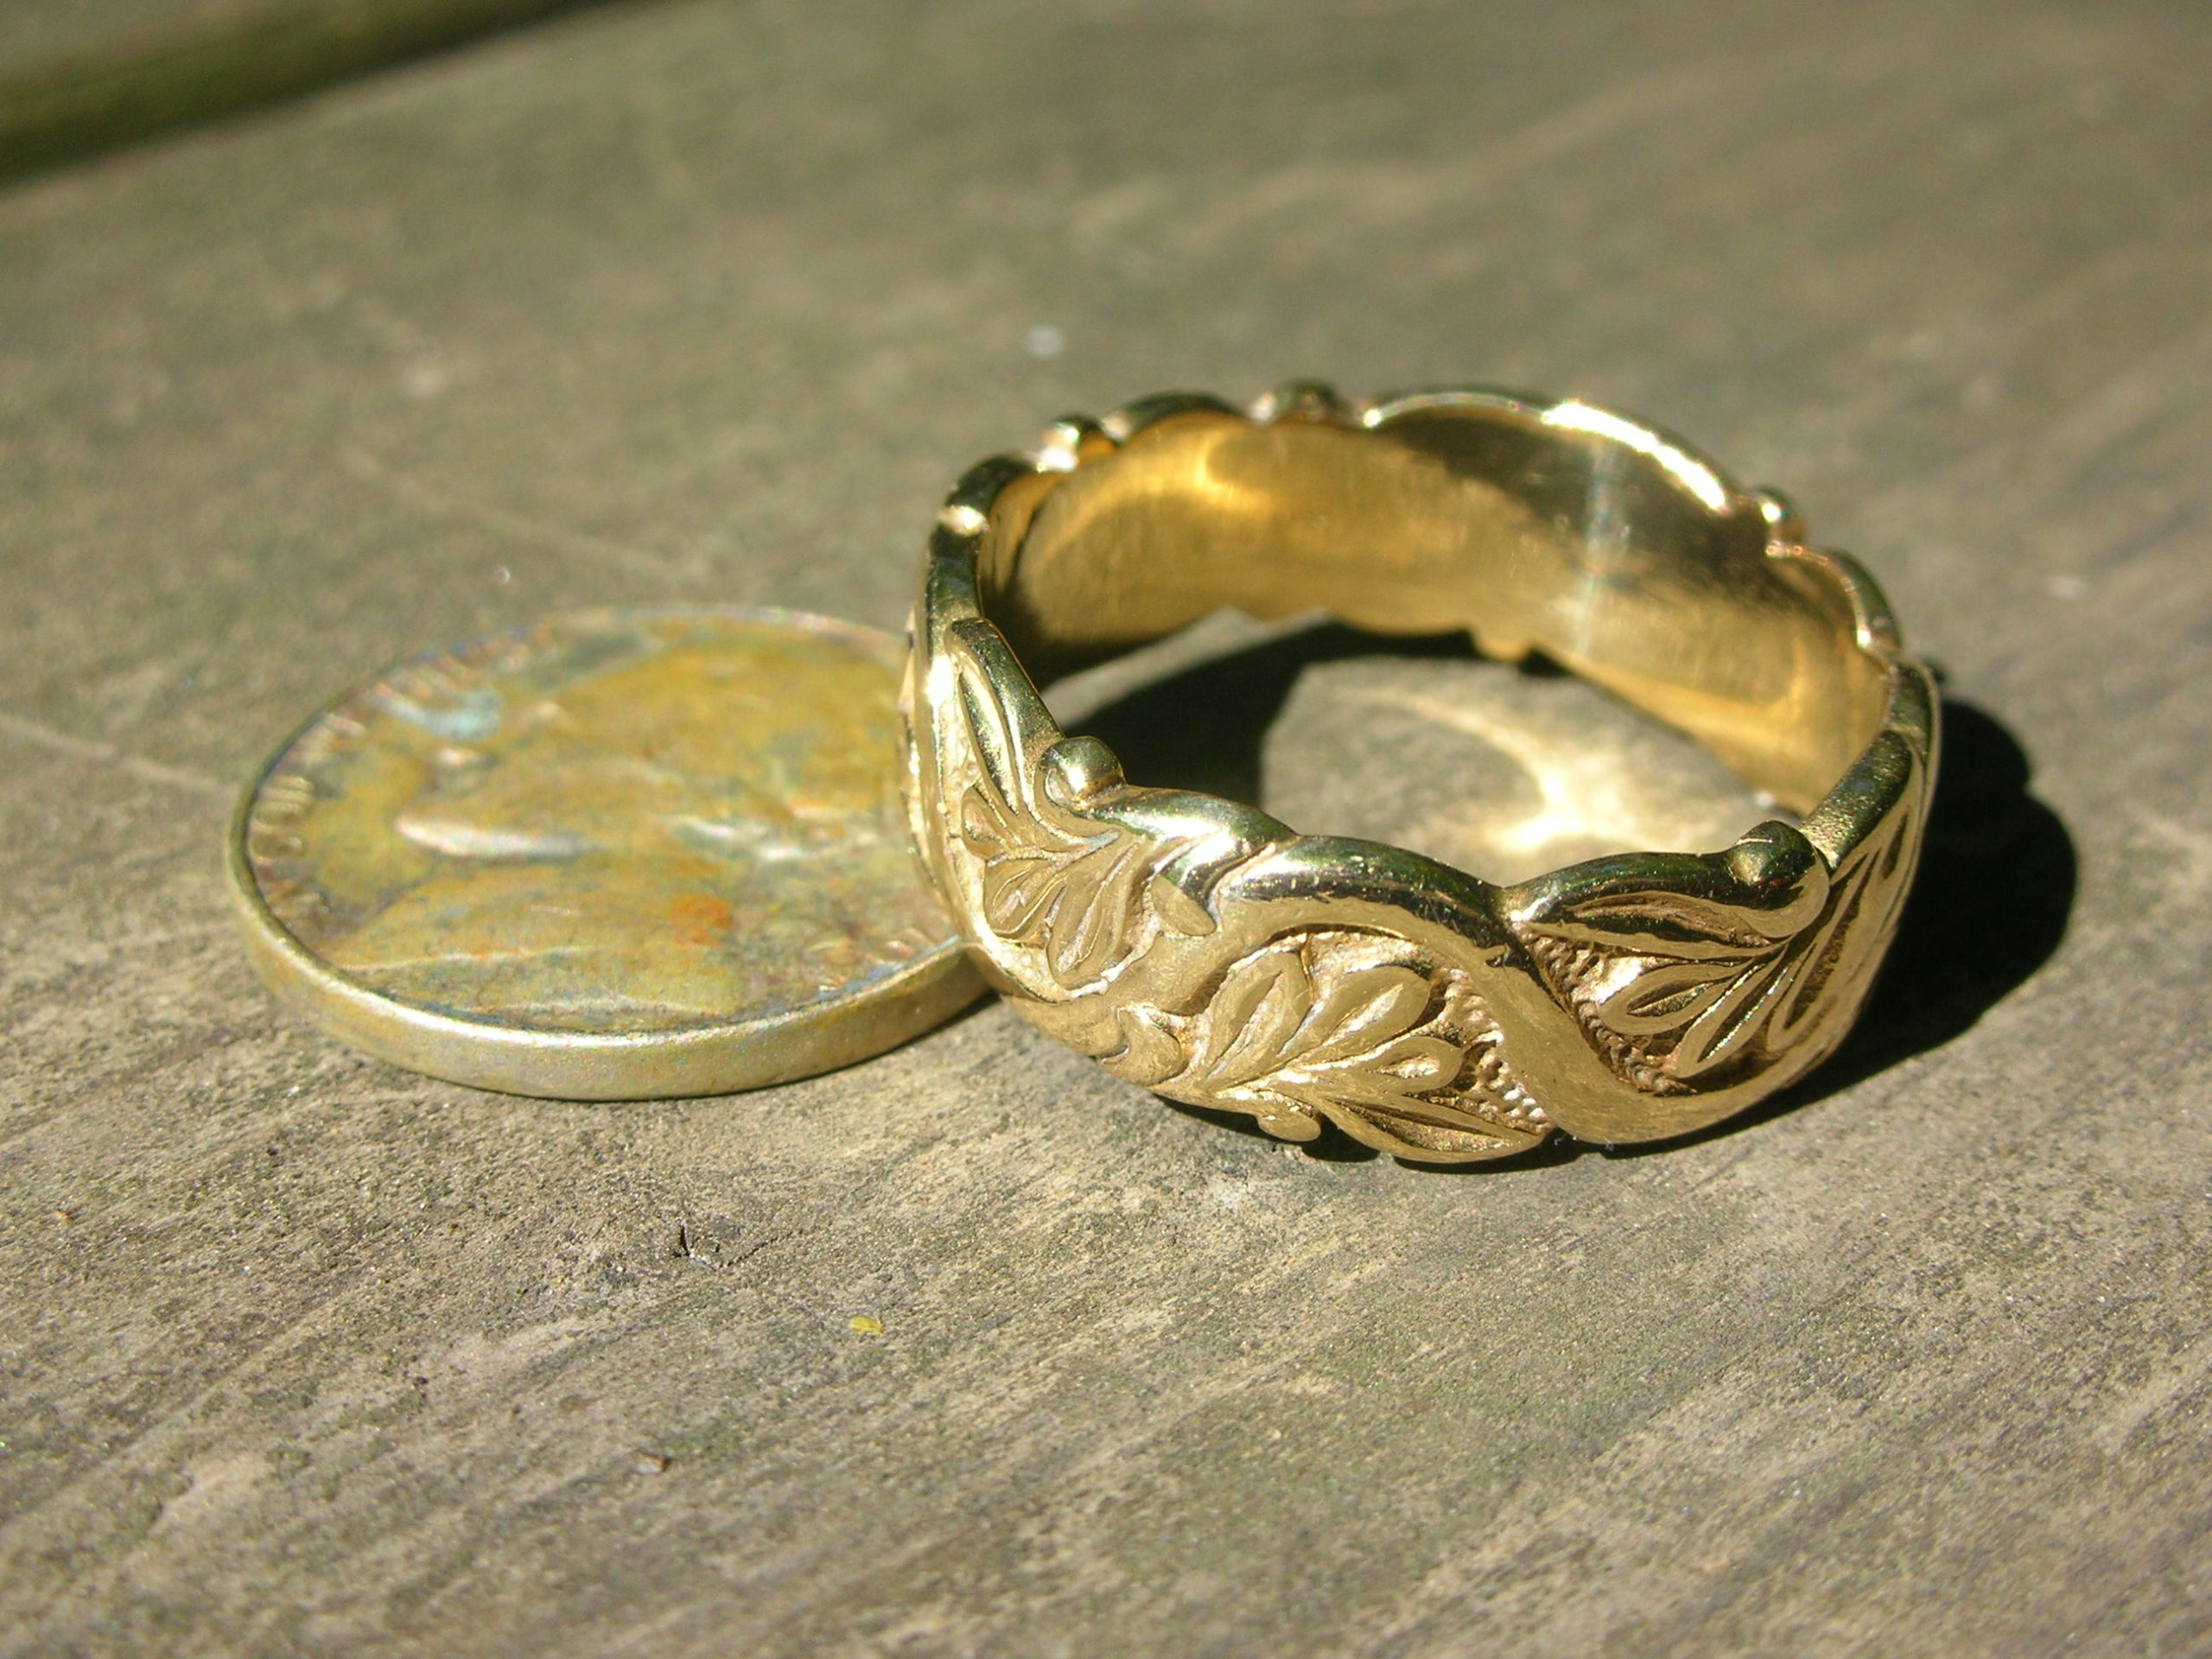

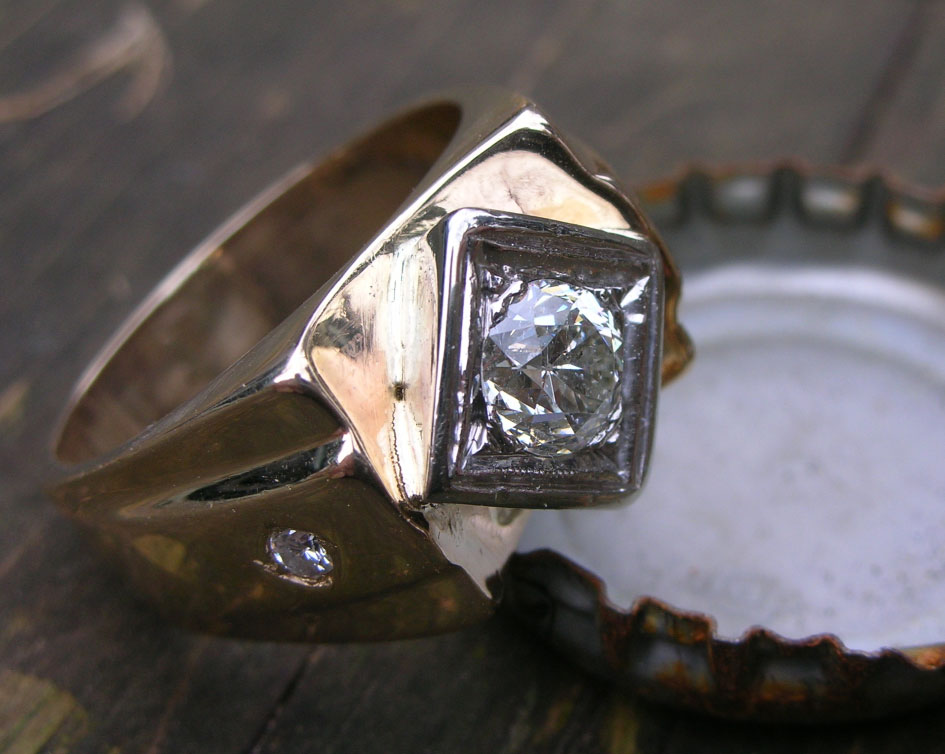
 Identifying Bottle Caps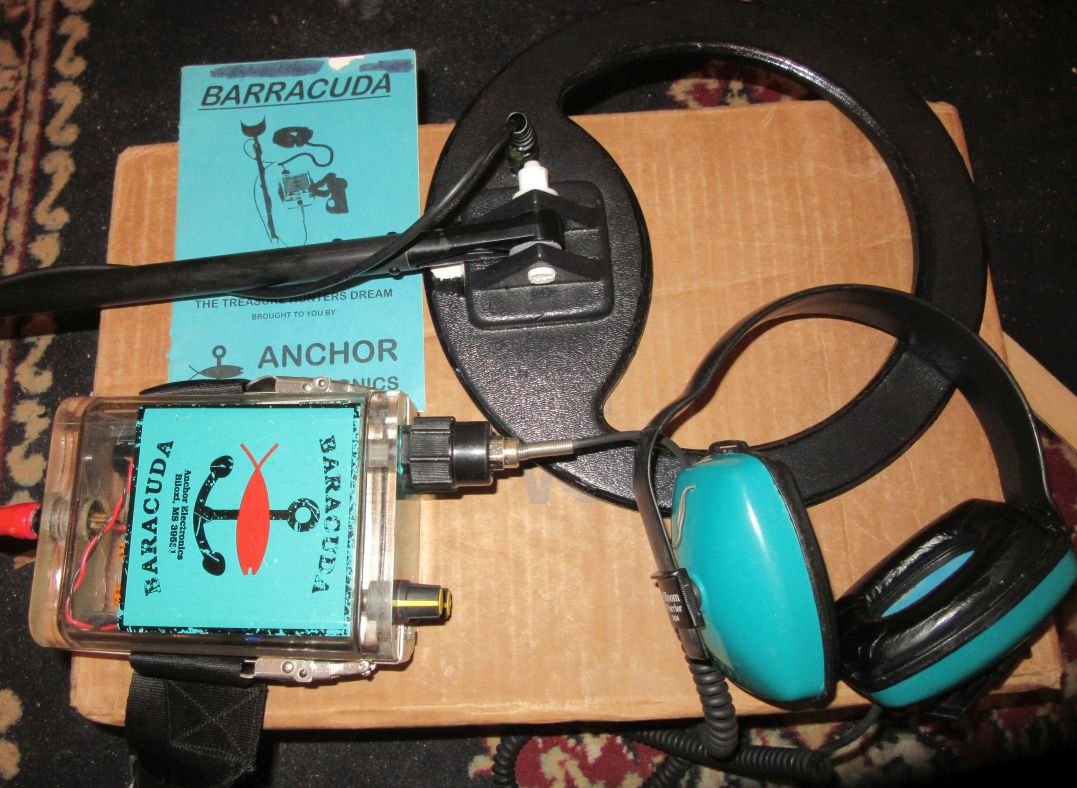





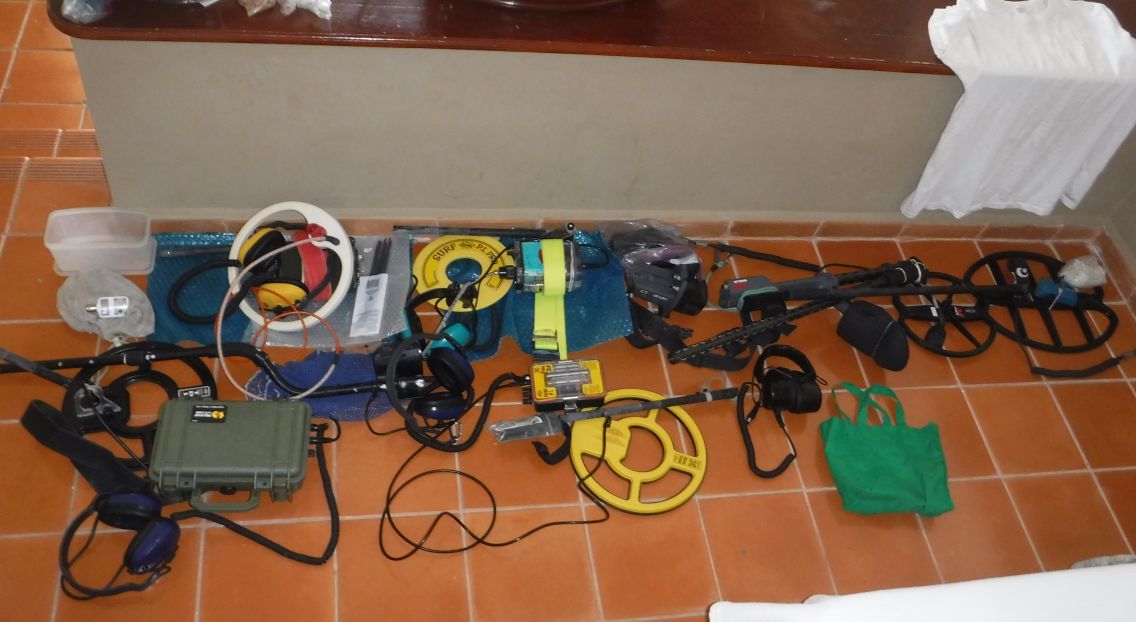

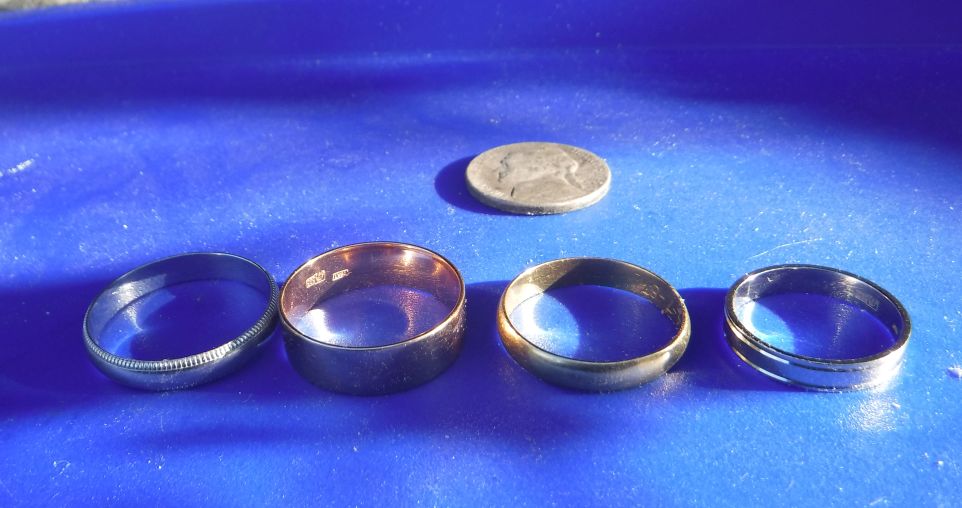


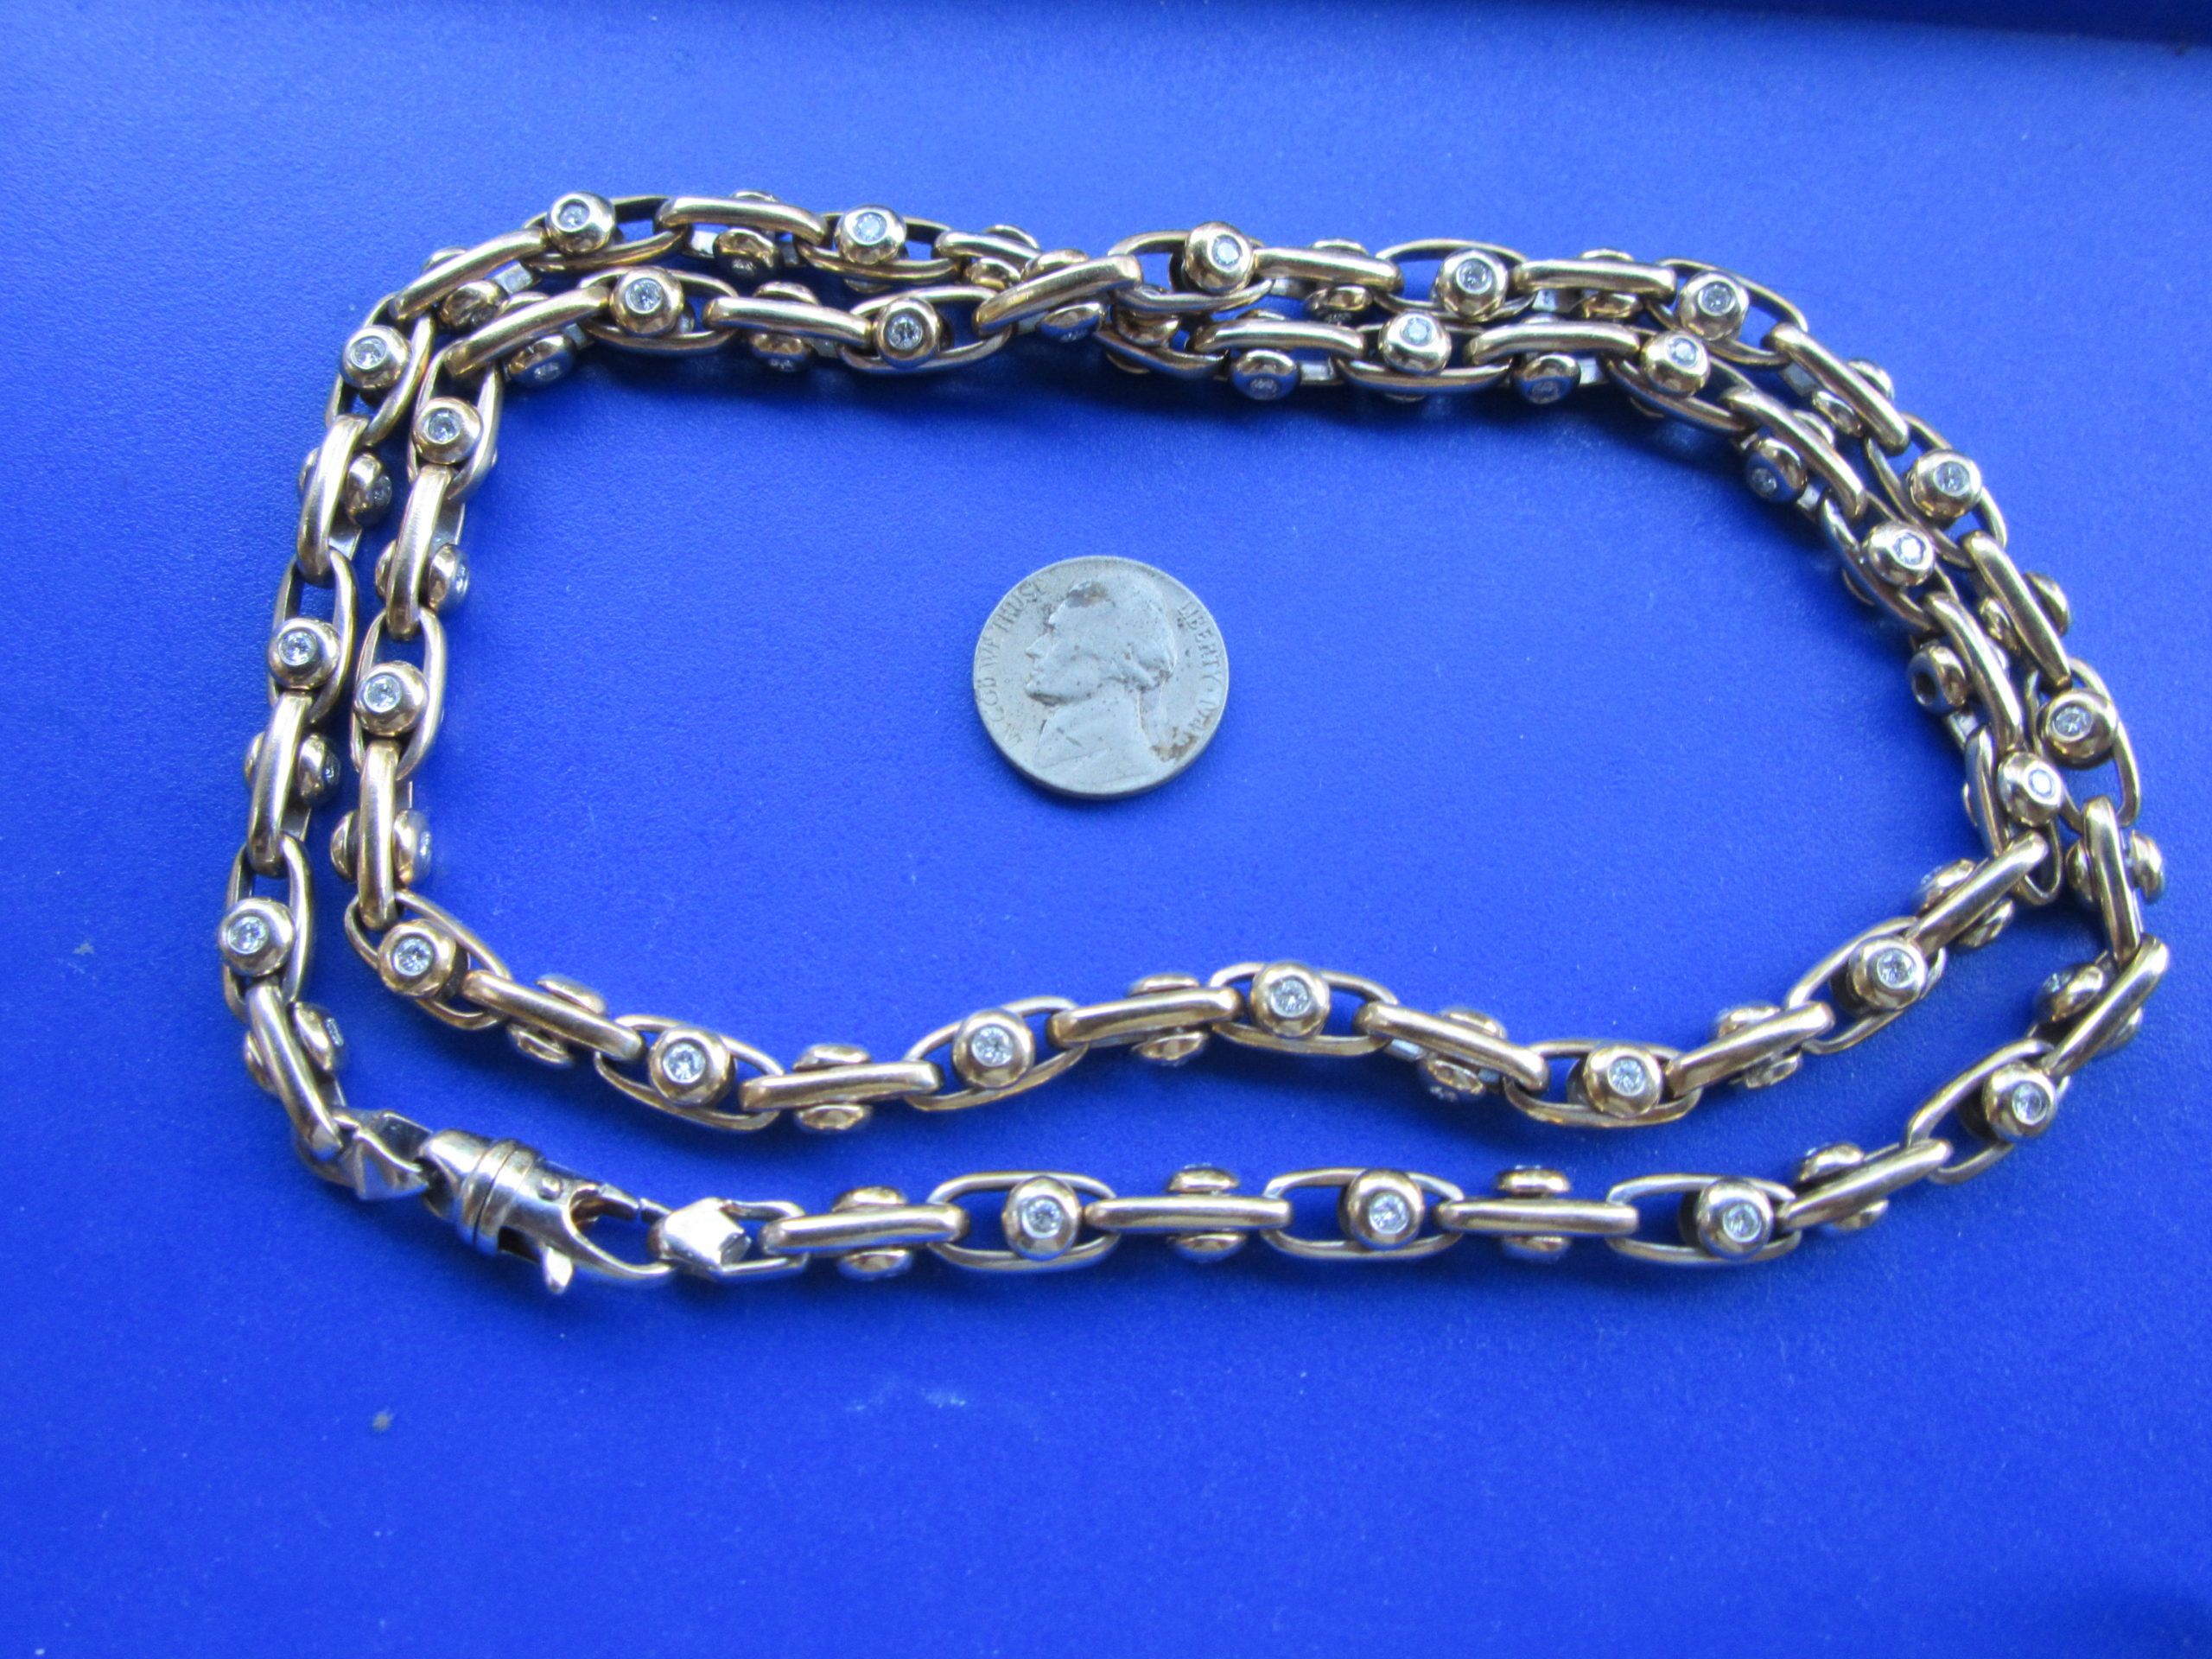


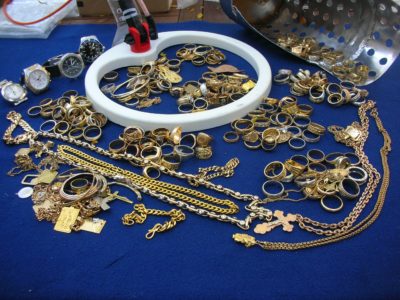


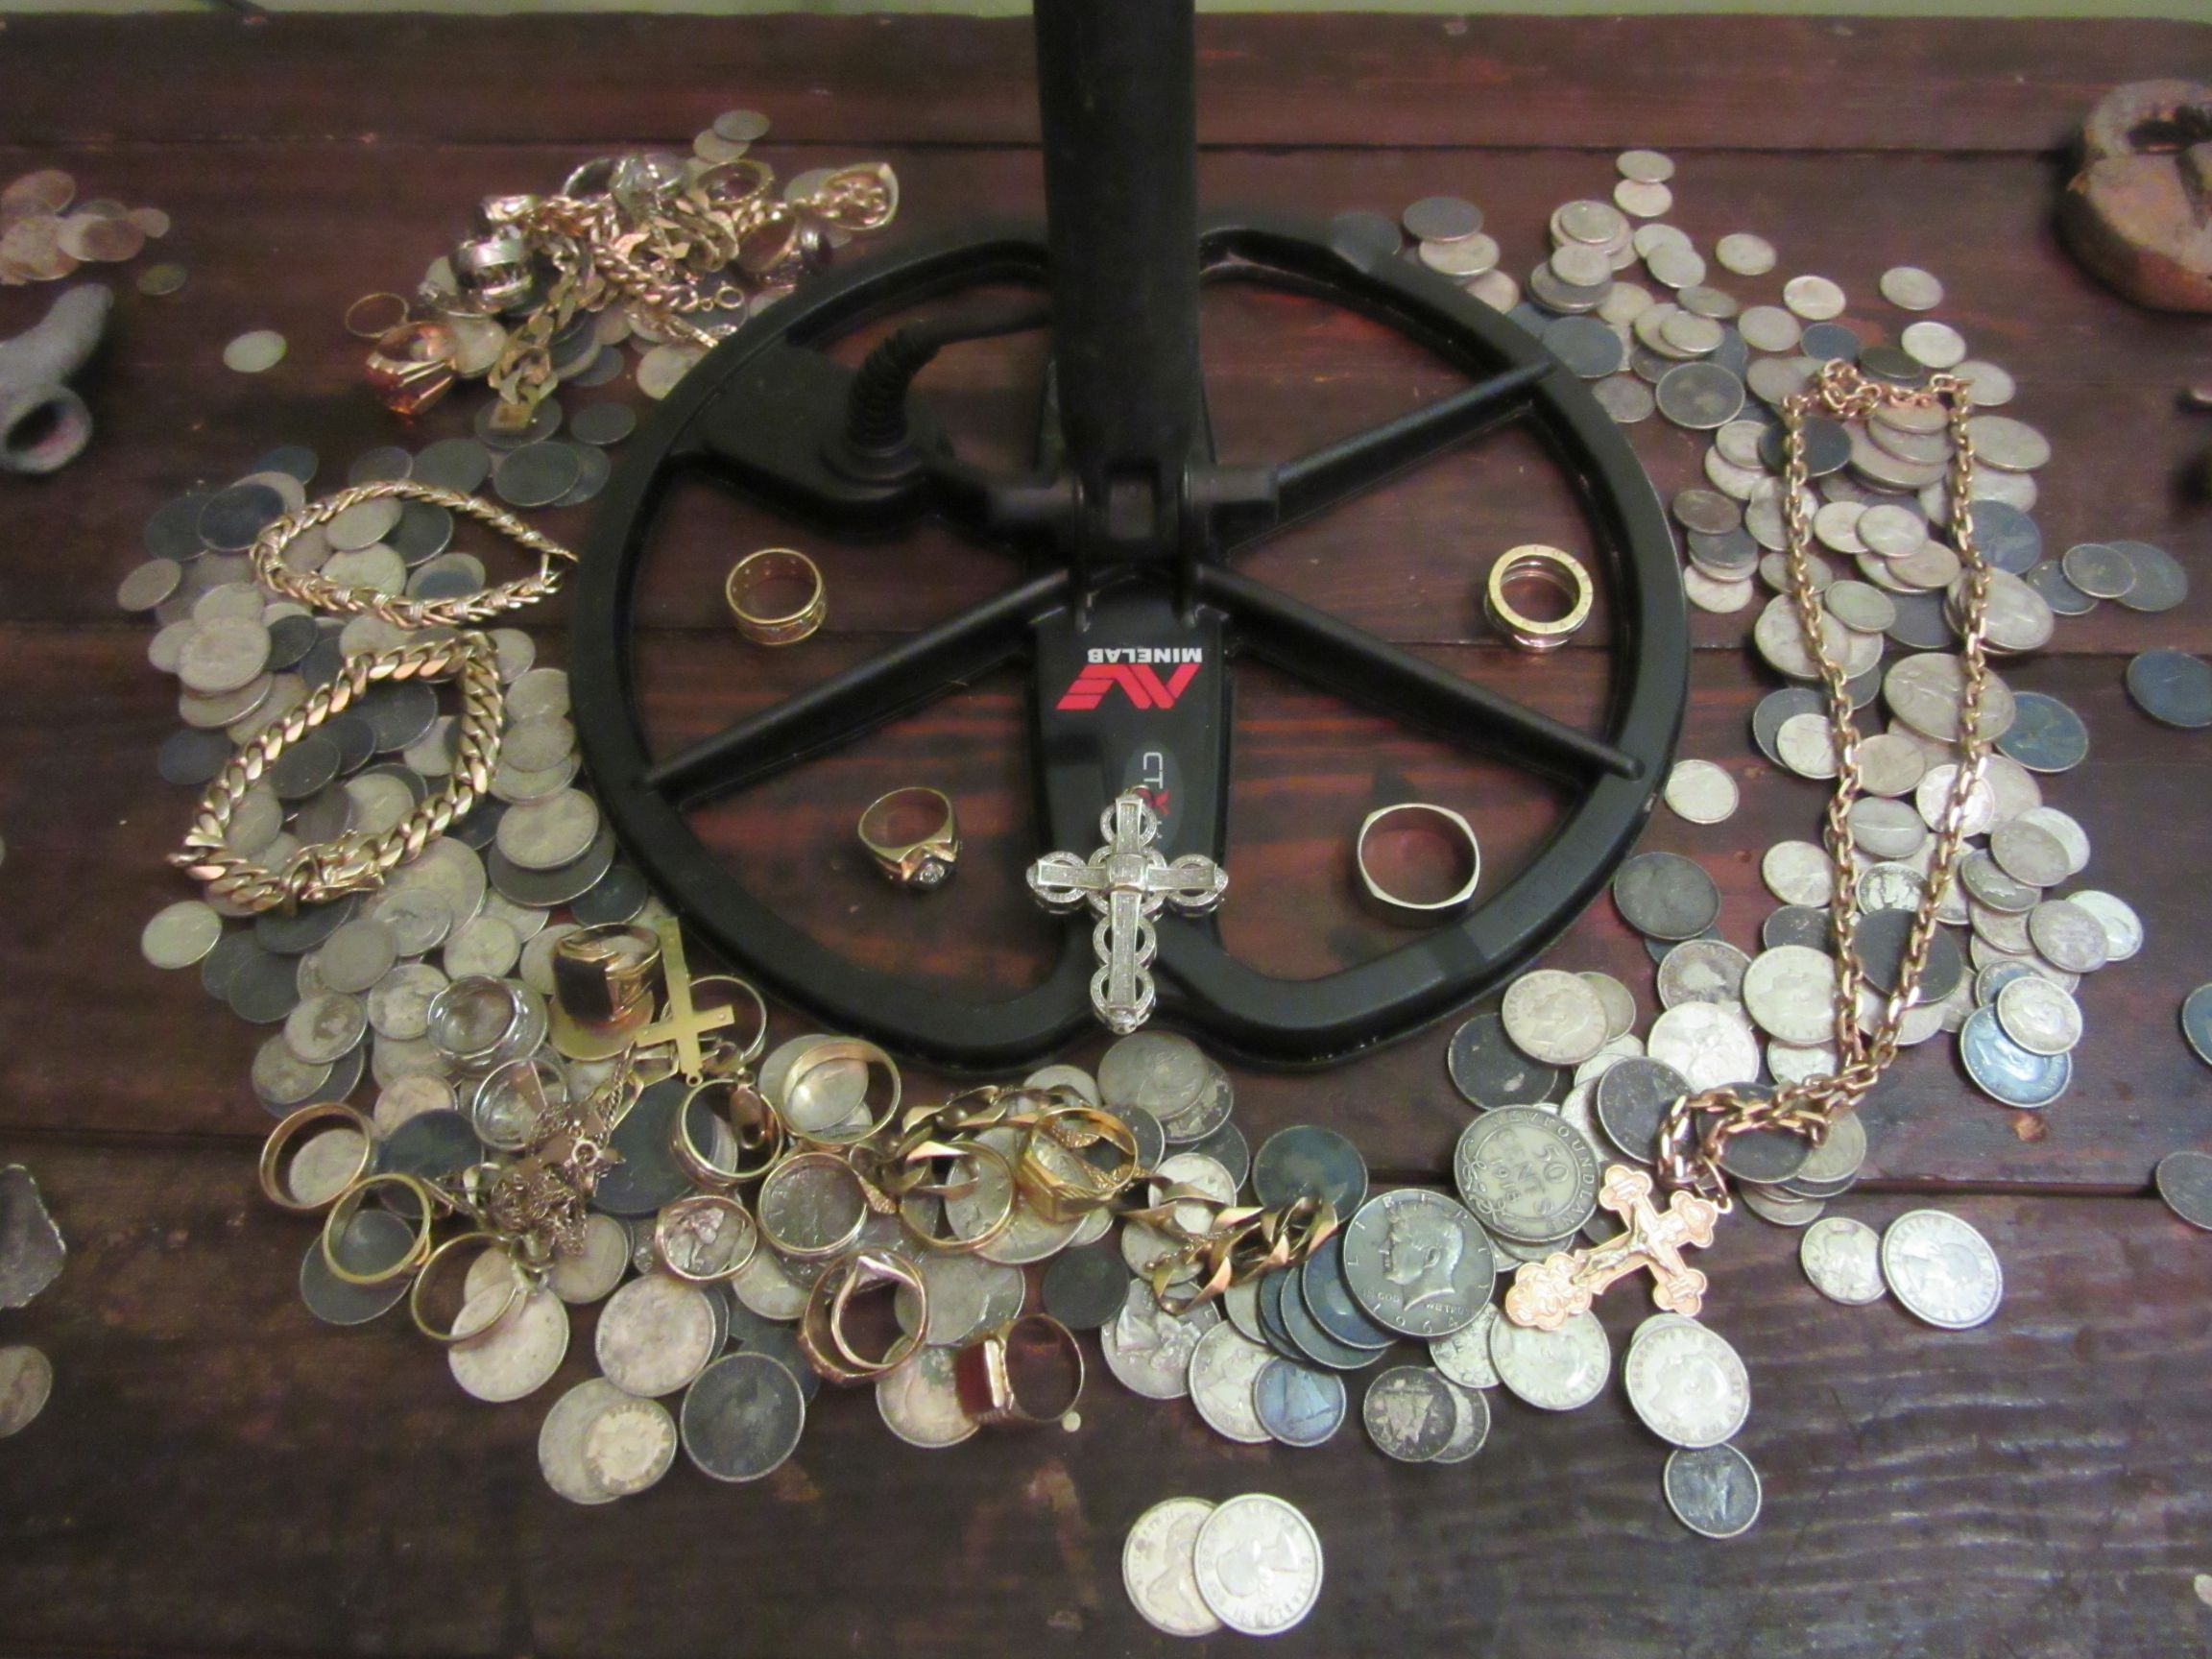
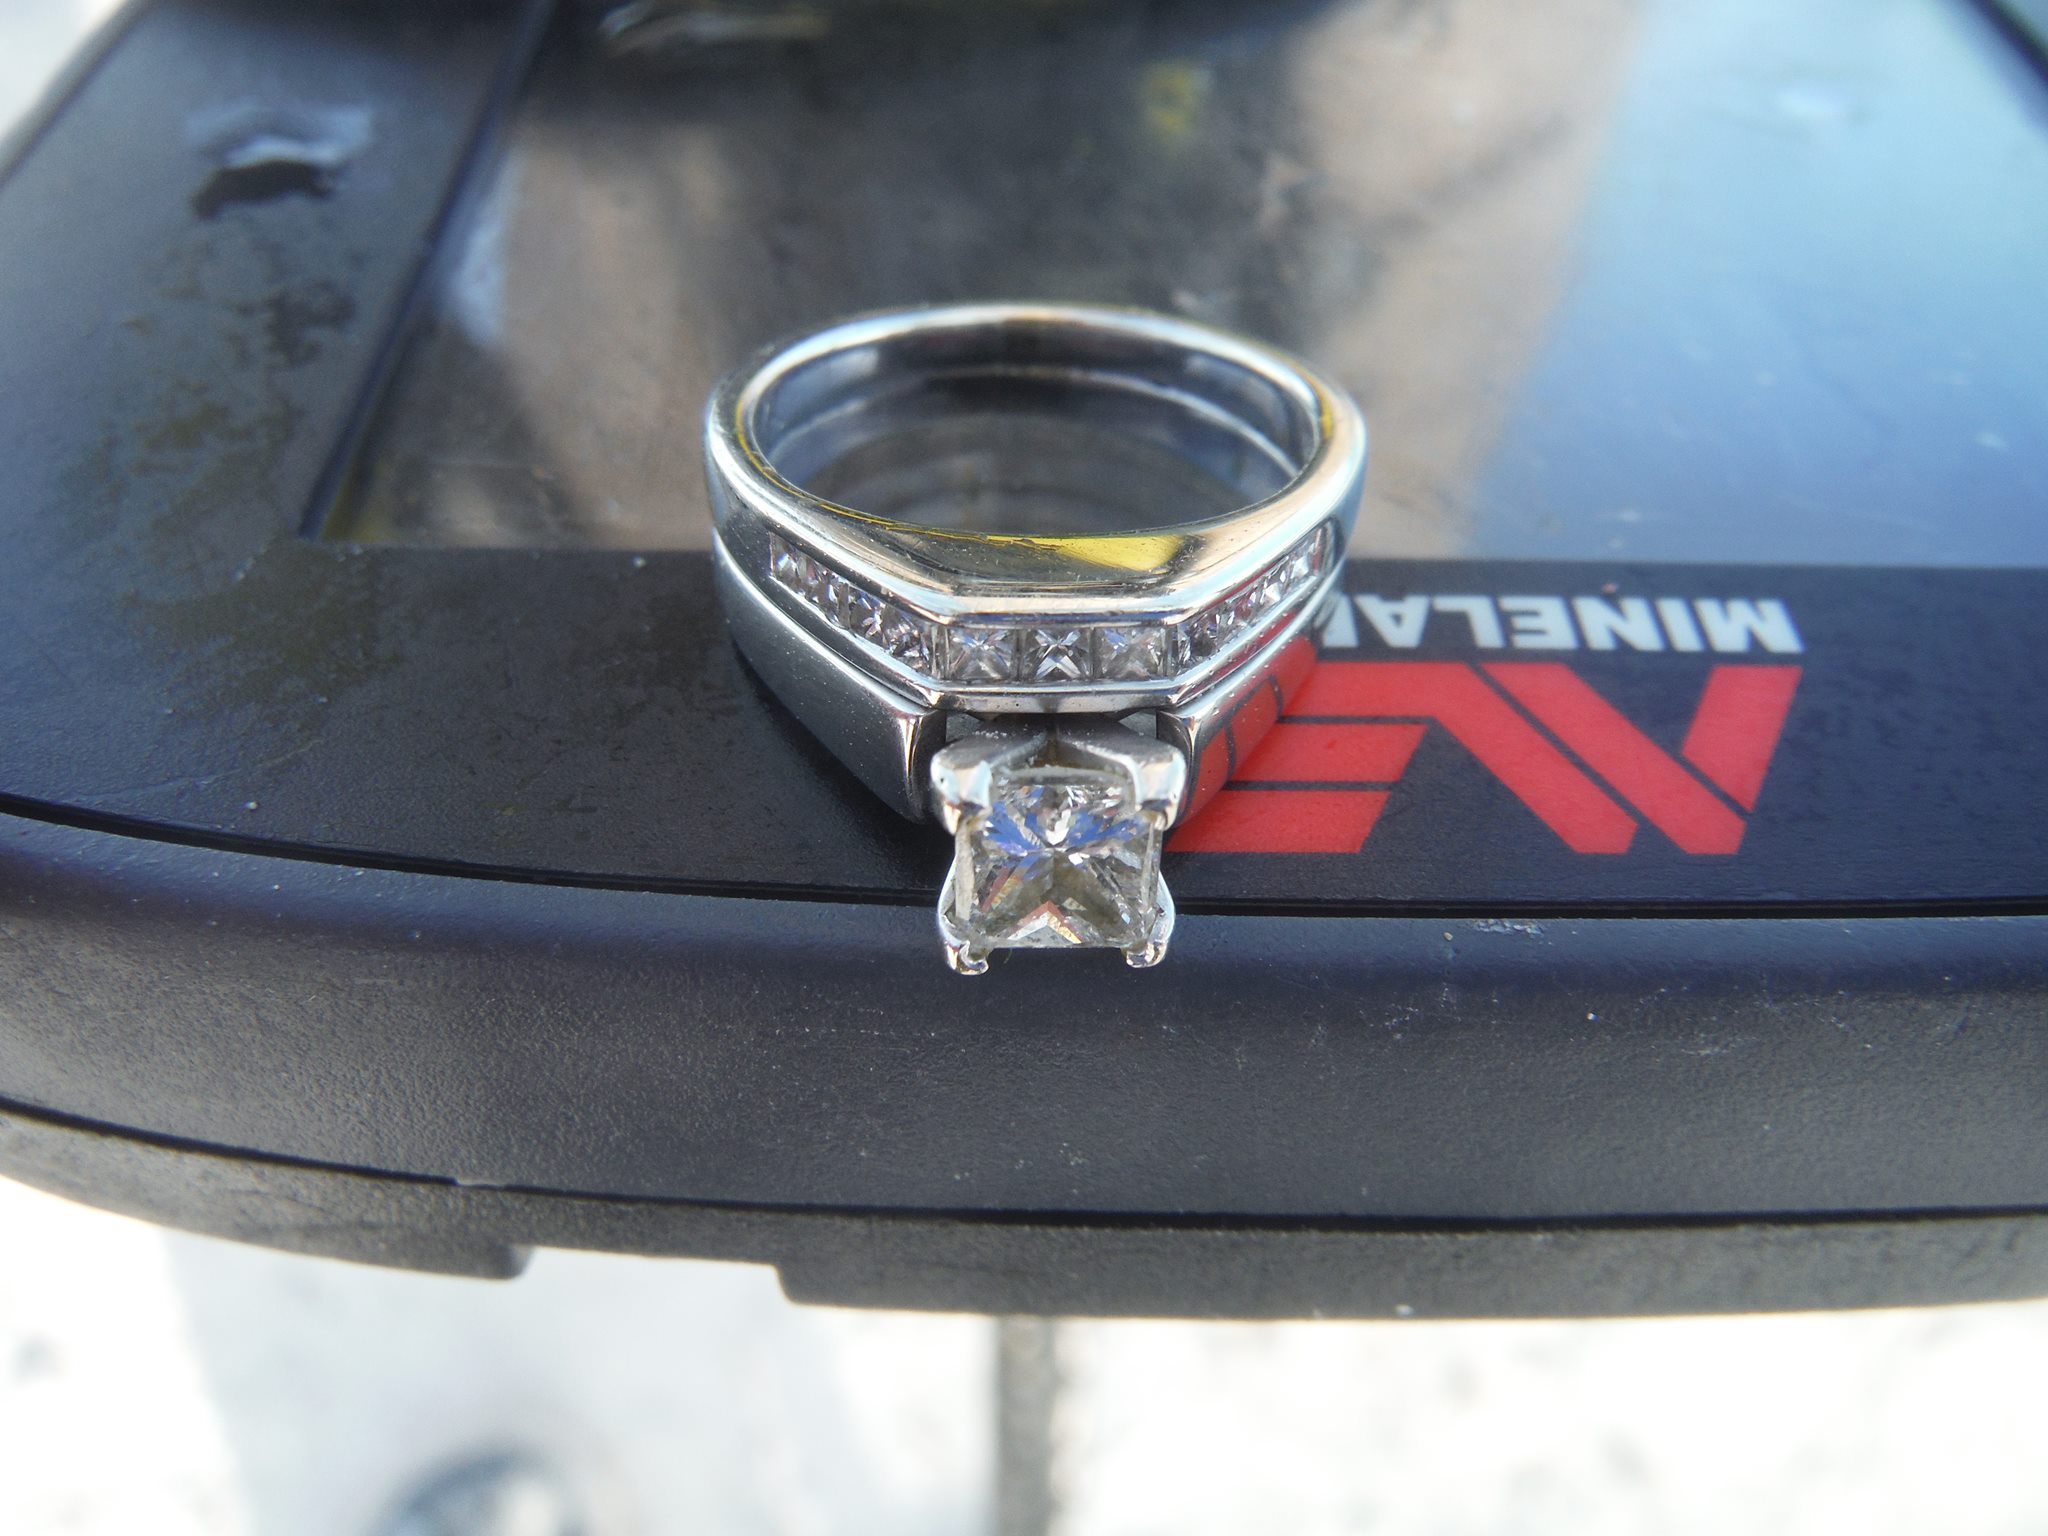

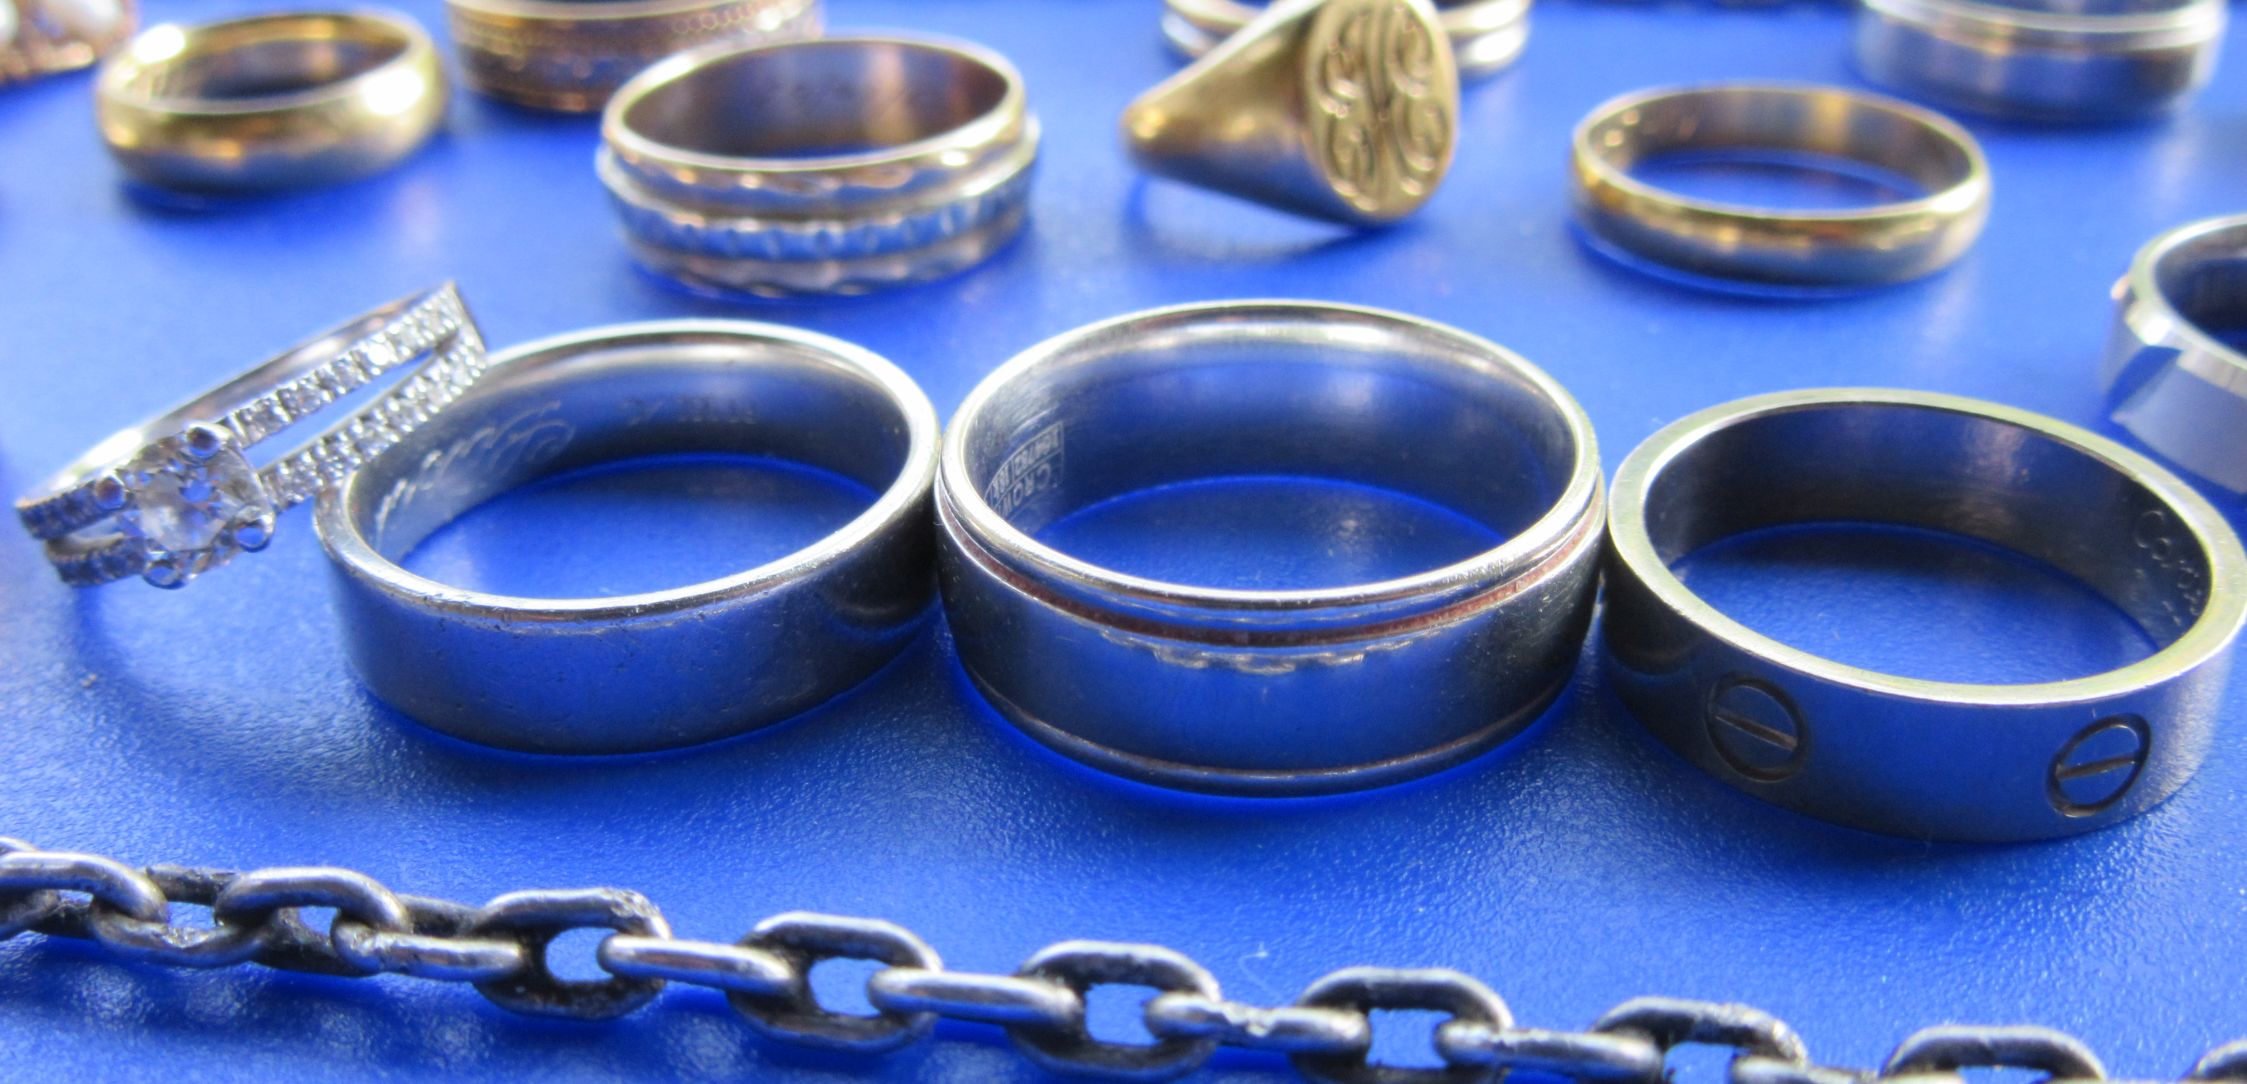


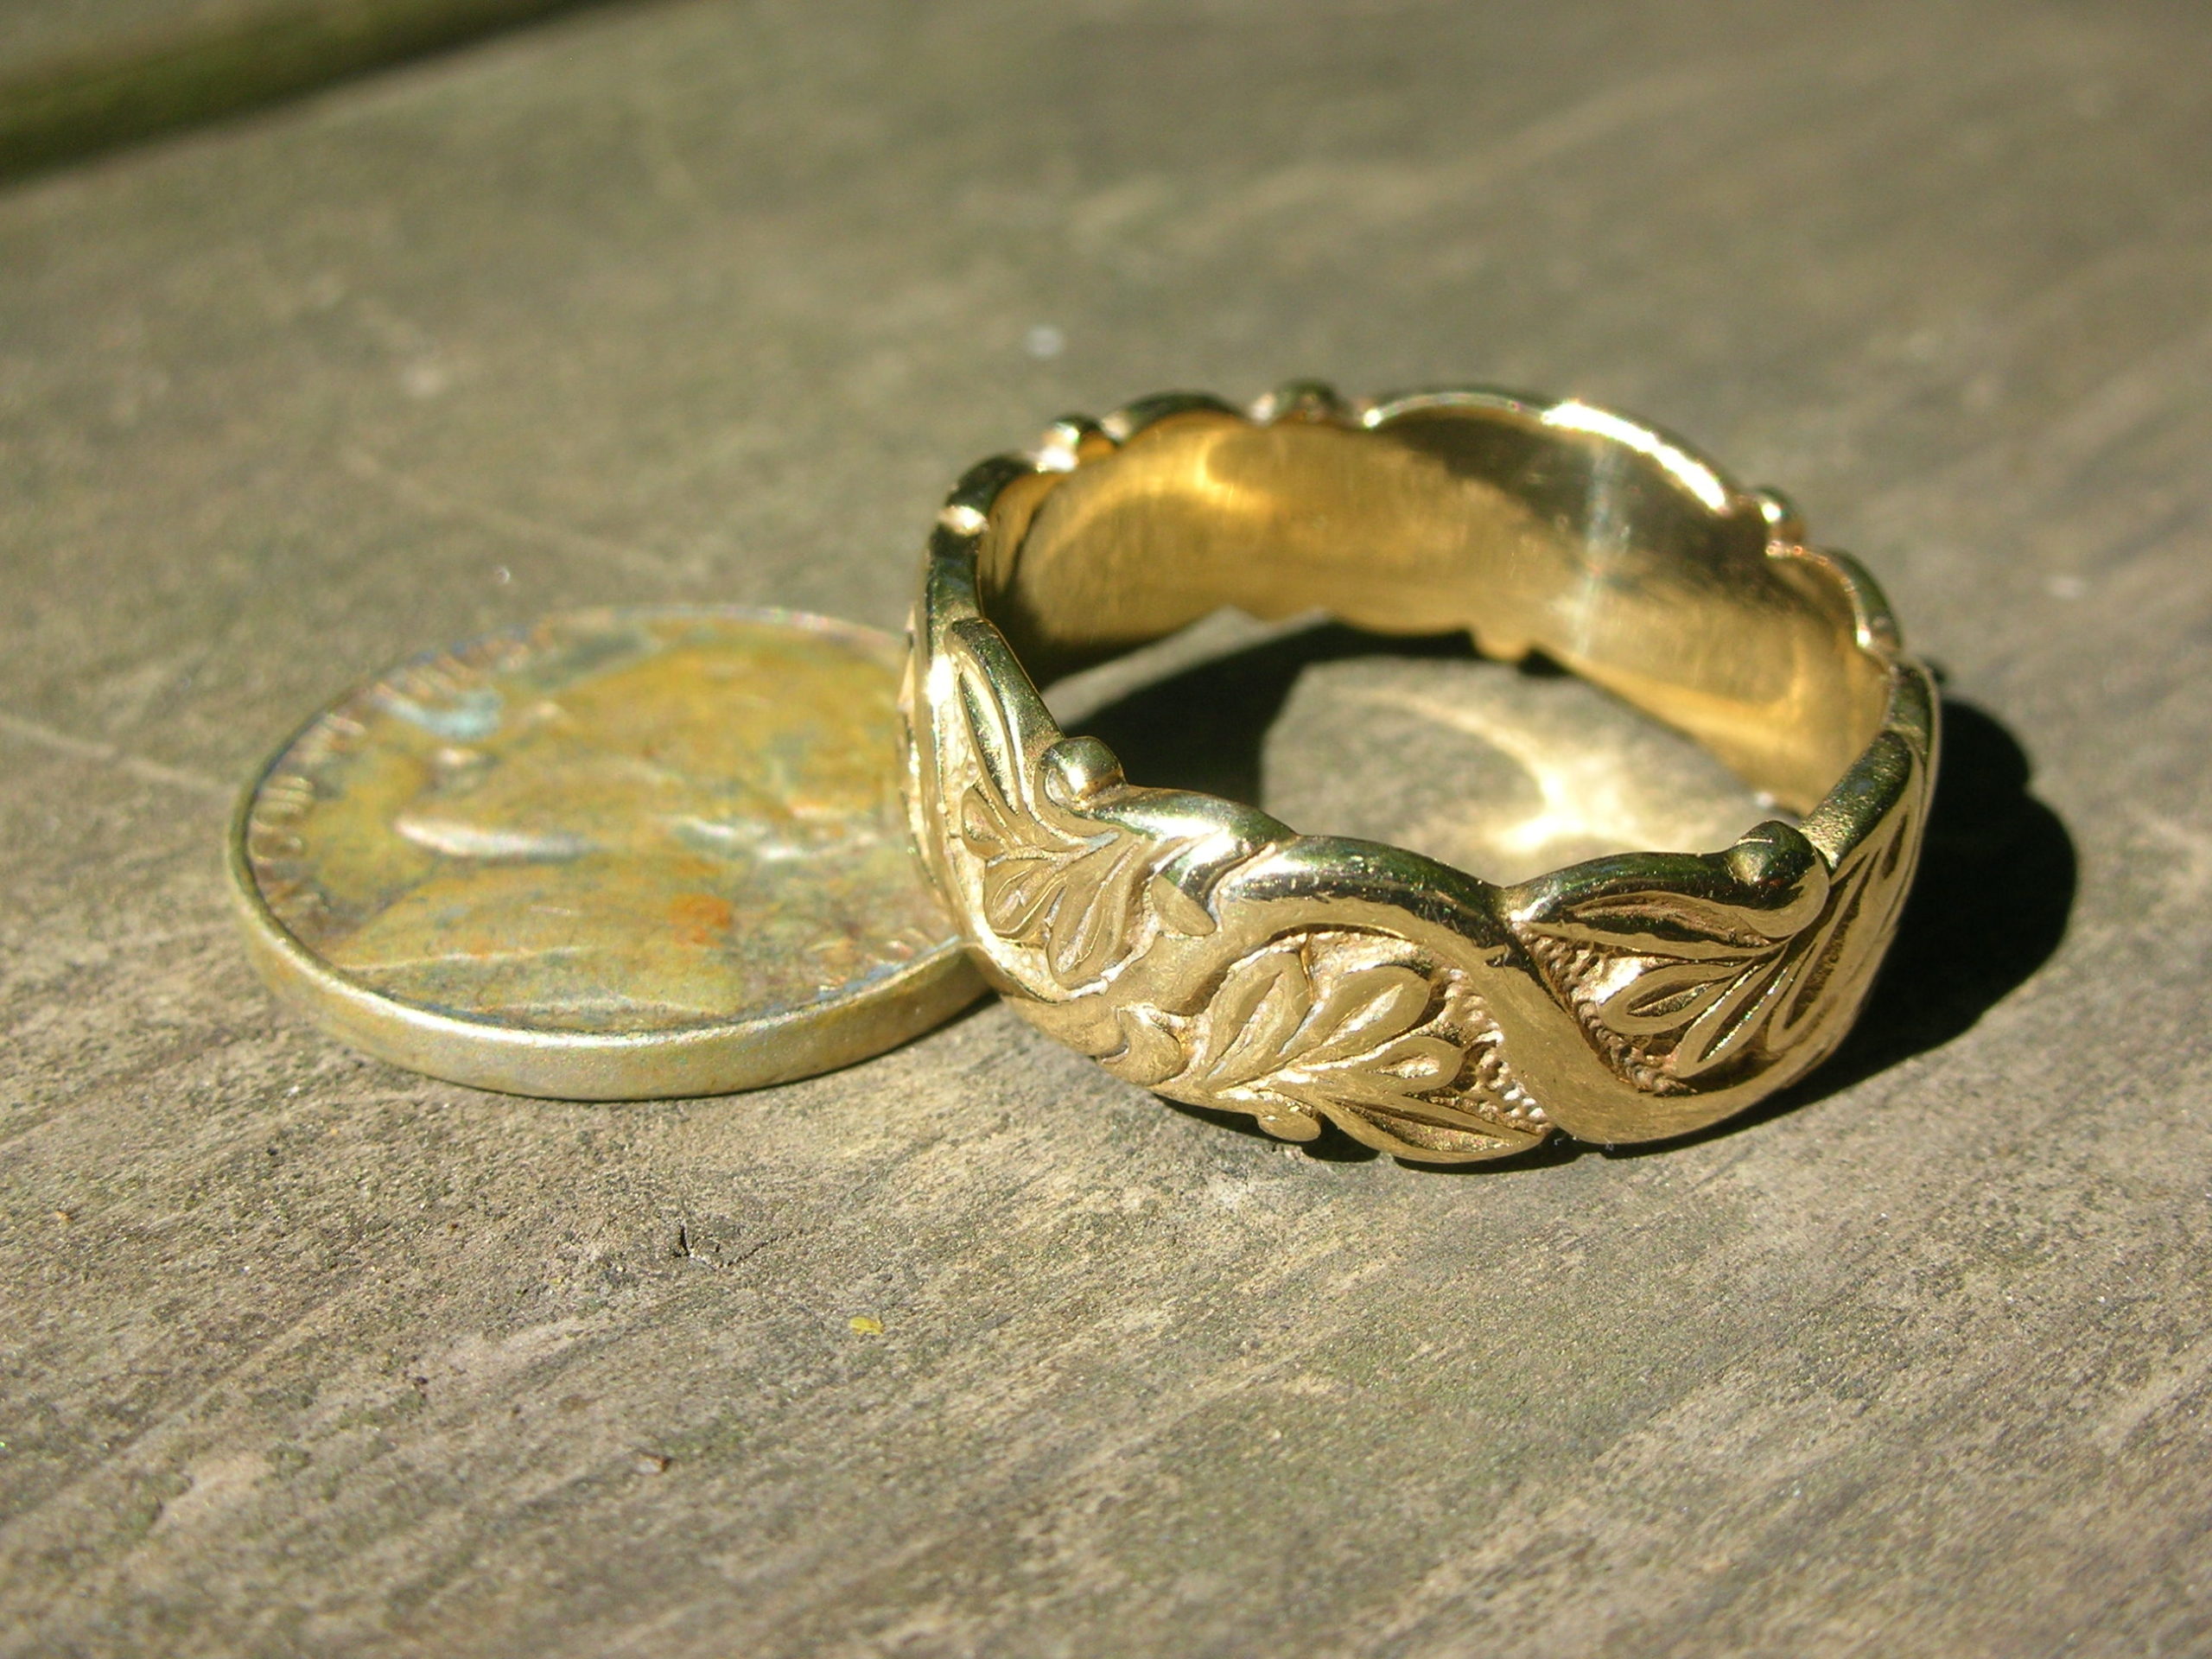

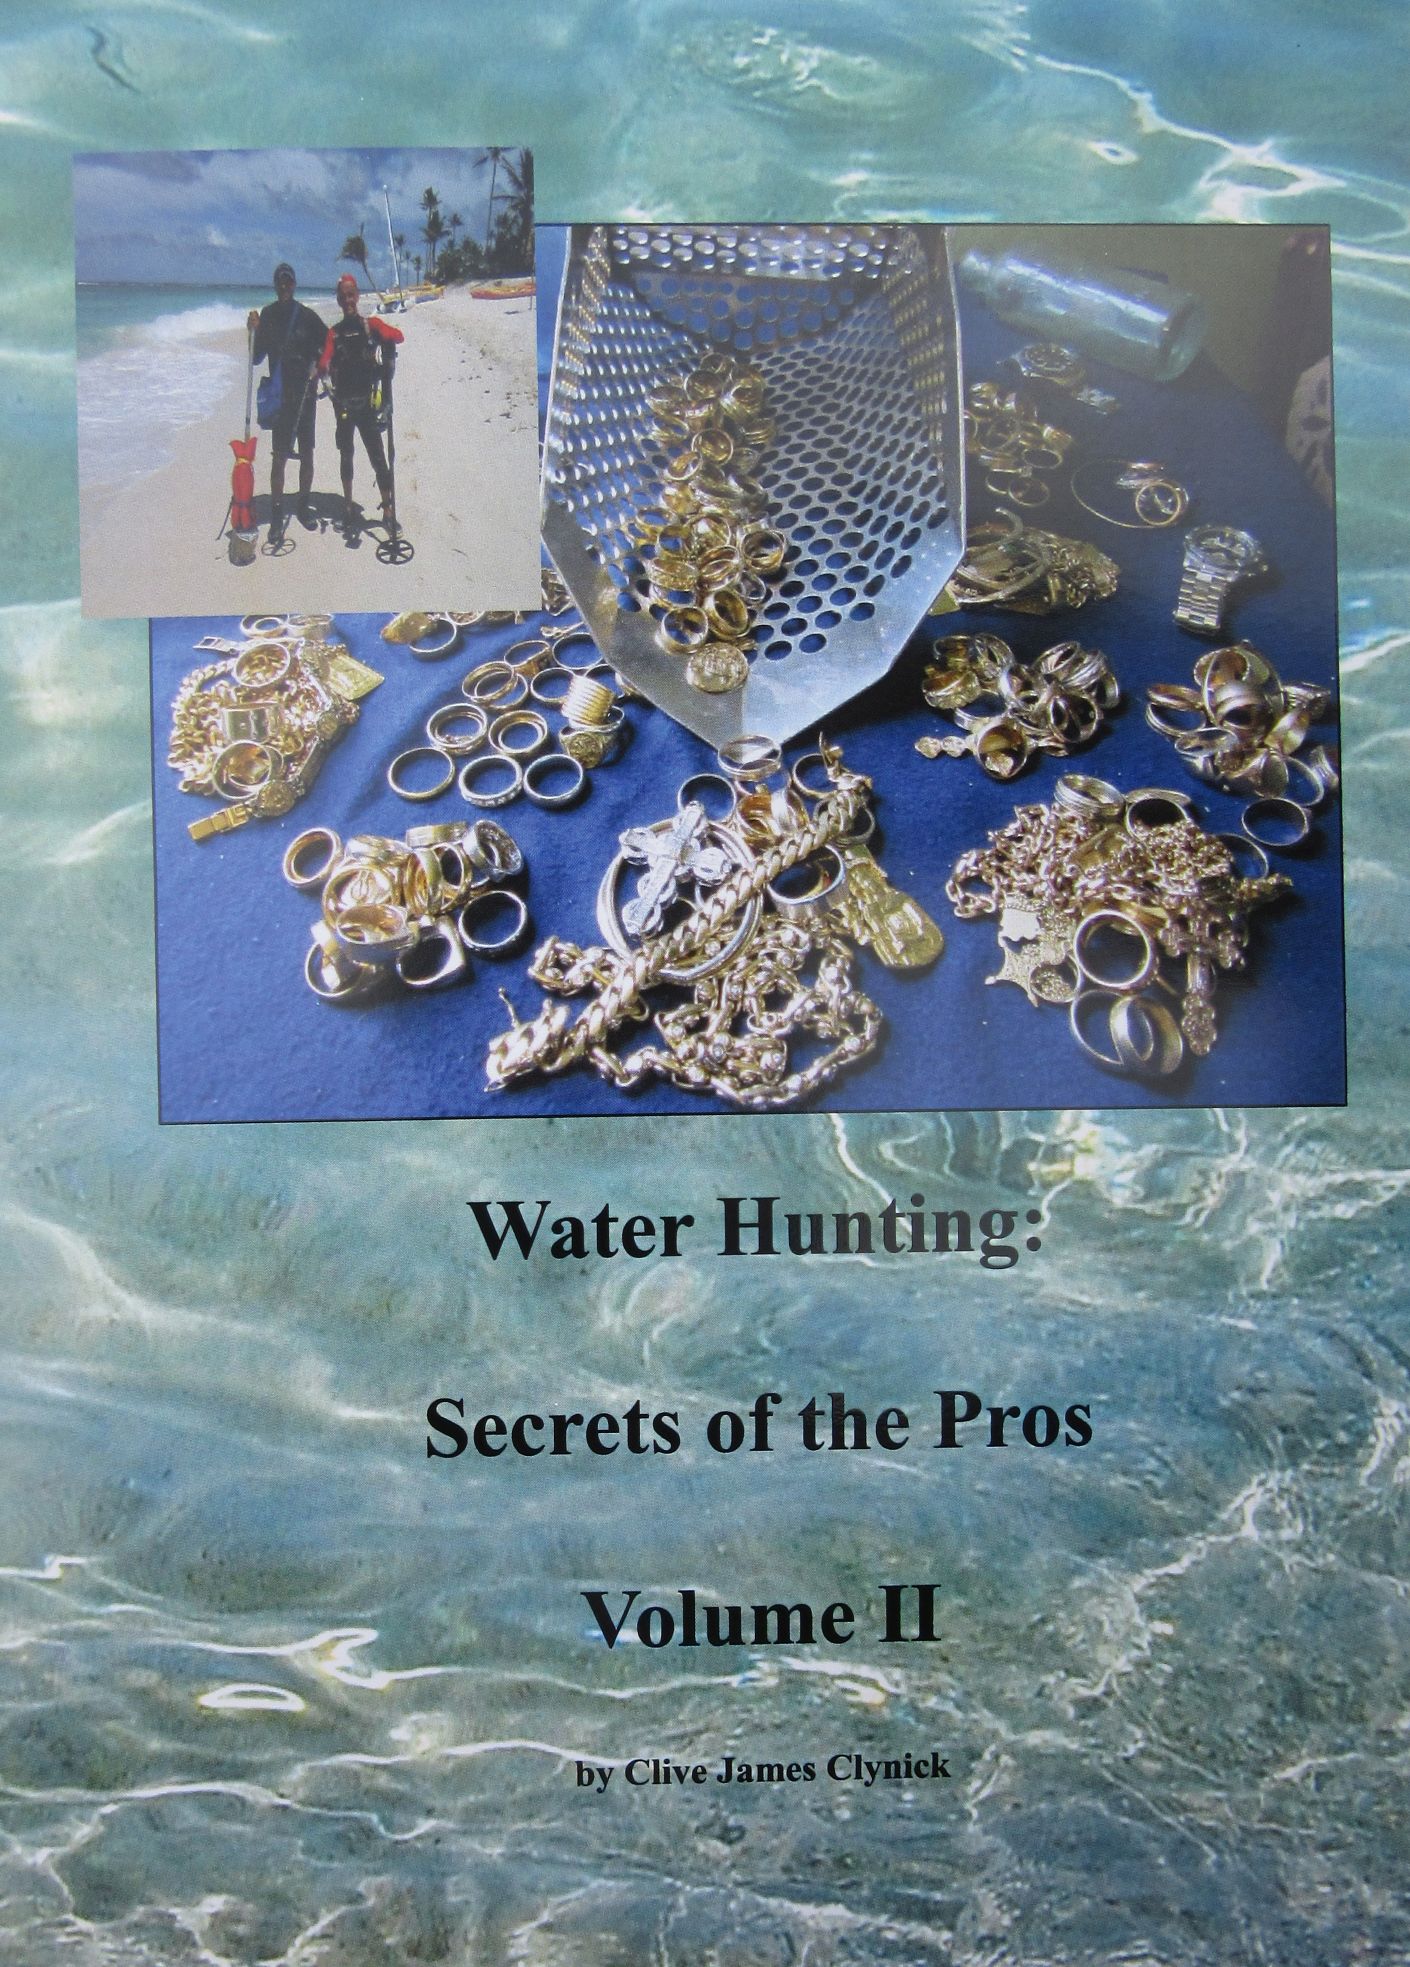


 This has been a very long and detailed project. At first it looked like the TDI Pro board would go into a UK case but it was a tiny bit too small and would have needed Vishay pots. These are much more durable. The new Pelican 1170 case is for handguns–quite big but given that many who have tried this project gave up owing to the heat dispersion problem the more air space the better. This one runs at the same temperature as in the original land case. The original plastic pot spindles have been
  replaced with brass–to increase heat dispersion. The board is shielded on all sides.
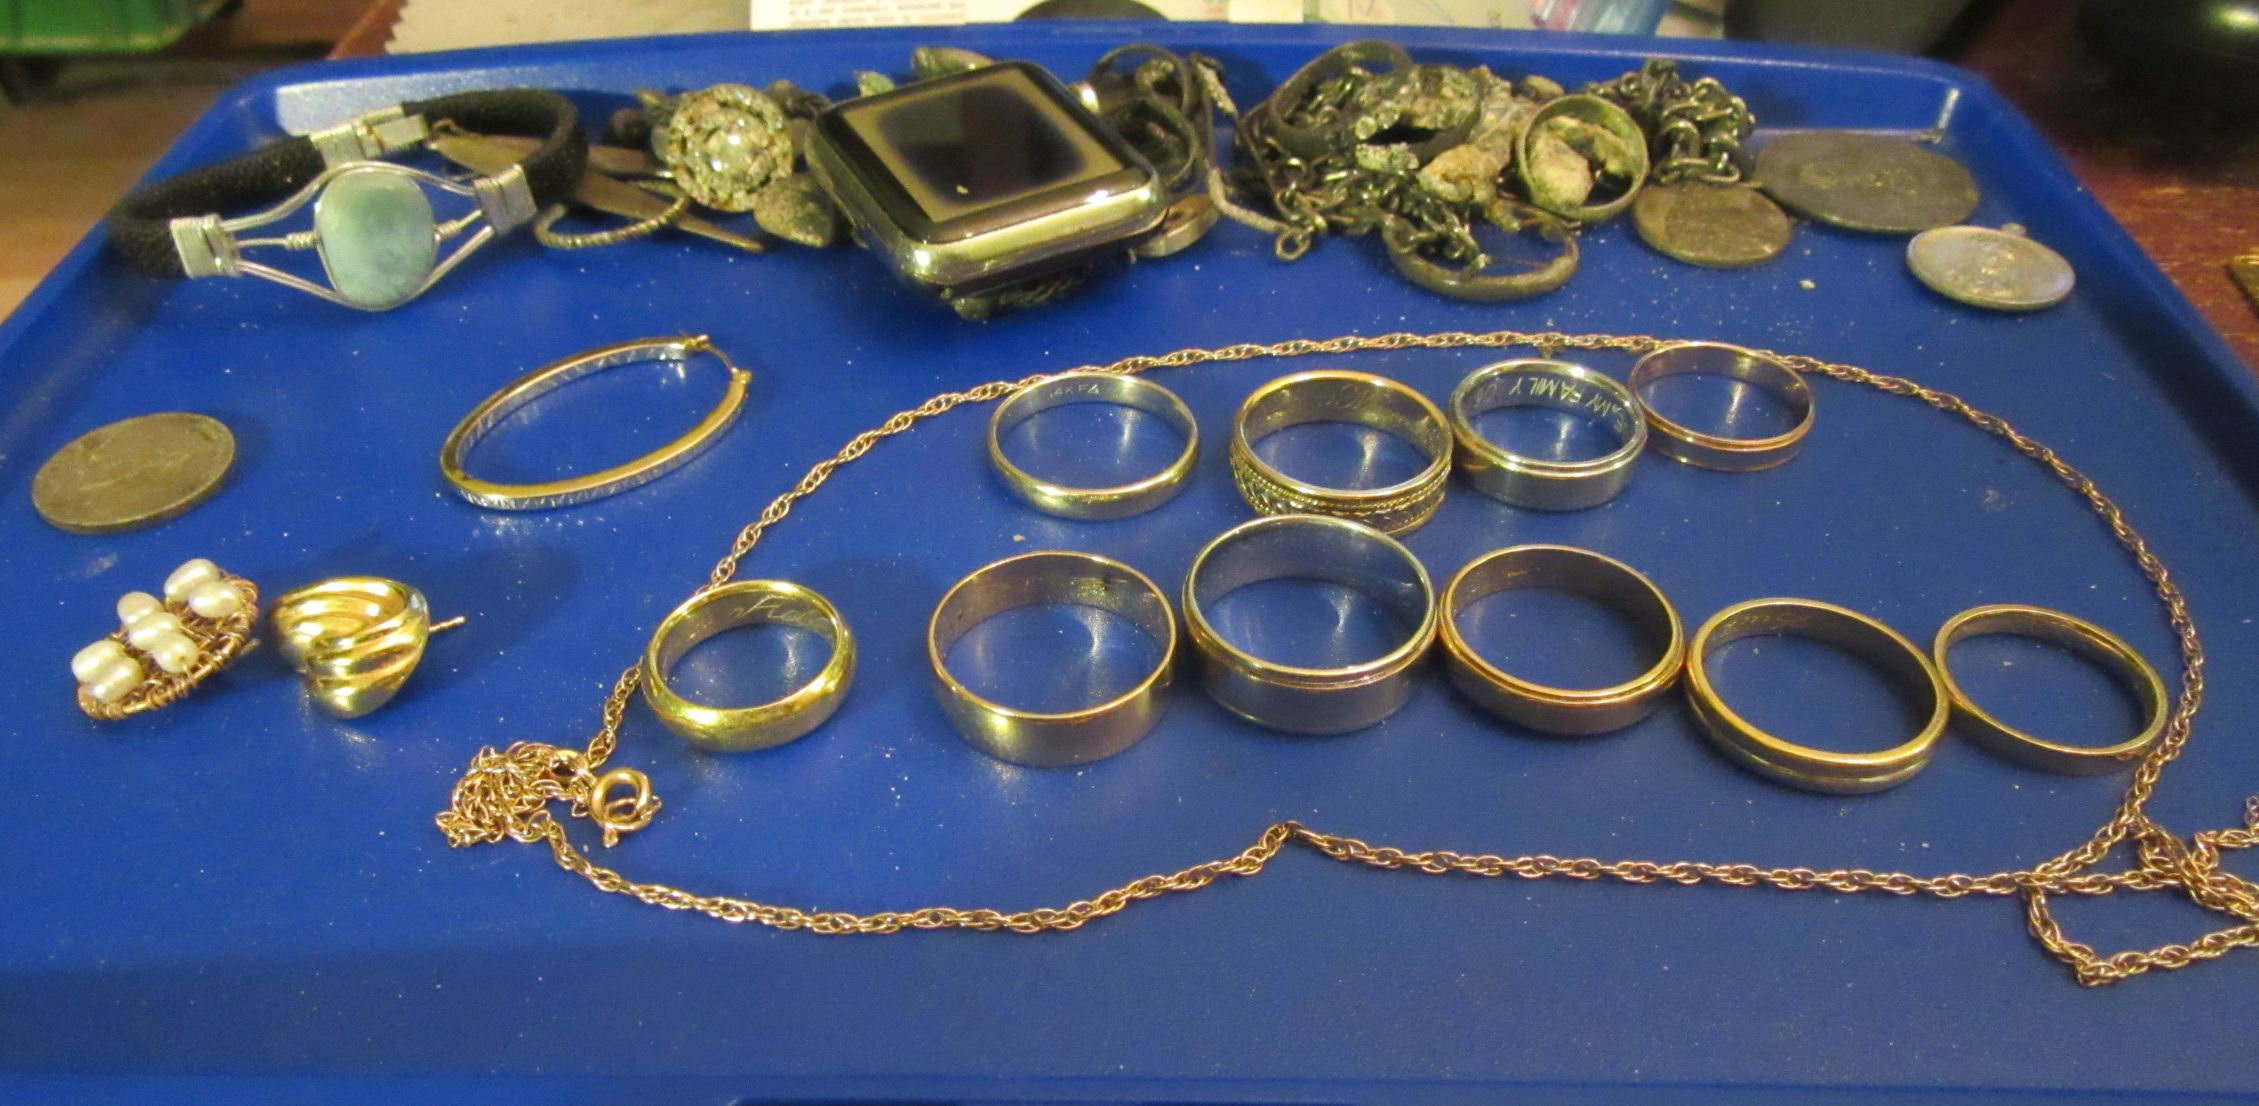


 cjc
cjc
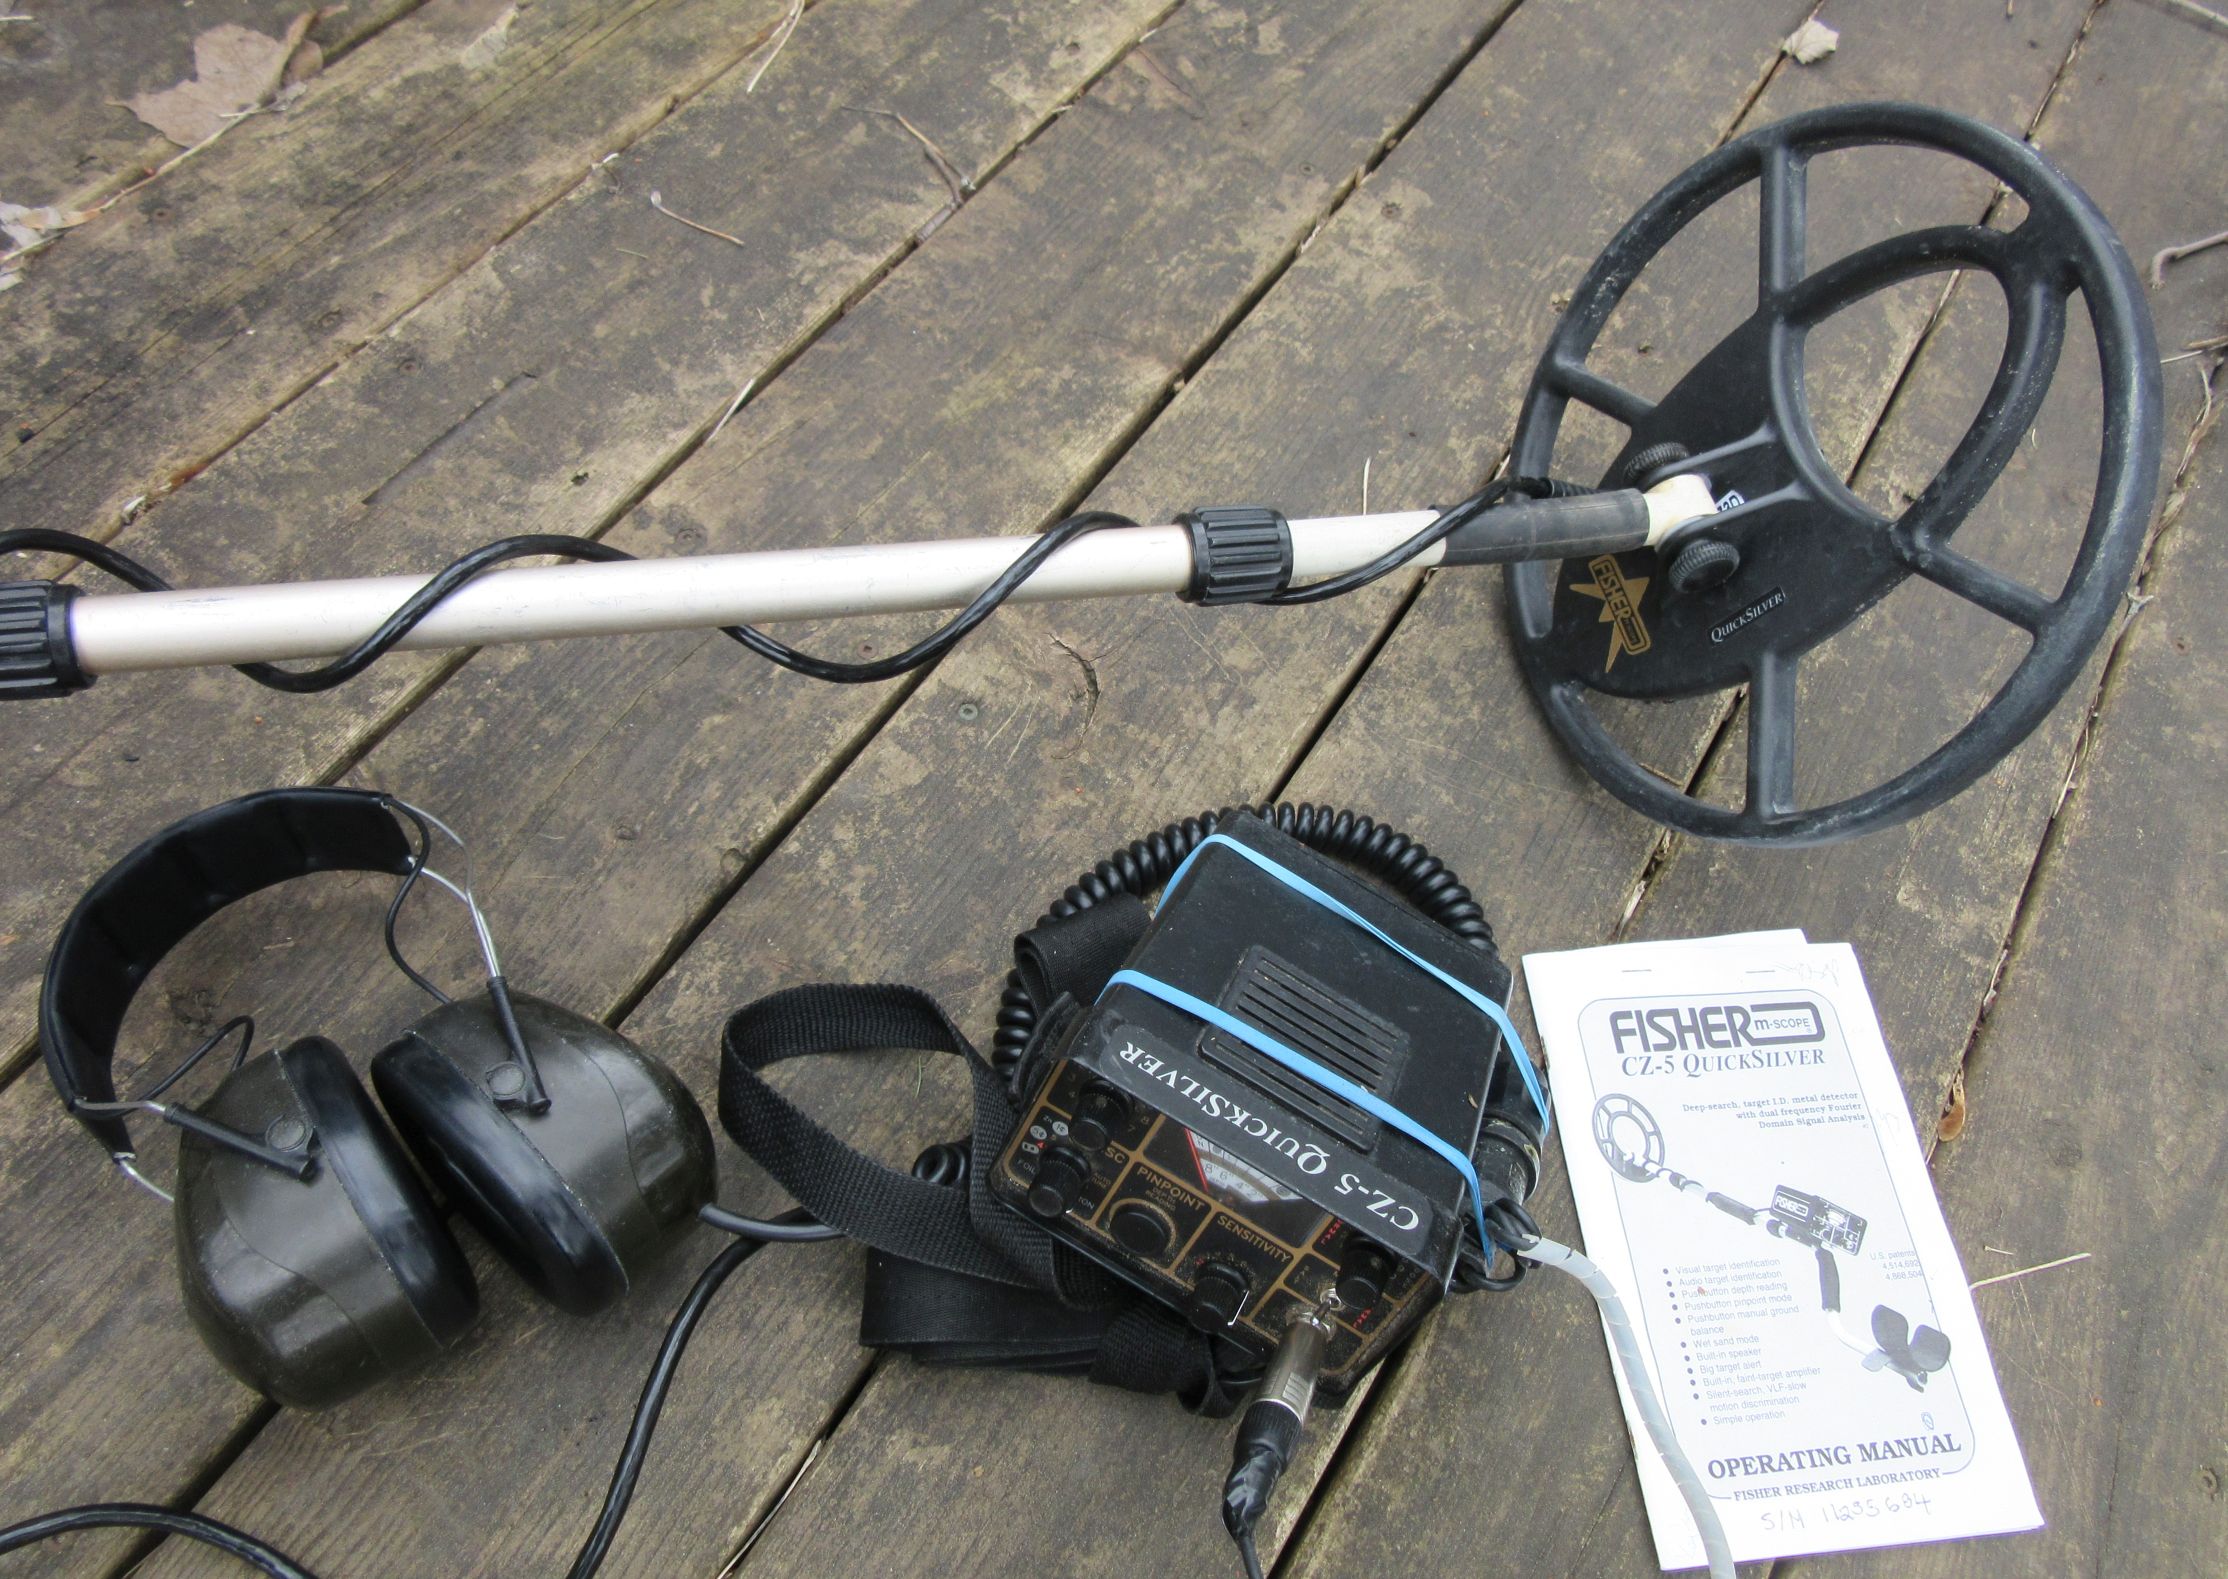

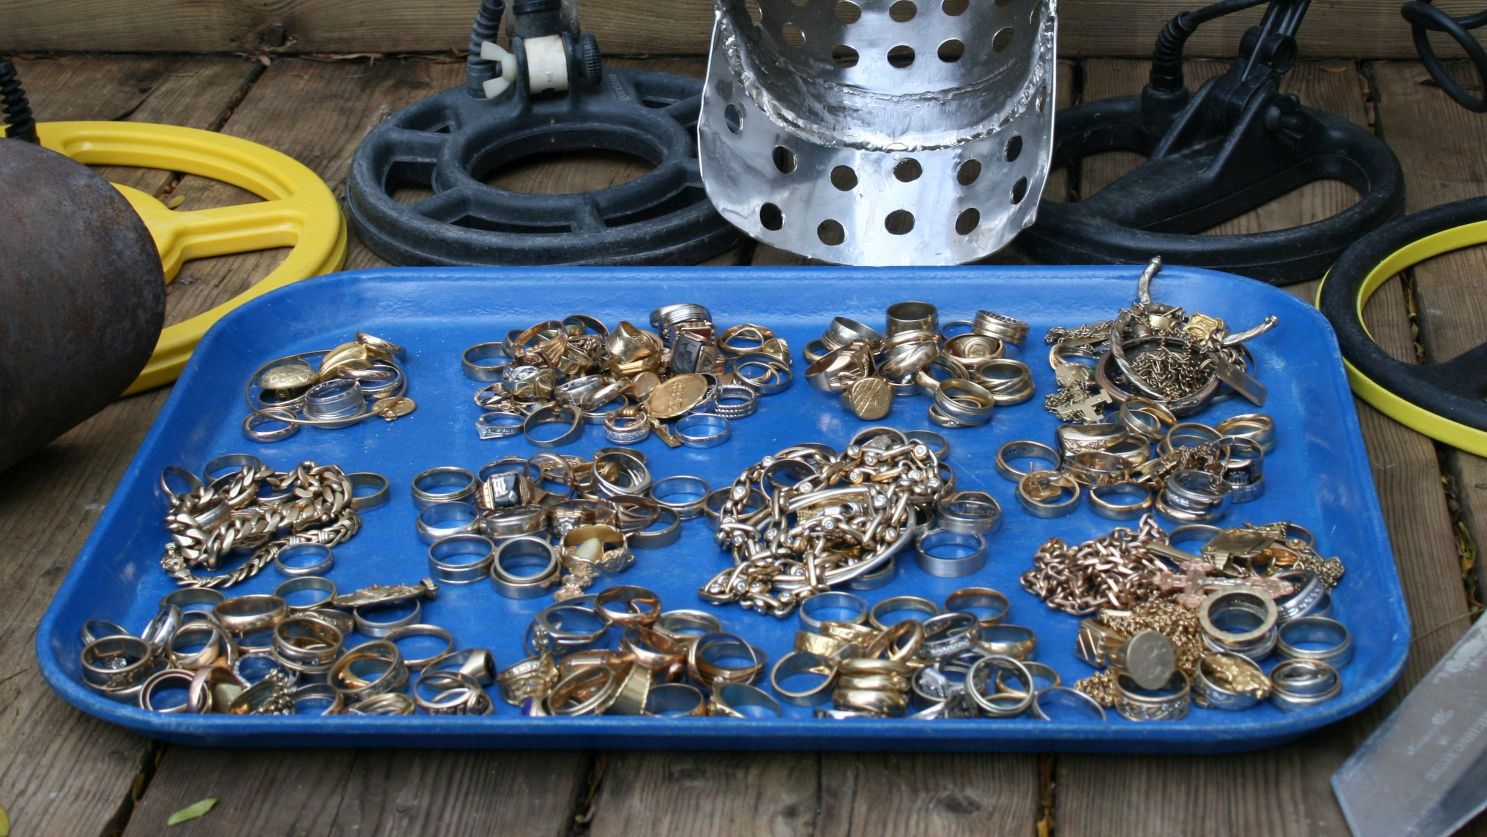

 Quite a beautifully crafted Russian chain, 14K tri-tone 77 grams. Found by Roland with the Minelab CTX 3030. We’ve had good results with this detector using such settings as “Andy’s Beach” and “Jay’s Gold” programs.
 ddy found this set up on the edge yesterday with his Minelab CTX 3030. The main stone is about .80 princess cut.